

posted by Beret
Ages: Persons of most any age can do this project as unsuccessfully as I did.
I had such a good time making lemon batteries last year that I got VERY EXCITED when I discovered another way to make batteries out of ordinary, every day objects. Lemon batteries were awesome. Lemon batteries were easy. So why not try penny batteries? I’ll tell you.

What you need:
*A bunch of pennies
*100-grit sandpaper
*About a half cup of vinegar in a glass or dish
*Some heavy cardboard–enough to cut into little pieces to sandwich between the pennies
*A small piece of aluminum foil
*Scissors for cutting the cardboard
*Something that could use a small battery for power. My plan was to use LEDs, which are cheap and handy. I still had a couple lying around from the pocket flashlight project a few weeks ago. Other options that might be equally inoperable: cheap calculators, digital timers, or small bulb and socket combos, like you can get from Sci-Supply.
Procedure:

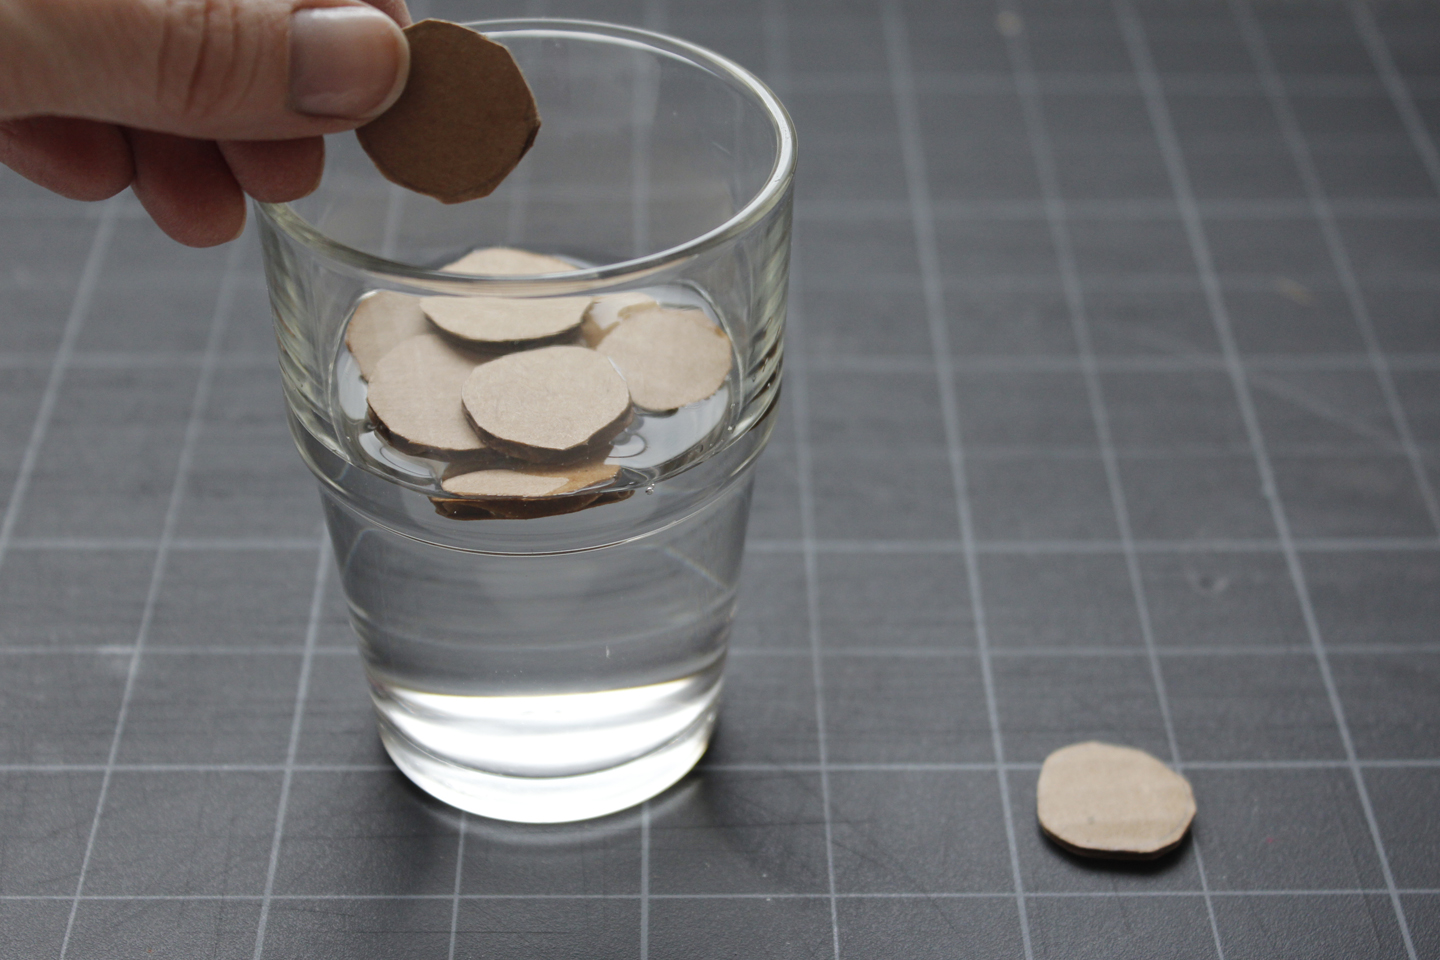
1. Cut the cardboard into pieces that are roughly the size and shape of the pennies, but slightly larger. Drop them into a container of vinegar to soak.

2. Use 100-grit sandpaper in an attempt to remove the copper coating from one side of each of the pennies. This was by far the most frustrating step–an issue which was perhaps exacerbated by the fact that I was sick and terribly cranky. I tried a couple of things to help make it easier and/or faster. I put all of the pennies on a piece of duct tape–sticky side up–then wrapped the tape around a block and sanded like crazy by hand.
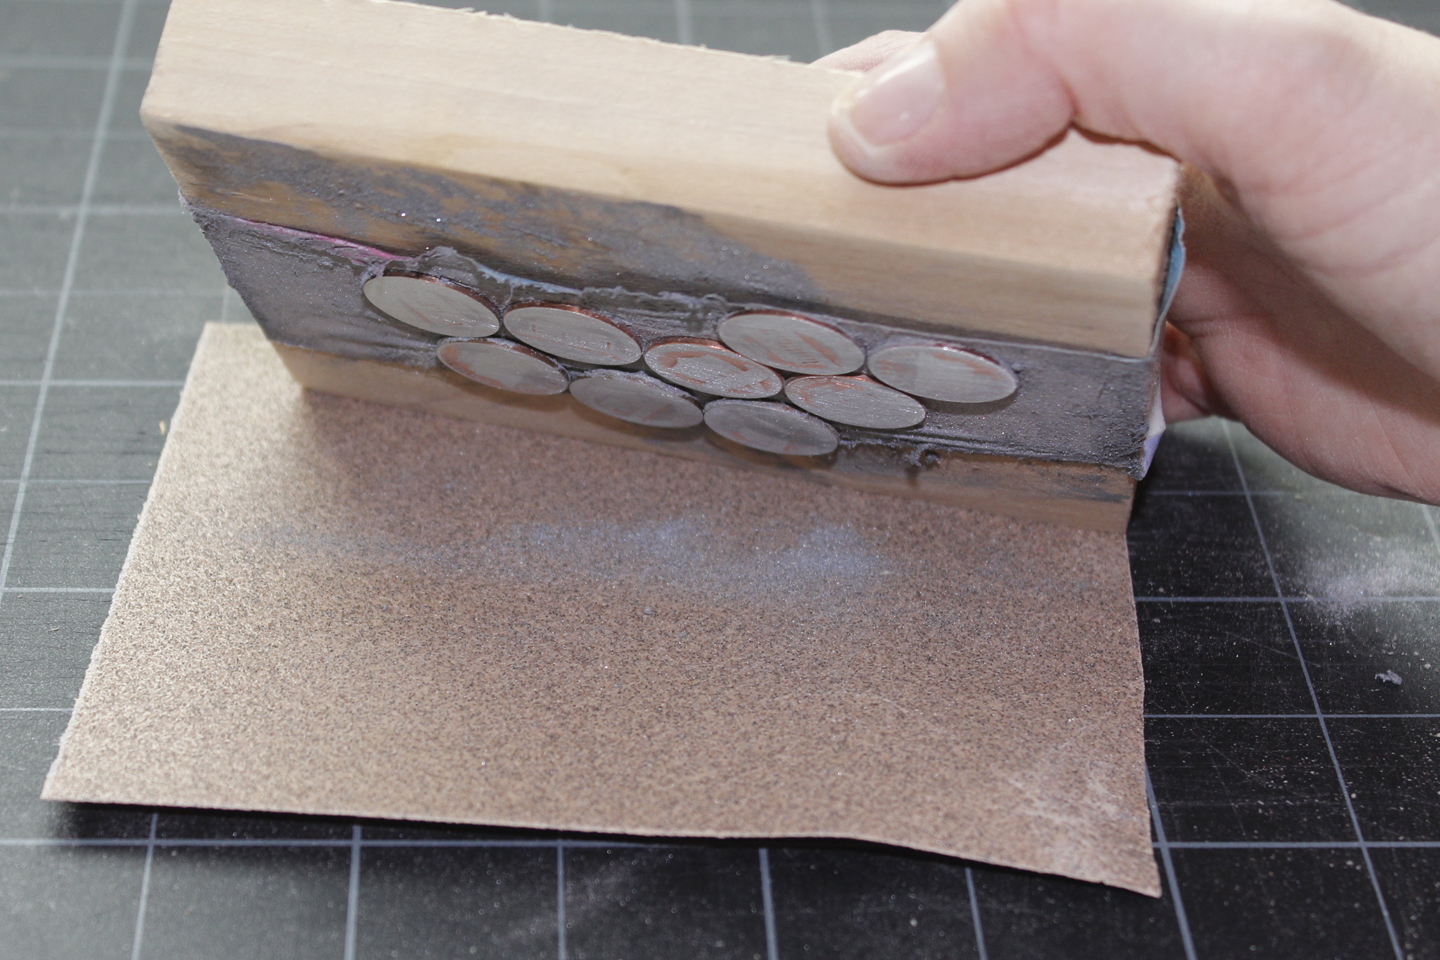
When that did little, I dug out my spouse’s finishing sander.

That helped more, but after a while, the pennies were so thin that I was sanding the duct tape into a sticky mess, while the last bits of copper somehow continued to evade sanding. Though I got close, I never did figure out how to successfully remove all of the copper from one side. I did try to build a battery with my substandard pennies, however. I stacked them on the small piece of aluminum foil: first, a penny copper-side down, followed by a piece of vinegar-soaked cardboard, another penny copper-side down, cardboard, and so on, ending with the zinc side of the fifth or sixth penny. I could not light an LED. Nothing.
It was time to try a new approach.
In some ways, this was a relief. The noise from the finishing sander was reverberating uncomfortably through my congested skull. And though pennies are practically useless in the real world, I still felt a little guilty for destroying them. Perhaps my failed attempts were karmic retribution for defacing federal property.

The good new is, I can also show you how to make a non-functioning battery using intact pennies sandwiched with zinc washers.
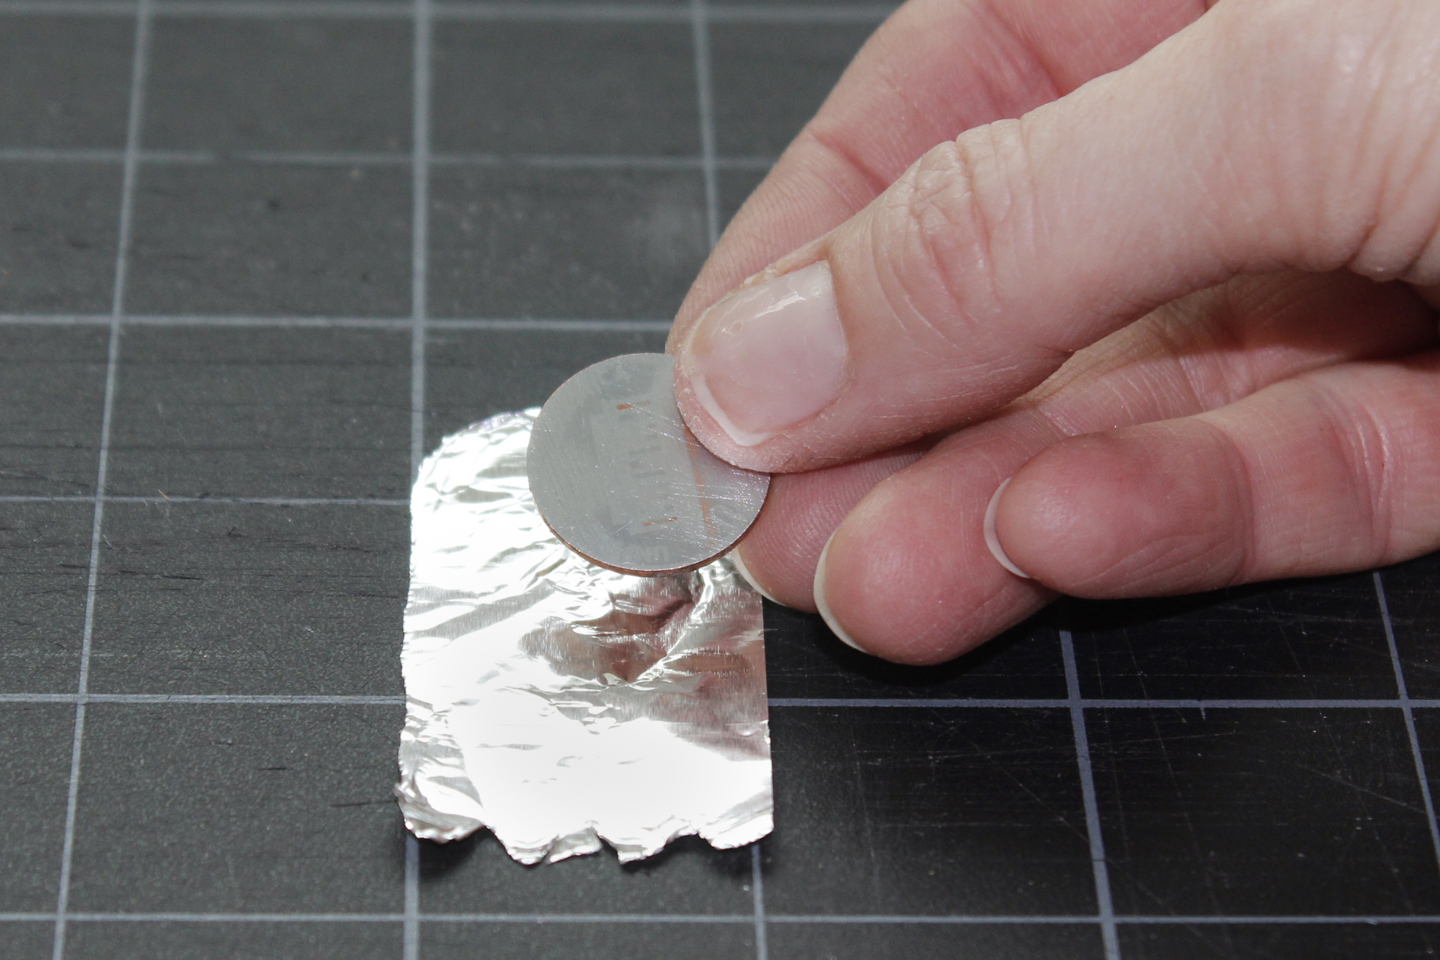
4. Place one zinc washer on a small piece of aluminum foil.
5. Blot the excess vinegar off of a piece of cardboard and place it on top of the washer. Then, put one unadulterated penny on top. That makes one cell. We will need five or six cells to generate enough power to light the LED. Supposedly.

6. Continue stacking the same three items in the right order: washer, cardboard, penny–until you have a stack of five cells. End with a penny on top.
7. Try lighting an LED by putting the negative (short) end on the foil. Touch the longer end to the top penny. Watch it not light. Voilà. Frustrating, no?
Here’s the link to the video I watched six million times for assistance–to no avail. He certainly makes it look easy.
My plan is to go to bed and stay there for as long as the tiny tyrants will allow, and then get up and miraculously produce a functioning penny battery. That’s my plan. I’ll let you know if I succeed.

One thought on “Stupid Penny Batteries Part I: FAIL”