
 Indigenous Peoples’ Day approacheth–and that’s not the only reason I’ve been thinking about the native peoples of the United States recently. The Dakota pipeline controversy erupting through the midwest is a reminder that a long and bitter legacy of disrespect continues.
I chose this particular activity because it was from the Hohokam people–of whom I’ve never heard, not even once. Since the Hohokam lived in what is now central and southern Arizona from around 200 to 1400, let’s hope I would have studied them had I grown up in the Southwest. Note: I include a pathetically brief overview at the end of this activity.
Hohokam people gathered shells from the nearby Gulf of California, and were highly skilled shell artisans. In particular, they are known for etching shells, and are probably the first people to ever etch objects of any sort, despite Wikipedia’s apparent ignorance on the matter. Traditionally, they would cover a shell with a protective substance—sap or pitch from the trees—and use a tool to scratch off the design they wished to create: animals such as lizards and frogs, or geometric patterns, for example. These shells were then soaked in an acidic liquid (probably fermented cactus juice) to eat away the exposed areas. Finally, the pitch was scraped off. The shells might be painted as a finishing touch. You can read more here.

To recreate their craft, we will use supplies more readily available these days, and our process will actually work in the reverse. Instead of etching the design into the shell, our design will be in relief, while the rest of the shell is worn away by the acid.

What You Need:
*Shells. This is an excellent reason to take yourself to the beach. However, land-locked folks need not despair. Amazon, craft stores, and even eBay sell shells. You can buy all sorts, but the shape and weight of cockle-type shells makes them work especially well, and they are related to ones originally used by the Hohokam people.
*Light-colored nail polish. Dark polish can stain the shell. I used a white polish with a skinny brush designed for painting details on nails. It gave me much more control than the regular nail polish brush.
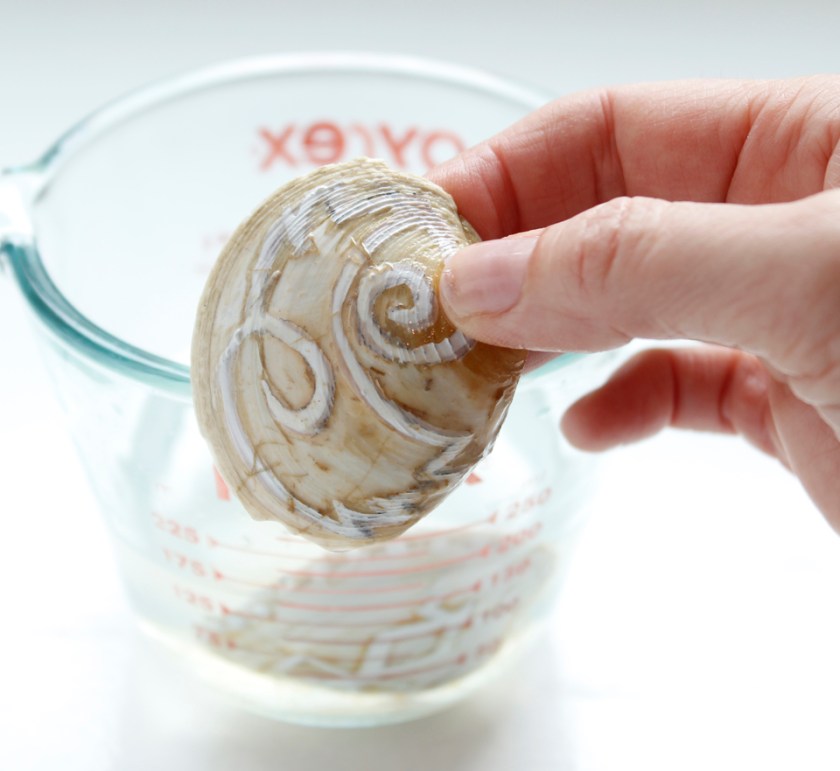
*Non-acetone polish remover. Get the cheap stuff from the drug store; fancy Piggy Paint variety (pictured above) proved useless for this activity. Out of desperation I used the regular remover–the kind with acetone–and I could tell it was damaging the shells.
*White vinegar.
* A pencil and a bowl for soaking. That’s it!
What To Do:
- Make sure the shells are clean and dry. If you bought then, this step is probably unnecessary. If you’ve found them yourself, remove any residual animal matter; tweezers or an old toothbrush might help. To get them extra clean, you can soak them in a solution made of half water, half bleach for a few hours, but be careful. This can bleach the color out of the shells. For more tips on cleaning, click here.
- Very lightly sketch your design on the shell with a pencil. For a few design ideas, look here.
- Go over the design with a light-colored nail polish.

- Soak the shells in vinegar. Depending on the type and thickness of the shell, it could take anywhere from two hours to four days to etch the shell surface sufficiently. I used reasonably thick shells, and left them to soak for four days.

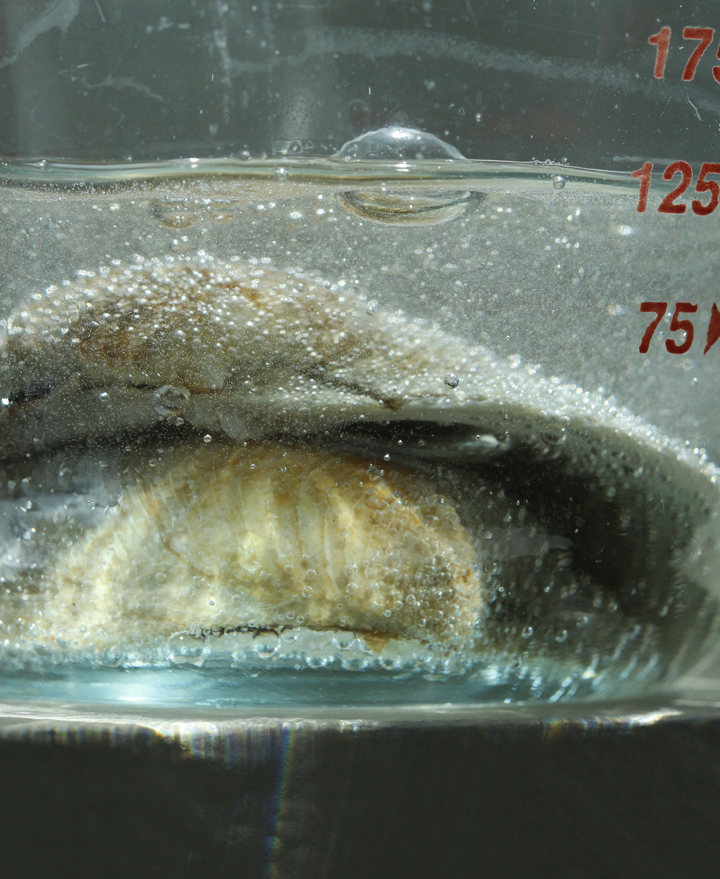 Despite the initial fizzing pictured above, I thought nothing had happened to the shells whatsoever…until I touched them and wiped off the top, unprotected layer:
- Wash the shells thoroughly with water. I used a toothbrush to remove all the remaining dissolved shell.

- Use the non-acetone polish remover to–you guessed it–remove the polish.
- I left shells as is, but you could use a dab of vegetable oil for a shiny finish, or paint the shells, if so desired. Watercolors are subtler–and impermanent unless you spray with an acrylic topcoat–but they do leave the underlying shell textures visible. Acrylic paints also work well, but give more opaque coverage. The color you see below is from the original, preserved shell surface.
 Are you wondering where the best beaches for shell collecting are located? Curious about what sort of shells you have found? There are a wealth of resources online.
A list of the best shelling beaches in America can be found here.
Seashell identification guides are posted here and here, but there are many, many more online. Perusing them makes me realize that I need to go to a few more beaches in my lifetime. I’ve only gathered a very few types of shells over the years. But who wants to bring a laptop to the beach? An identification chart might be more useful. Here’s an inexpensive one on Amazon. Enjoy.
Pathetically brief overview: The name Hohokam is a Pima word meaning “those who have vanished.” They did in fact seem to vanish in the 1400s. Over the centuries in which they thrived, however, corn and cotton were their main crops, and they built elaborate irrigation canal networks, paying close attention to how building narrower, deeper canals would decrease the water lost through evaporation and absorption into the ground. Some of the longest canals in the Salt River valley were renovated and put back into use in the 20th century (from Encyclopedia Britannica online).
Etching: what’s going on? A surface–generally a metal plate–is coated with a protective substance referred to as ground. Most etching uses wax, or some sort of waxy, acid-resistant substance. Then, a design is drawn with a stylus, scraping away the protective coating in order to form the image. The substrate is soaked in an acid, which will eat away anything left unprotected. The substrate is washed, and the ground removed. Plates are inked and then used for printmaking. Read more here.

One thought on “Hohokam Shell Etching”