
posted by Beret
Ages: This project is suitable for any age, though very young children might have a hard time squeezing the worms out of the straws.
At first glance, this project may seem better suited to the Halloween season. It would certainly be fun then as well. In a few short days, however, the winter holidays begin, and small people everywhere will have long stretches of unstructured time. It is always a good idea to have a couple of projects up your sleeve. You know, in case someone breaks their sibling’s favorite new toy, or loses Sorry! for the fifth time in a row, or–even worse–discovers that their best friend’s Santa brought an iPod Touch. Who knows, maybe you just want to pry their little eyeballs off of a screen for a few minutes. In any event, it’s nice to have a game-changing activity on hand.
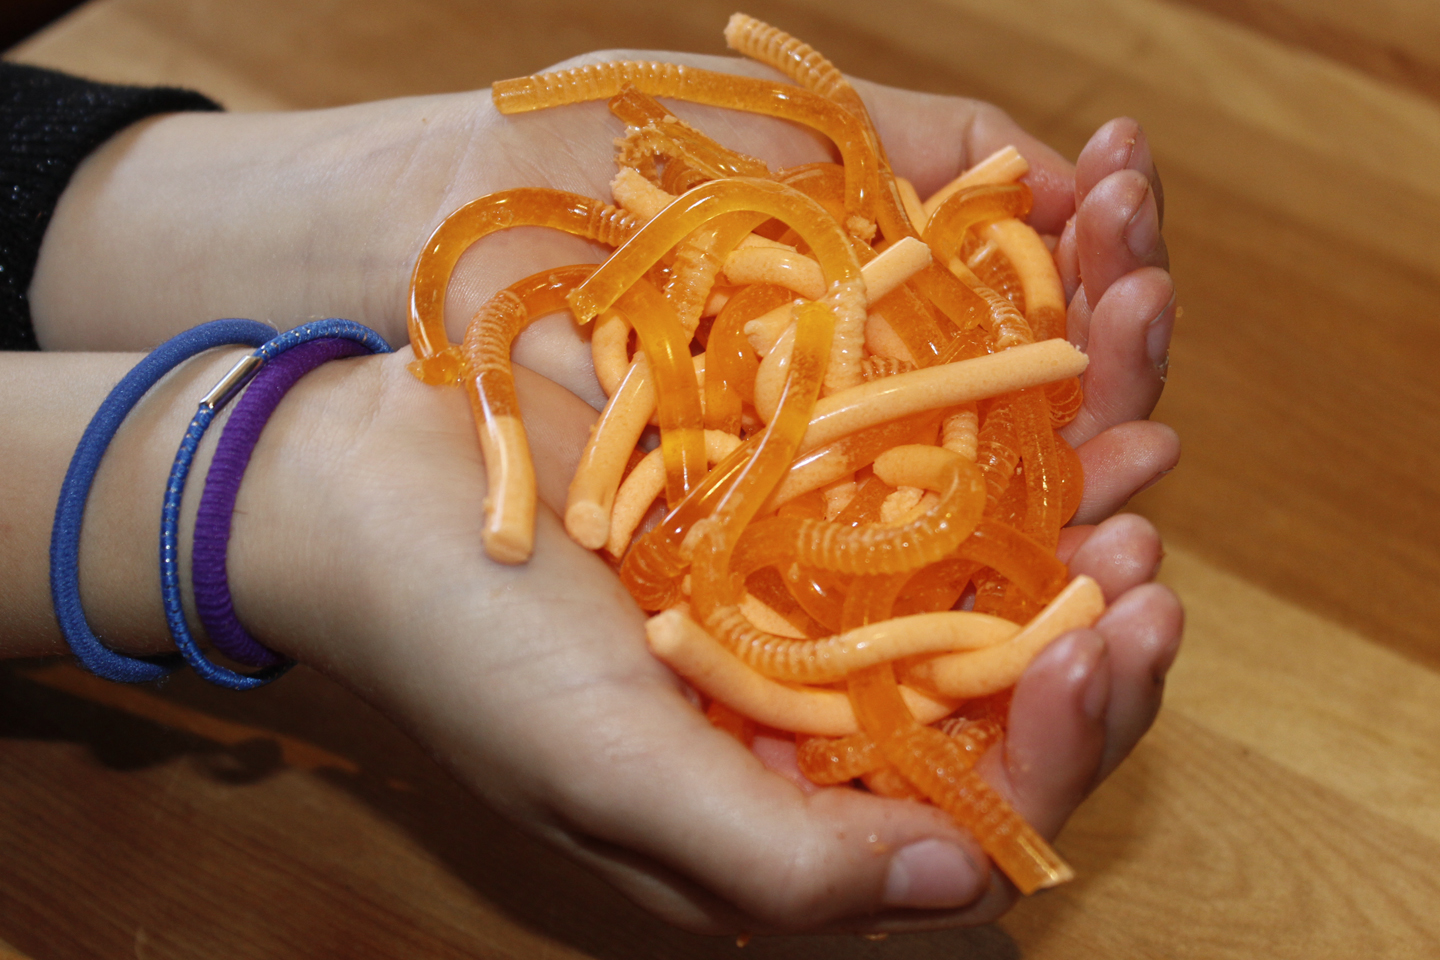
Jello Worms were a little messy, but great fun to make and to eat.
What you need:
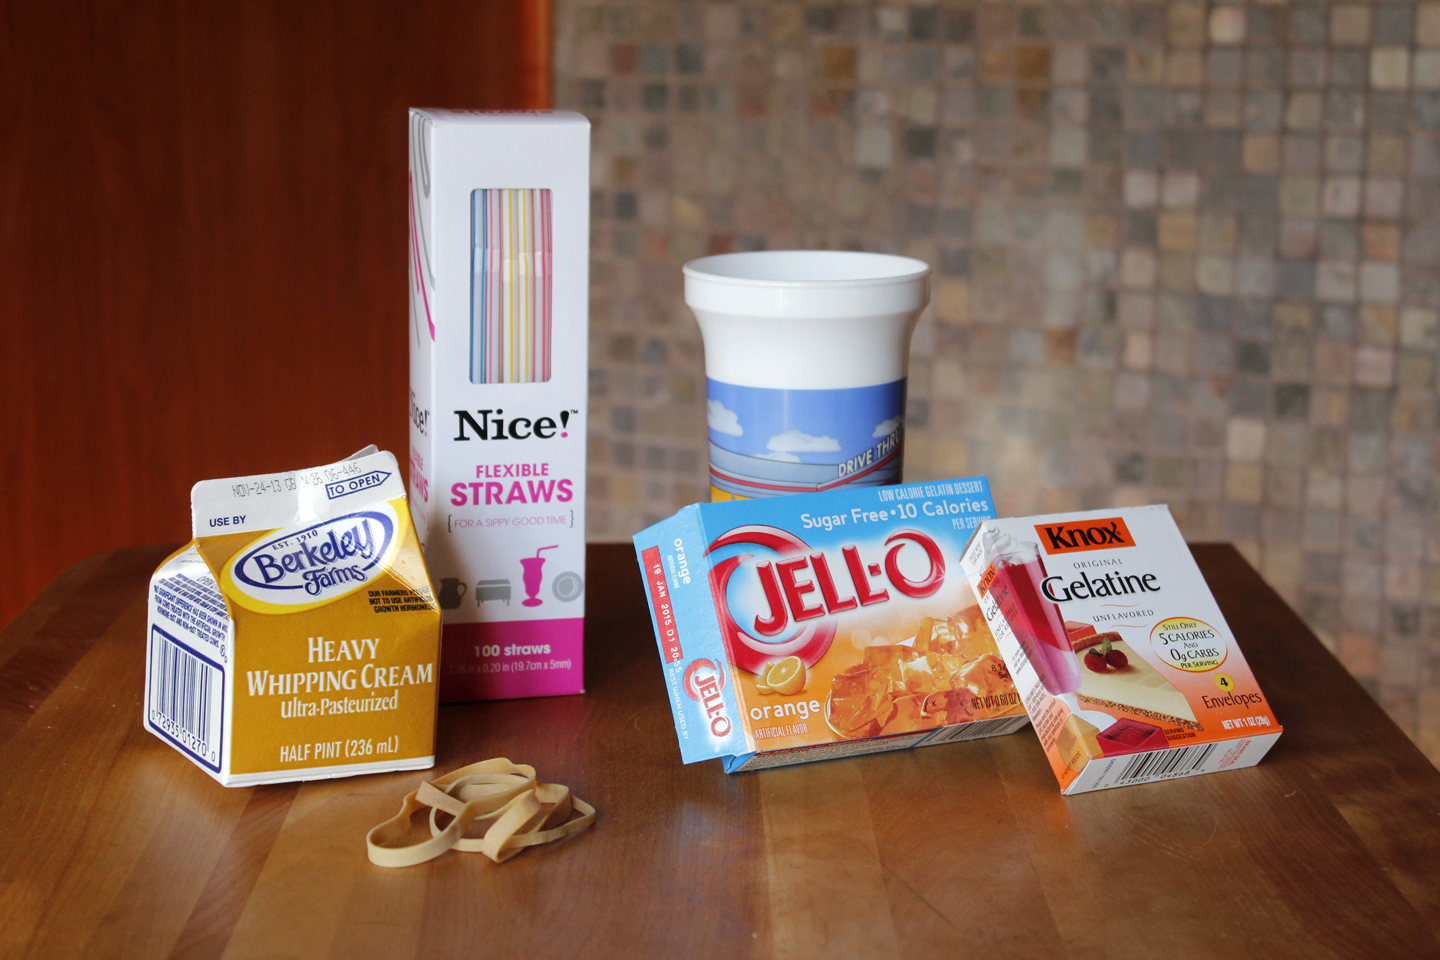
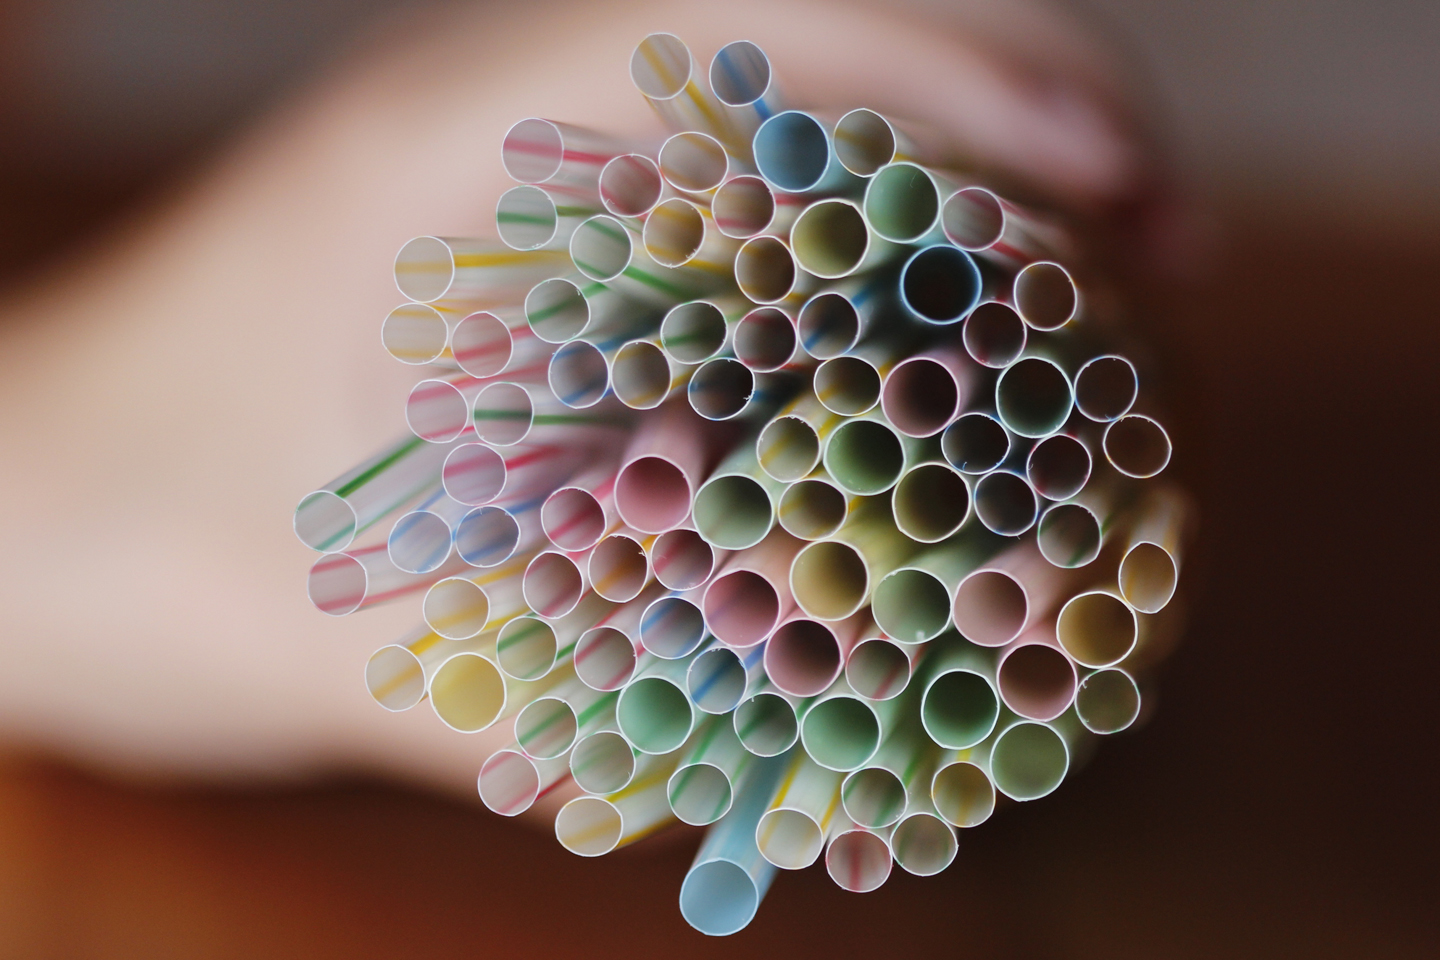
*100 flexible drinking straws. We used the Nice! brand straws from Walgreen’s, but I DO NOT RECOMMEND THEM. They are skinnier than your average drinking straw. They consequently trapped air bubbles much more than the other straws I have used, so many of our worms came out in pieces.
*One 6-ounce box of Jello. I like orange, but you can use any color or flavor, obviously.
*3/4 ounce of unflavored gelatin. You can find this in the grocery store, right by the Jello. Generally, it comes in a box of four 1/4 ounce packets, in which case, you will use three of the envelopes from the box. This ingredient makes your worms firmer, so you can squeeze them out of the straws in one piece, and pick them up and eat them like gummy worms.
*3 Cups of boiling water
*3/4 C. of heavy cream
*2 or 3 rubber bands
*One small plastic bag (optional)
*Mixing bowl
*A tall, flat-bottomed container. This is to hold the straws during filling and cooling, so the best options hold all 100 straws fairly snugly. We used a plastic cup, but I have also seen folks use a quart-sized milk carton.
Procedure:
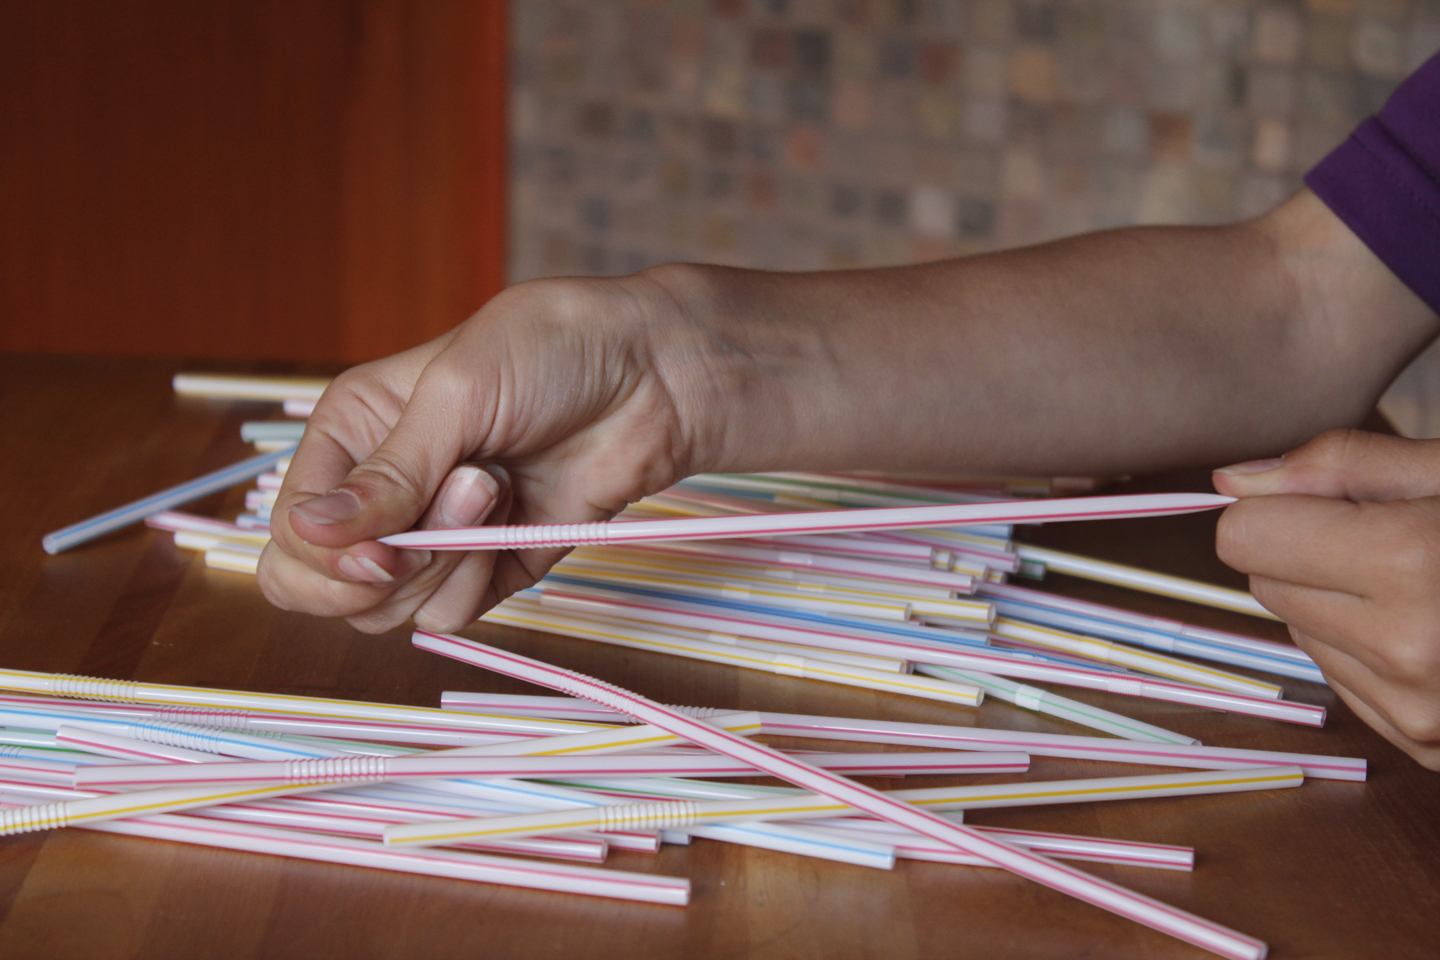
1. First, pull to extend the bendy bits of the straws. This was surprisingly entertaining for all involved. The ridged area will form the clitellum of the jello worm–which is part of the worm’s reproductive system. Want to know more? Click here.
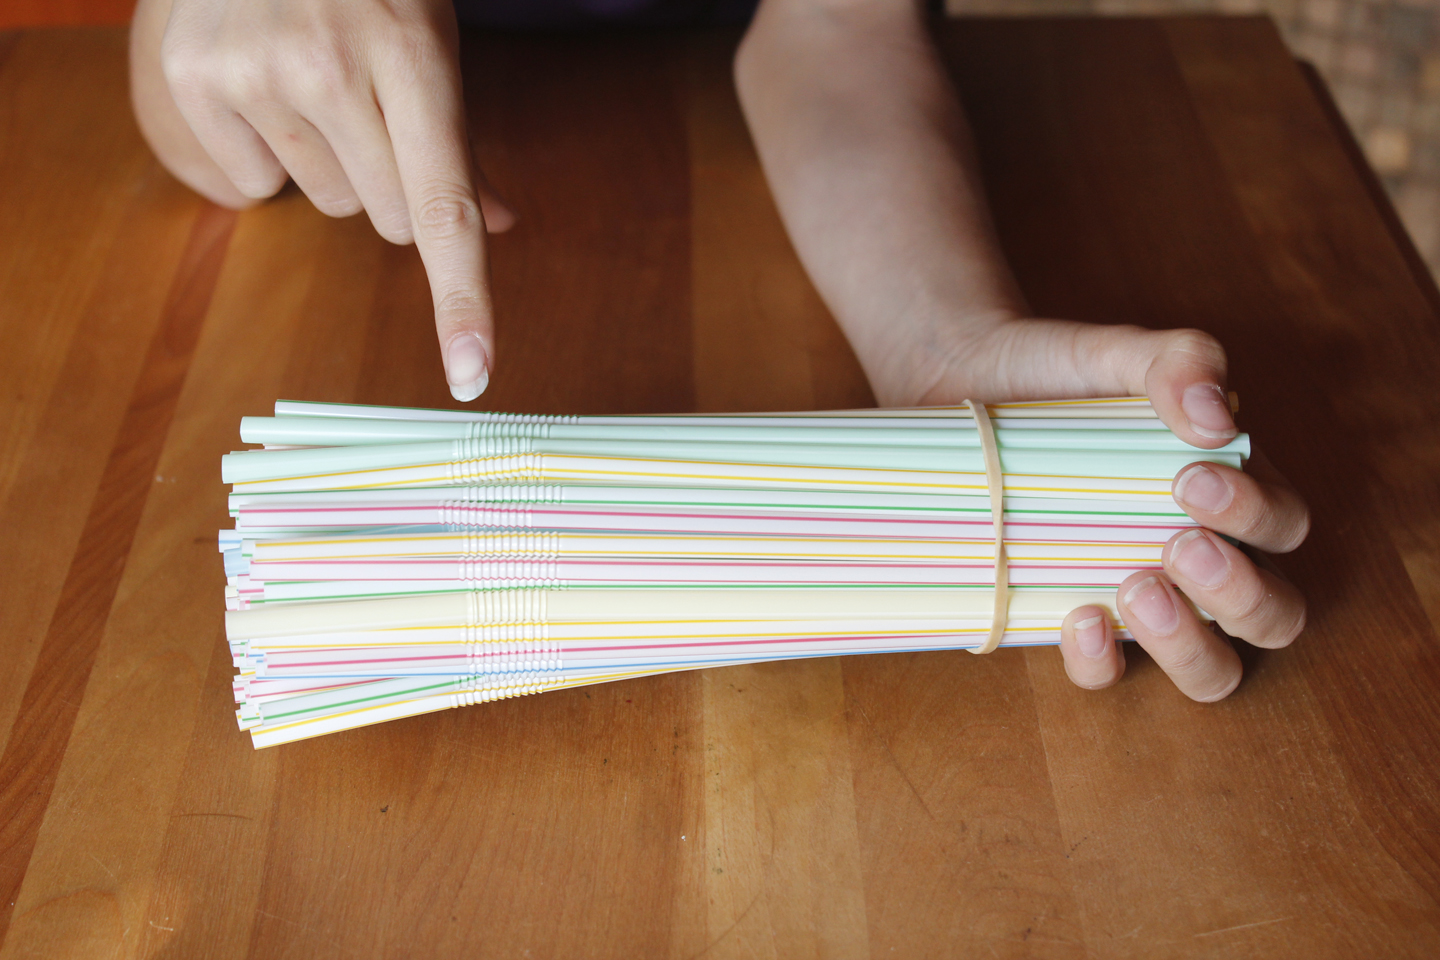
2. Make sure all of the bendy bits are on the same end–this will be the bottom–and use a rubber band to secure the top. Align the ends as evenly as possible.
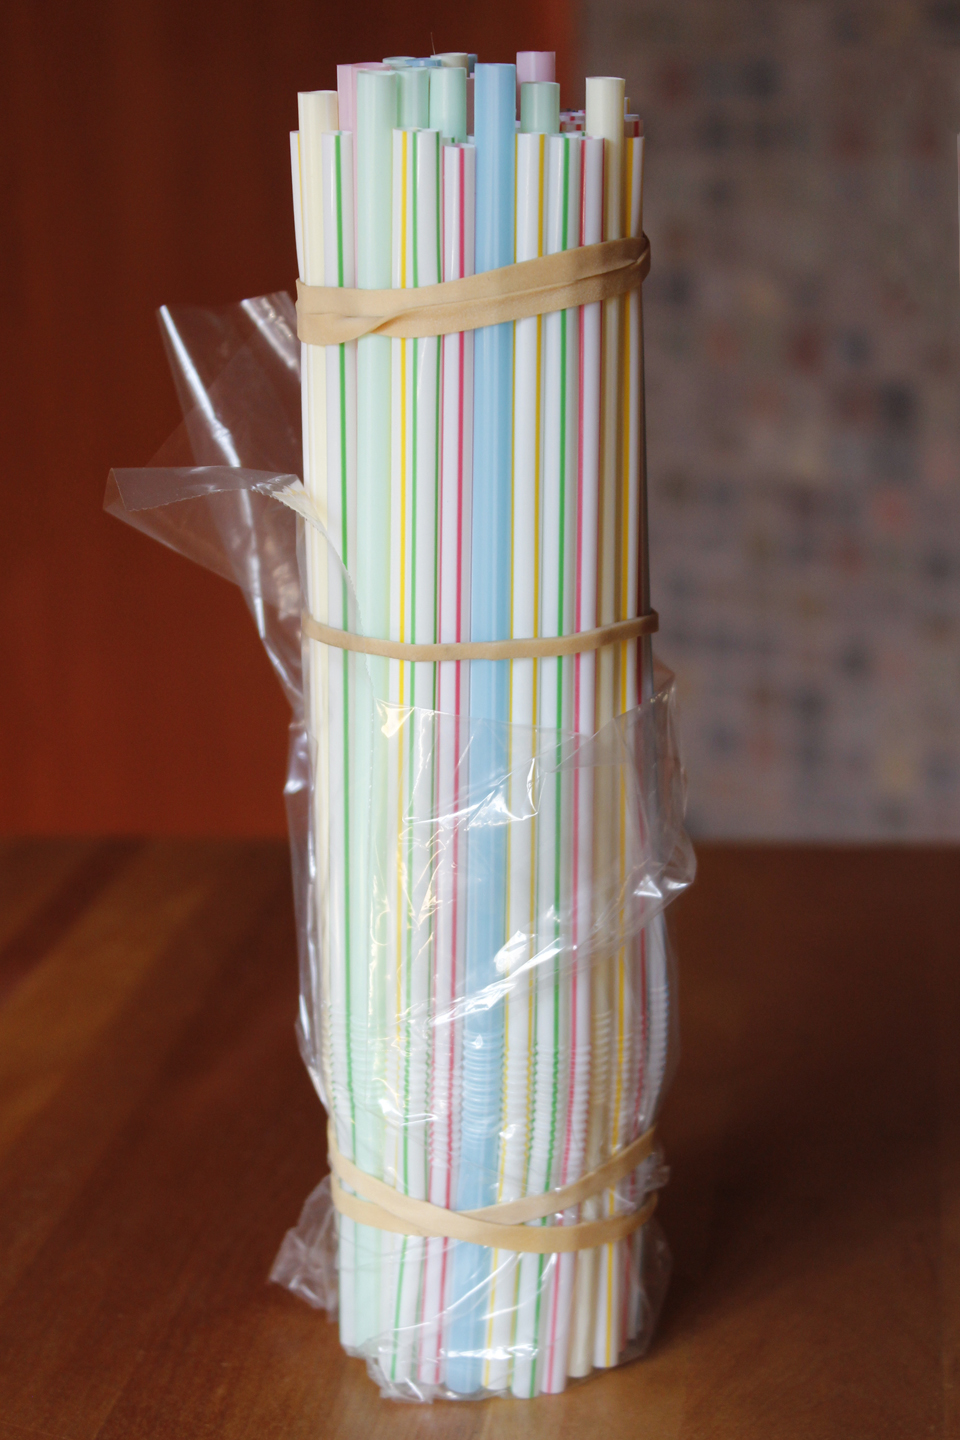
3. If your cup or container does not hold the straws snugly, you can add a plastic bag over the bottom ends for extra security.

4. Pour the dry Jello mix and 3/4 ounce of plain, unflavored gelatin into a heat-safe mixing bowl. Stir.
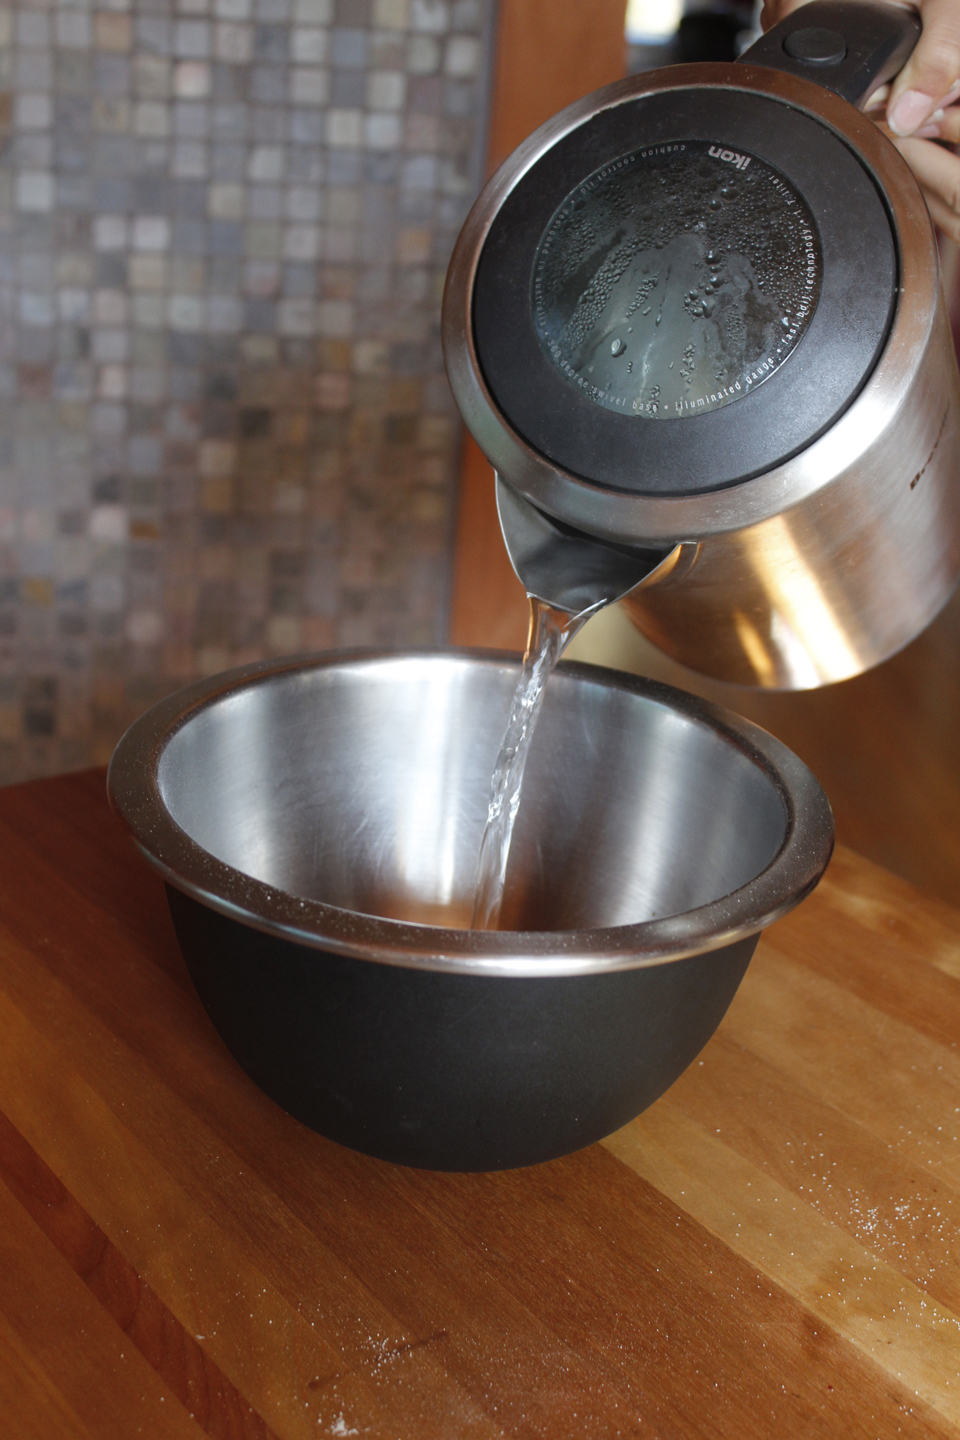
5. Add 3 cups of boiling water, and stir until the mixture is completely dissolved. Allow to cool for at least five minutes. If you would like to make a gnarly worm-like color, add a few drops of green food coloring to orange or red jello. Ew. We skipped that.
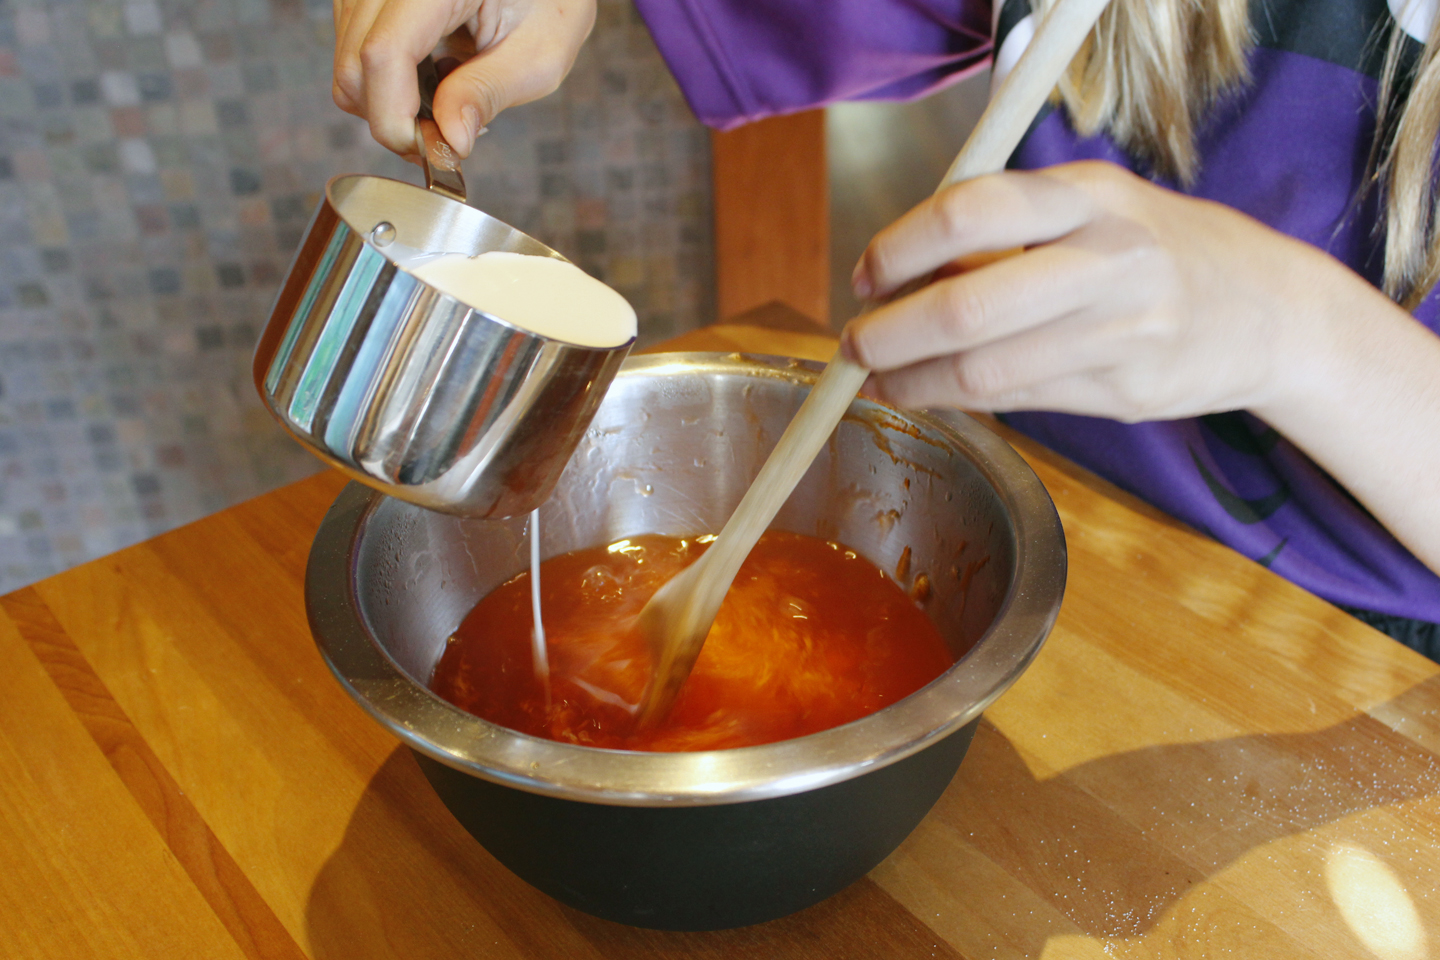
6. Add 3/4 cup of heavy cream. Mix well.
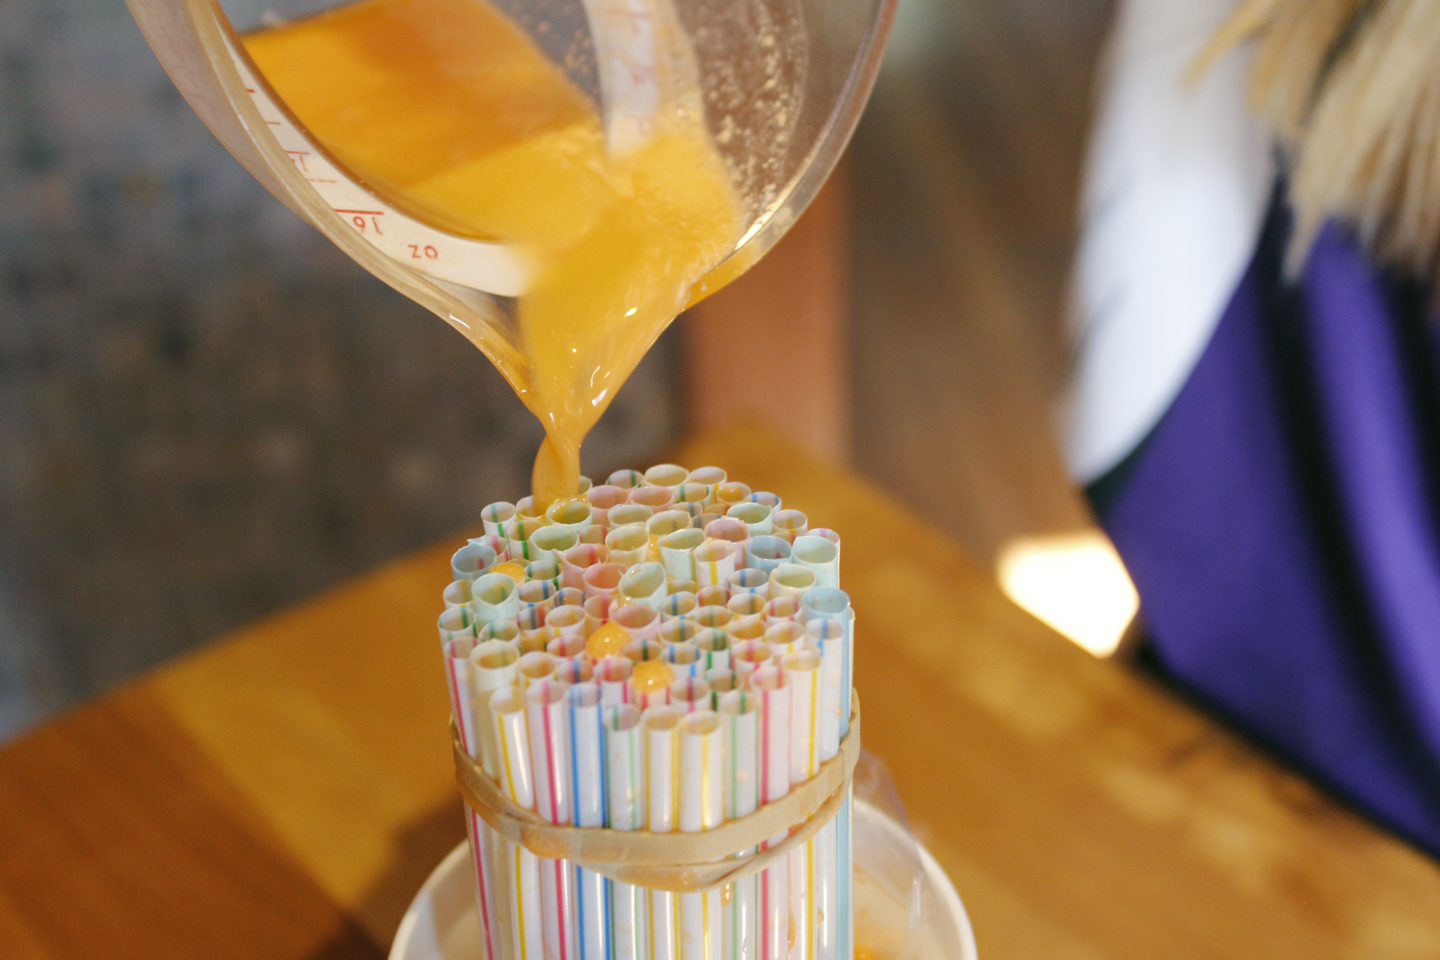
7. Pour the mixture into the straws, and set in the refrigerator for two to three hours.
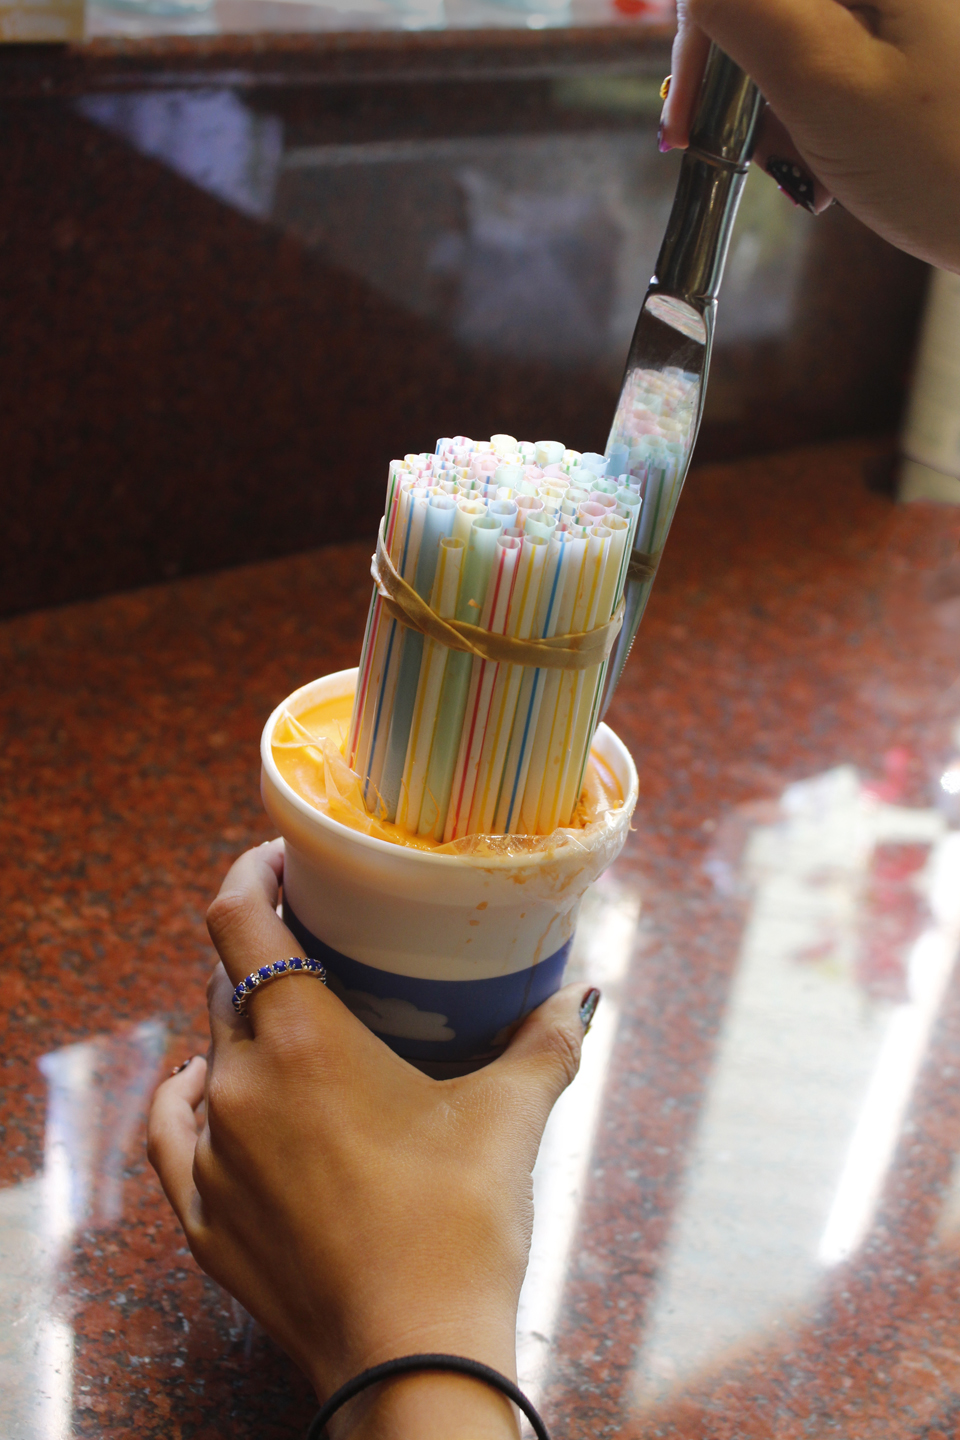
8. When the jello is completely set, use a butter knife to cut the straw block out of the container. This part is messy! Make sure to do it by the sink. Clean the extra jello off the outside of the straws.

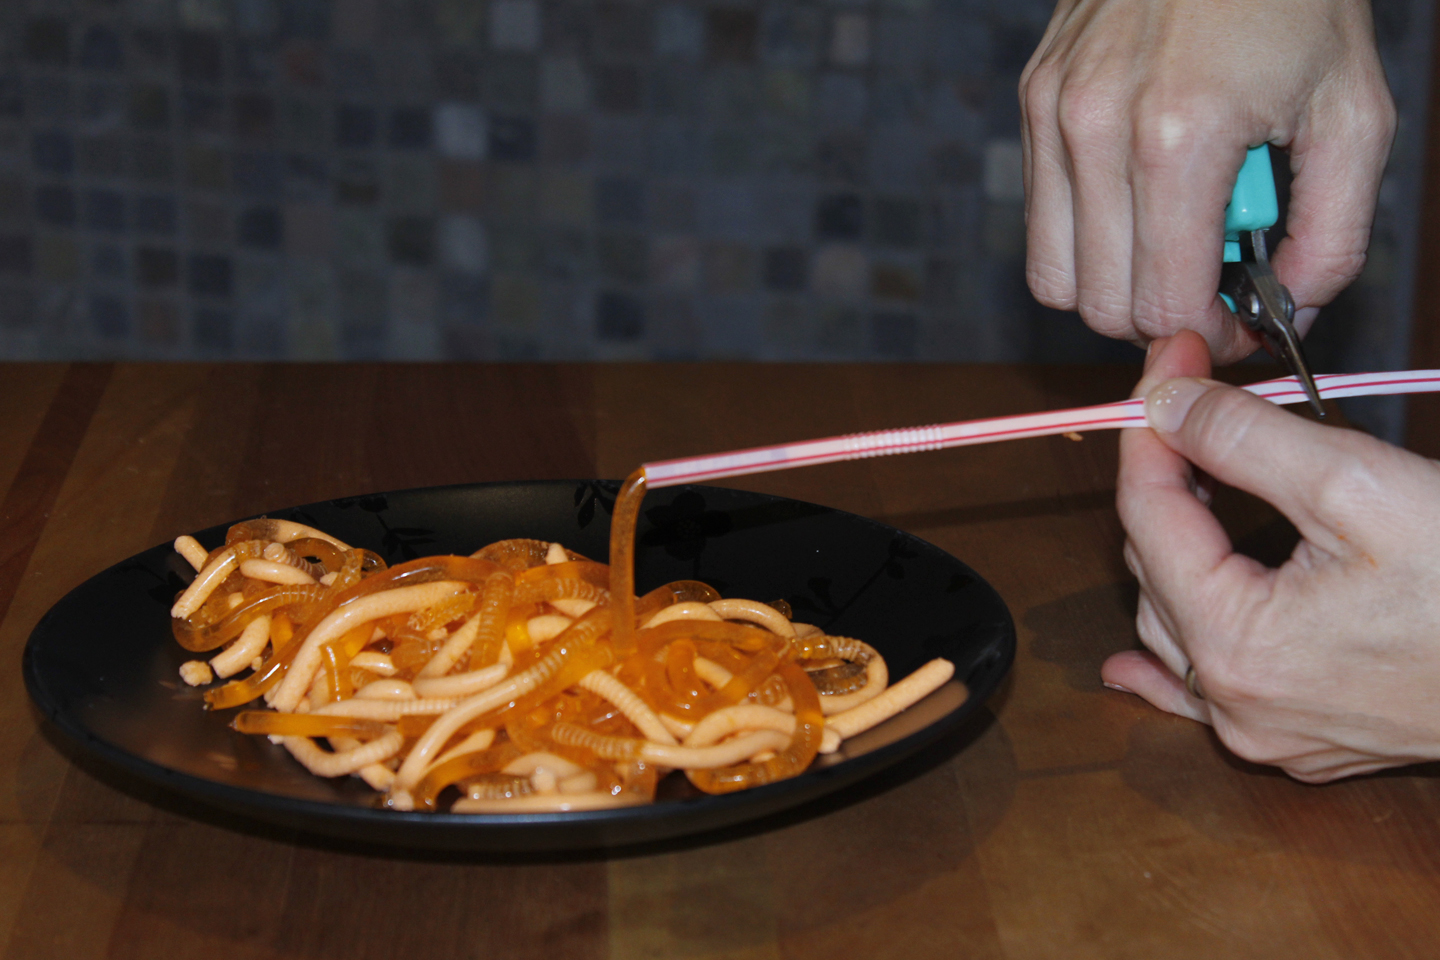
9. Hold the empty end of the straw in one hand and slide your other thumb and forefinger up the straw, squeezing out the worm. If you find it difficult to grip the straw firmly, use a small pliers.
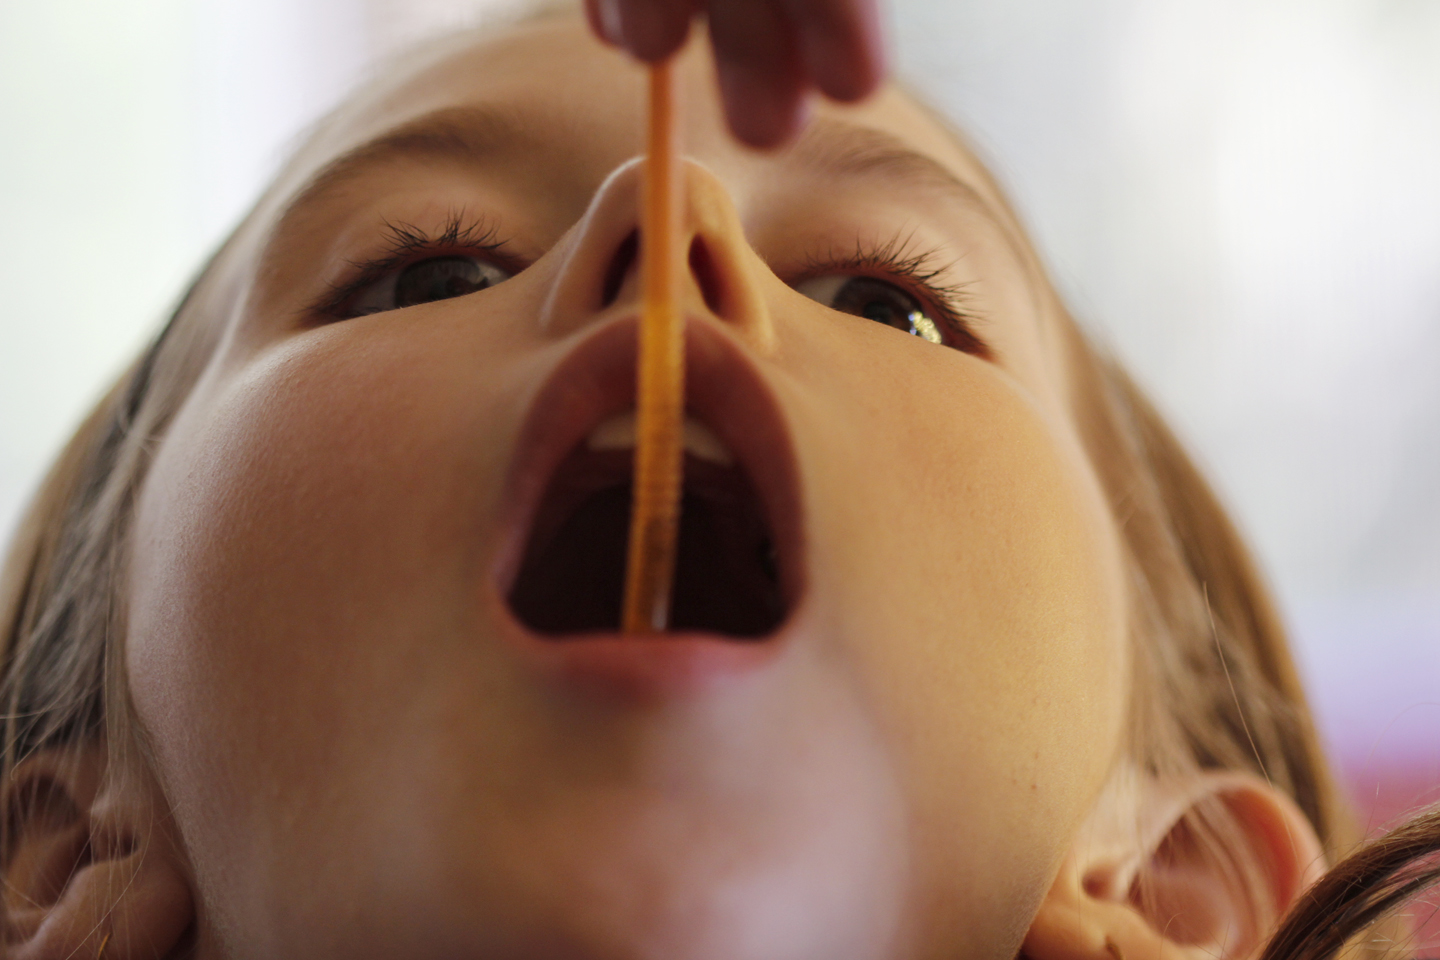
10. Enjoy!
We served them with slices of apple, but I have seen them thrown on top of a mud pie, and mixed into a crumbled piece of chocolate cake.
Store any extras in an airtight container in the fridge.
***I should mention that I looked at a lot of YouTube videos for information about this project. By far the best was Sea Lemon…which just happens to have all kinds of awesome DIY tutorials! I mentioned another Sea Lemon project a while back: a book press made out of two wooden cutting boards. Check it out.
