

posted by Beret
Ages: 6 and up
The first time I saw a milk carton wallet, it was in a giant pile laying on a table. Some lovely design student had made them about 150 of them, and was handing them out at portfolio night. She probably had her card tucked inside; I really don’t know. I don’t even remember a thing about her portfolio. Perhaps it was creative and fabulous. I was just mesmerized by that pile of wallets at her table. I took one, went home, and drank a lot of juice.
The rest is history.
“What?” you say. You already have a duct tape wallet? Well, that’s awesome. But someday, it’s going to be so rainy, or snowy, or just plain boring, that you will need something new and amusing to do. And this project is so simple and cheap, you may be surprised you haven’t tried it already.
All you need:

- An empty half-gallon carton
- A pair of scissors
- About six inches of velcro, cut into two pieces
- A ruler
What to do:
1. Decide which side of the carton will be the outside of your wallet. This side needs a flap to fold over in order to keep the wallet closed, so leave it completely intact. Trim the other three sides down to the body of the carton.

2. Now trim off the ugly edge of the flap–the part which was glued at the top of the carton.

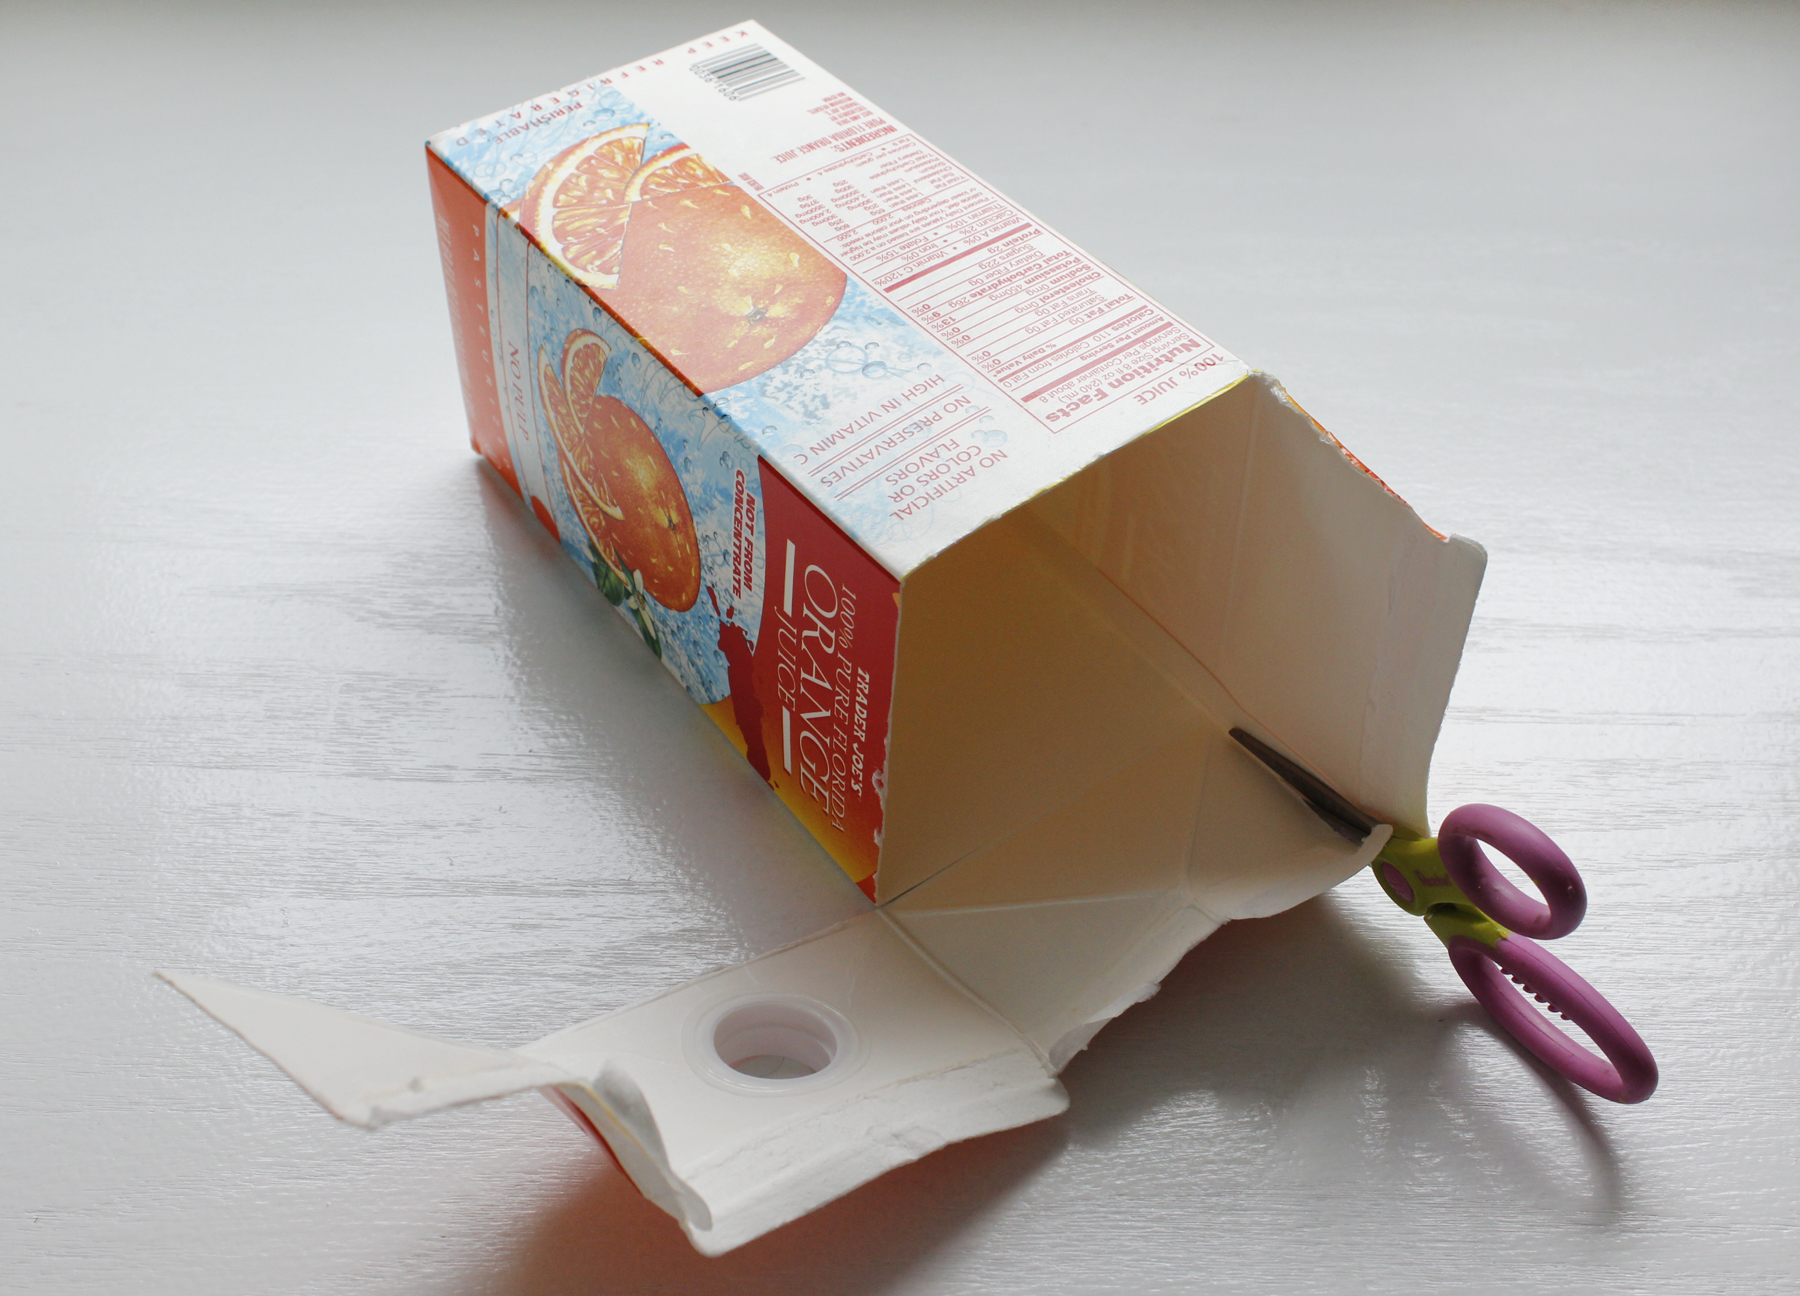
3. Stab the scissors into the bottom of the carton and hack it off completely. This is not a fun job. If you are reasonably mature and/or sober, use a box cutter. When the blade is sharp, it slips right into the groove and neatly slices off the bottom panel.


4. Ah. The fold. This is key. I like to score the sides of the carton with a blunt scissors or a pencil. Just hold the ruler in the middle of each of the two opposite sides and press firmly as you run a dull pencil up and down the length of it. That makes the carton magically fold all nice and straight. Basically, fold both scored sides in toward each other so that looking through, the shape looks like this:

5. Now put one set of velcro pieces at the top and bottom of the inside face and fold in half, joining the velcro and forming the wallet. This takes a little squishing.


6. Put one side of the remaining velcro at the edge of the flap. Fold it closed to measure where the other side of the velcro should be to hold the wallet neatly closed. Attach and enjoy.

That’s it!
What else can you do with a carton and some extra time?
Make a sailboat, a bird feeder, or a greenhouse, or whatever else you could imagine. Let us know if you cook up some good ideas.

Very crafty. My boy mini me would love it.
LikeLike
Right on! Thanks for reading!
LikeLike