
posted by Beret
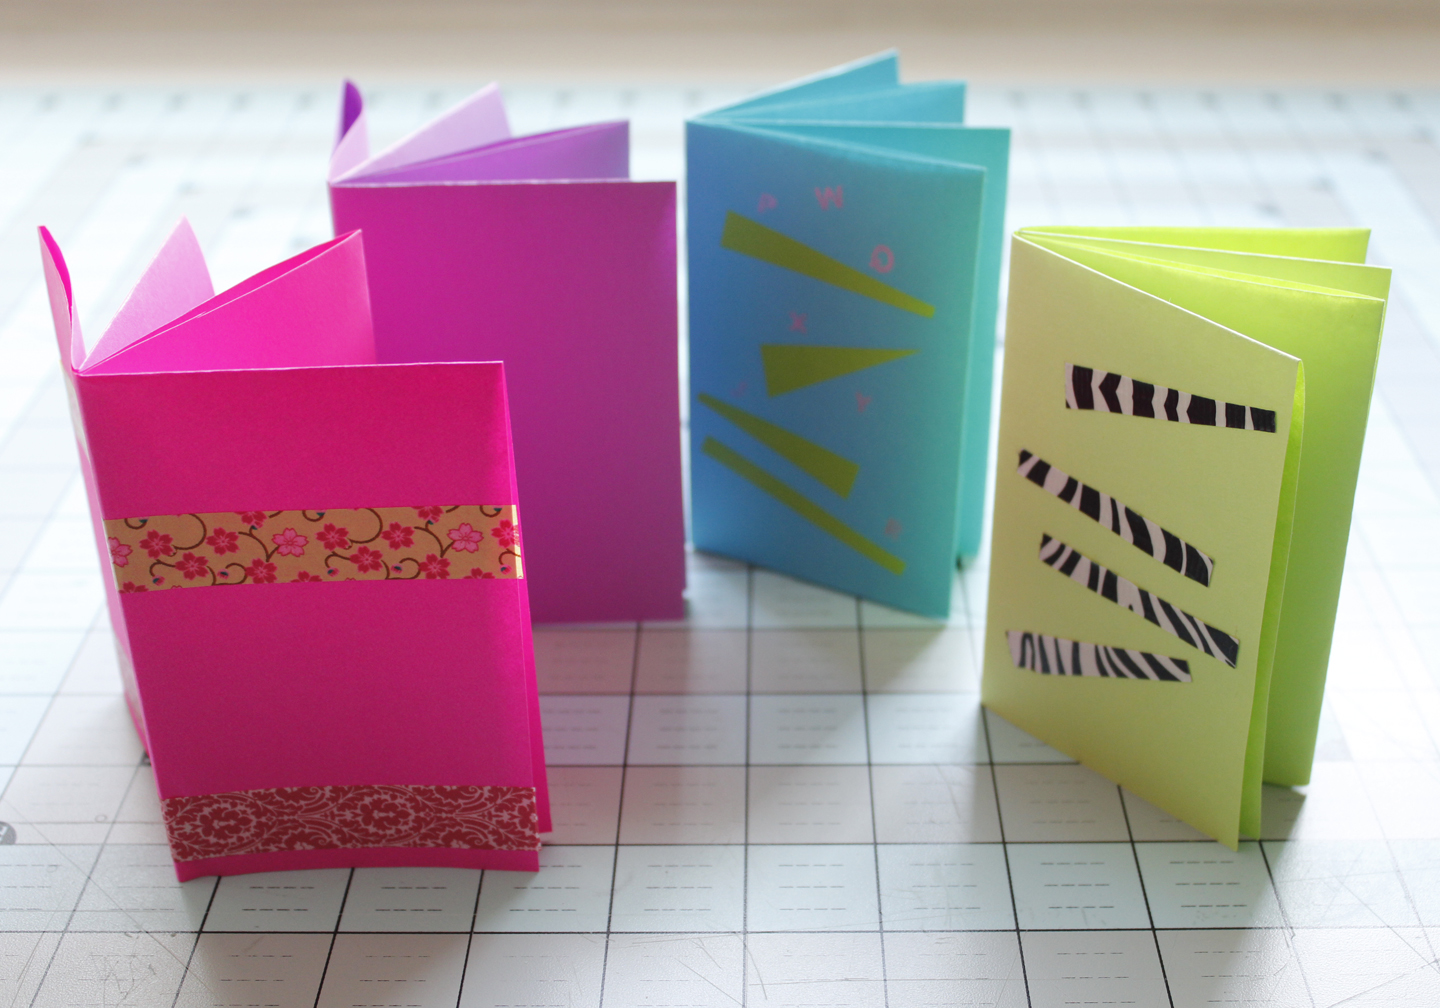
Here’s a little book I loved to make with my students. We used them for quick book reports and biographies, for poems, and as tiny sketchbooks or journals. They were perfect for outdoor writing, for science class, and field trips. They’re small, portable, easy, and cheap.
I recently taught my own kids to make them, and though we added washi tape and silver ink, that felt a bit like gilding the lily.
All you really need:
- One sheet of paper, 8 1/2 x 11 inches
- A pair of scissors
Procedure:
We are now going to fold the sheet of paper into 8 equal rectangles. If you’re thinking, “hey, I know an easier way to make 8 rectangles,” that may well be true. But only the method demonstrated below folds easily into the book at the end. I warned you!
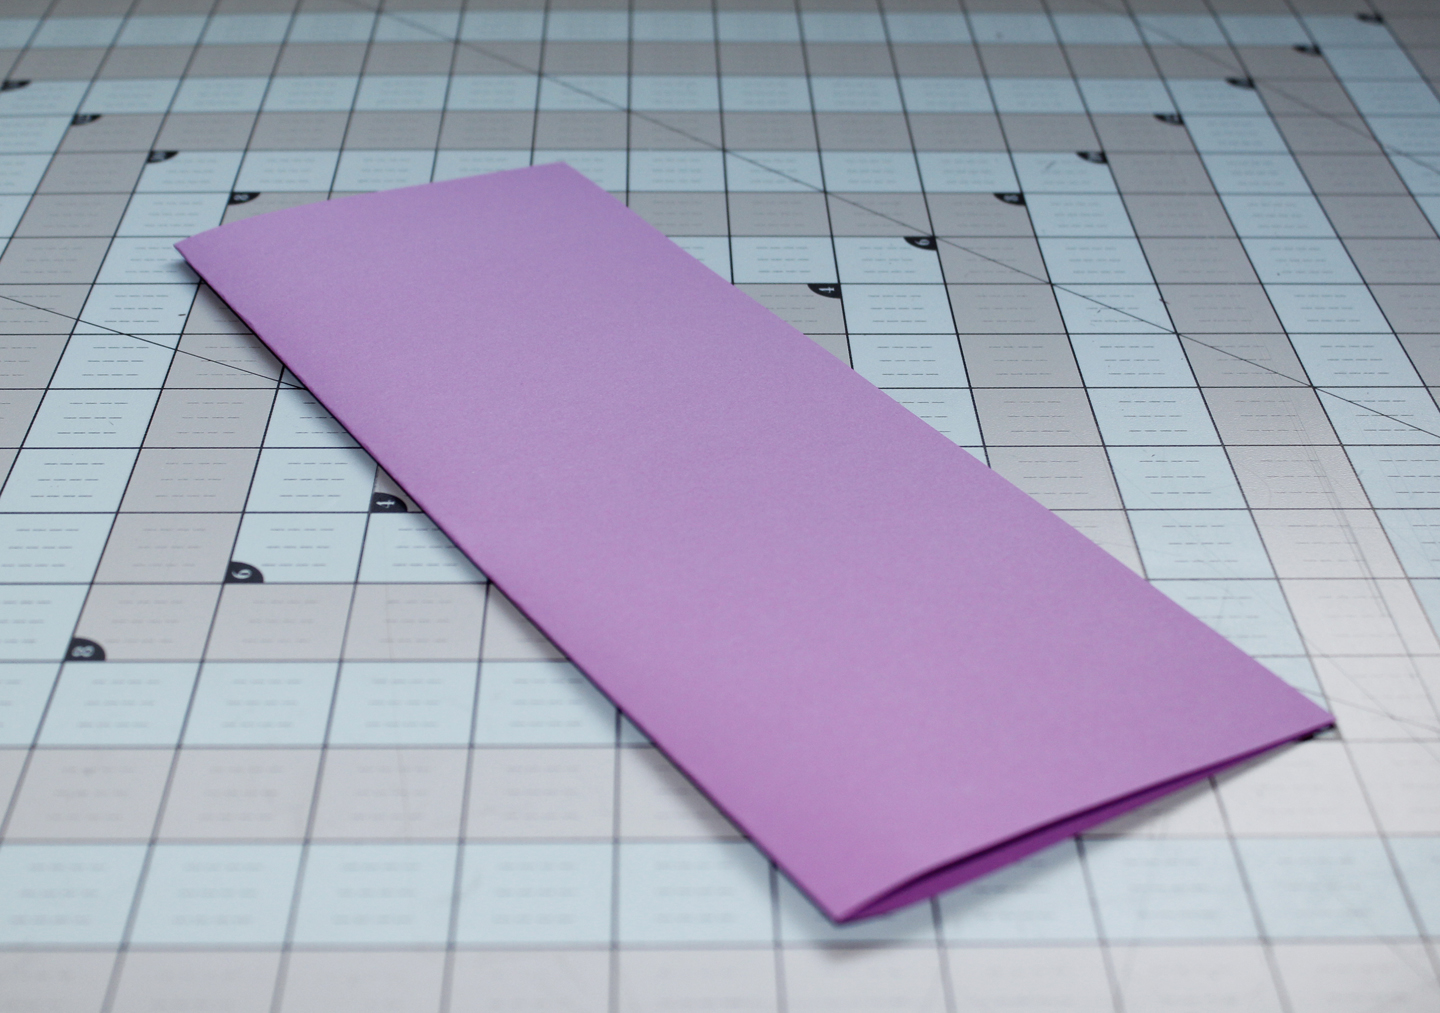
1. Fold the paper in half the hot-dog way (which makes a long and skinny rectangle).
2. Re-open the paper to flat, and then fold it in half the hamburger way (which makes a wider rectangle).
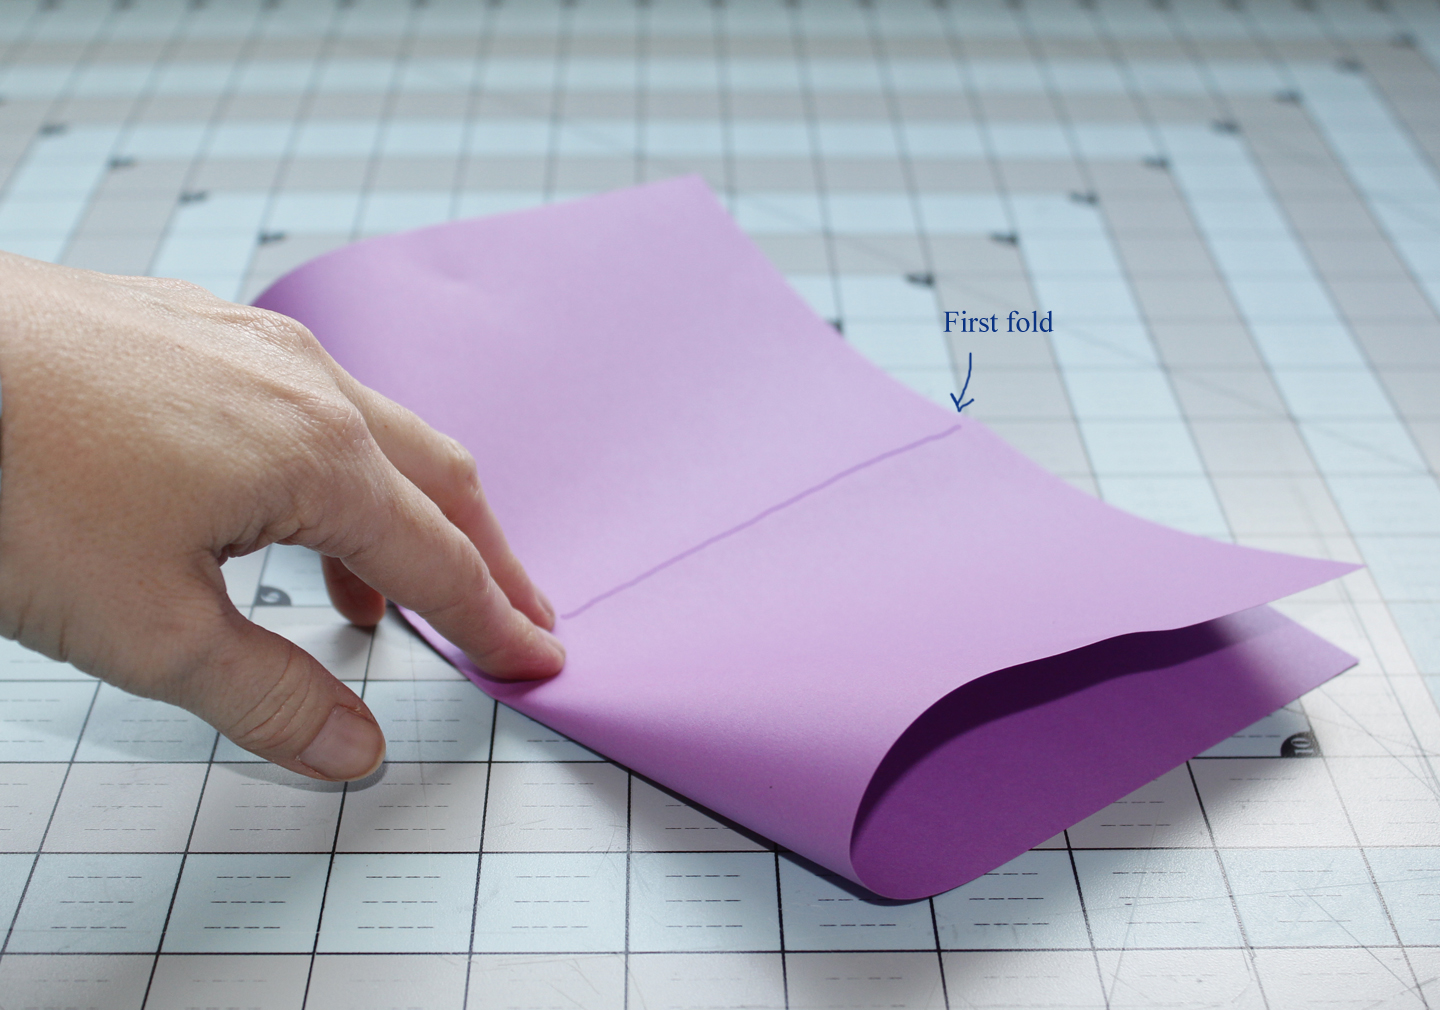
3. Take one of the open ends and fold it back to the center crease.

4. Flip the whole thing over, and fold the other end back to the center fold. You should now have 8 equal rectangles. If you laid the paper on it’s side, it would look like an “m.”

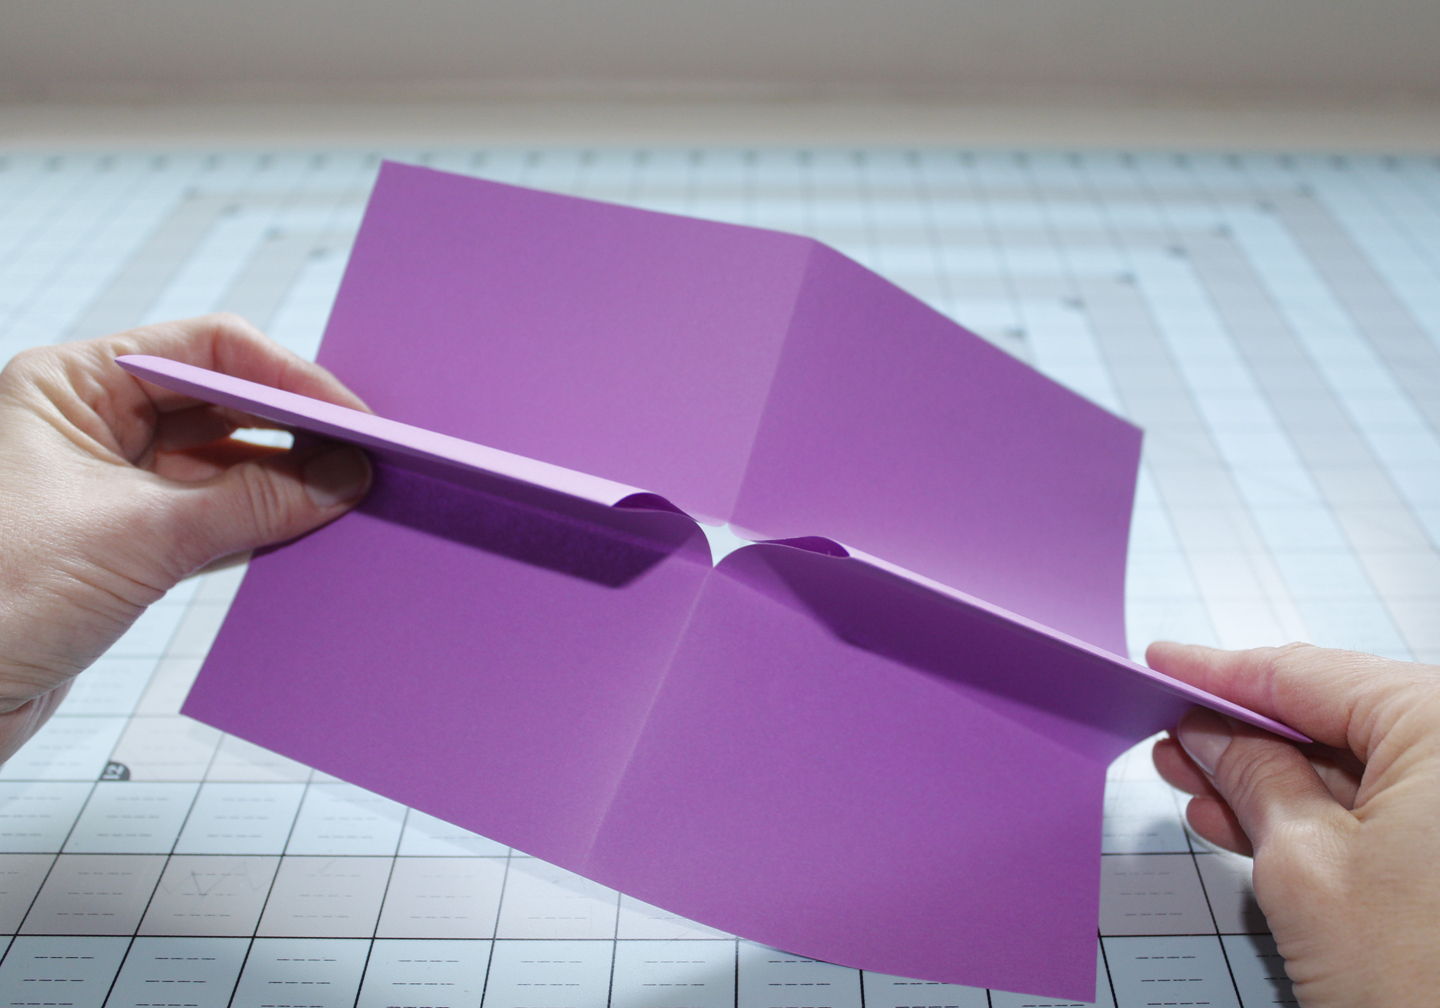
5. Unfold steps 3 and 4, so it looks like the hamburger fold from step 2. Then, make a cut from the center crease to the first fold. This makes a shape like a pair of shorts.

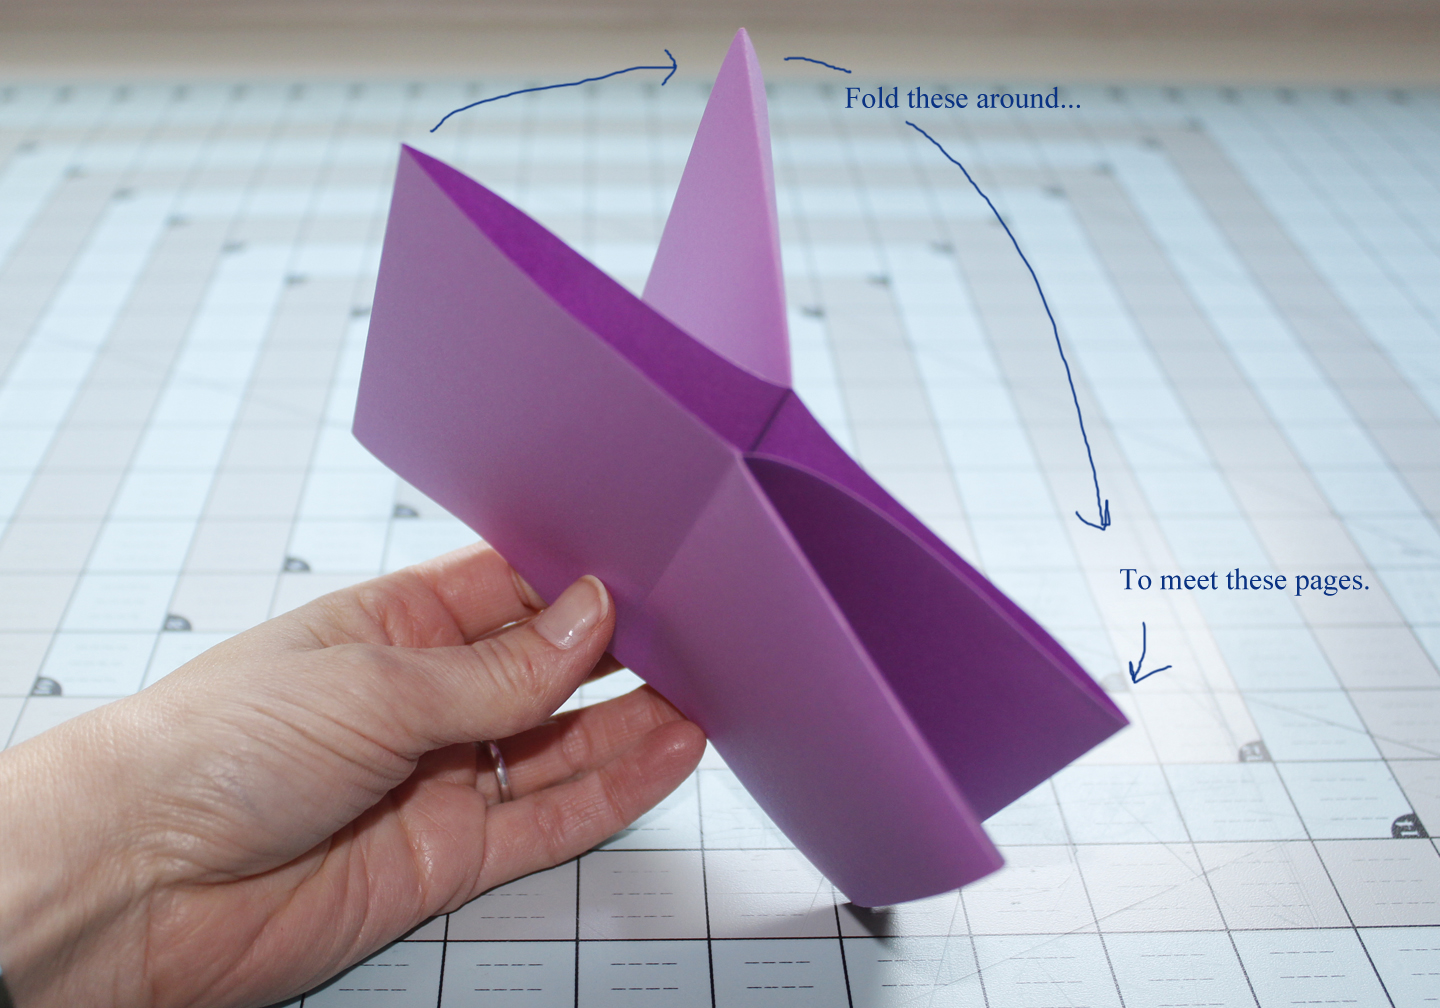
6. Here’s the tricky part! Grasping the paper by the center fold–on either side of the cut you just made–start to open the legs of the shorts, into the splits. The open ends at the top start to flare up…
…fold them back to make a star shape:
7. Making sure you have a fold on the top of the first page (aka, the cover), fold the other pages around to be the remainder of the book.
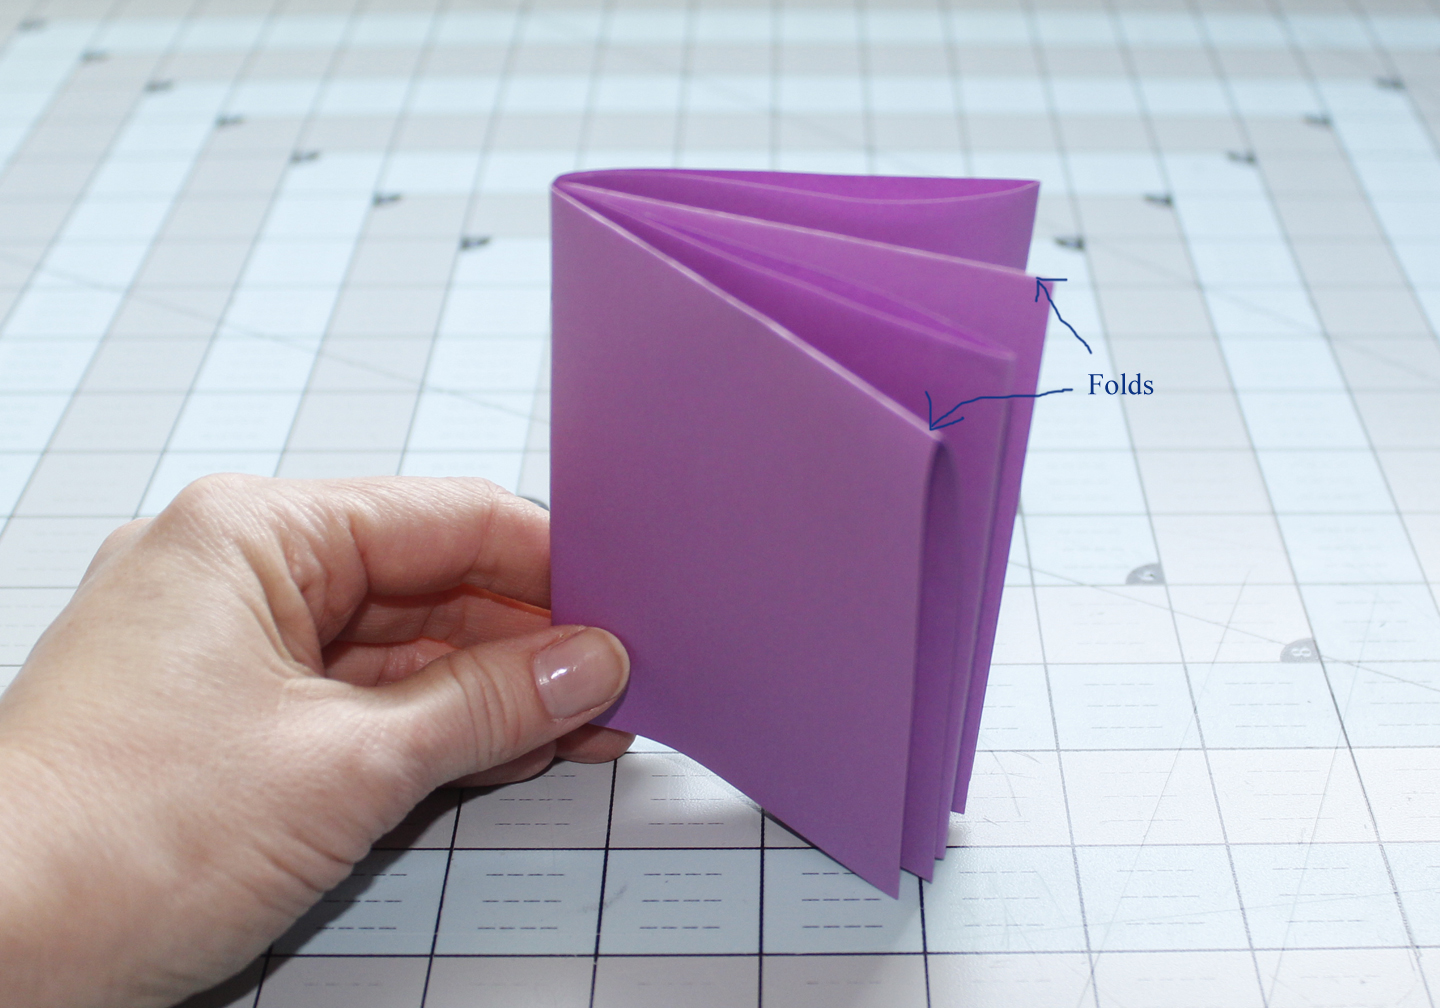
8. Embellish and enjoy!

Love this… So clever!
LikeLike
Thanks! Glad you enjoyed.
LikeLike