
posted by Beret
Ages: Any
Post-its! Sharpies! Tape! Paper clips! I love them all. It is hard for me to talk about office supplies without exclamation points.
But above all, I love paper.
Not the kind that piles up all over my desk, mind you. Nice paper. Paper without issues and overdue notices and undone “to do” lists on it.
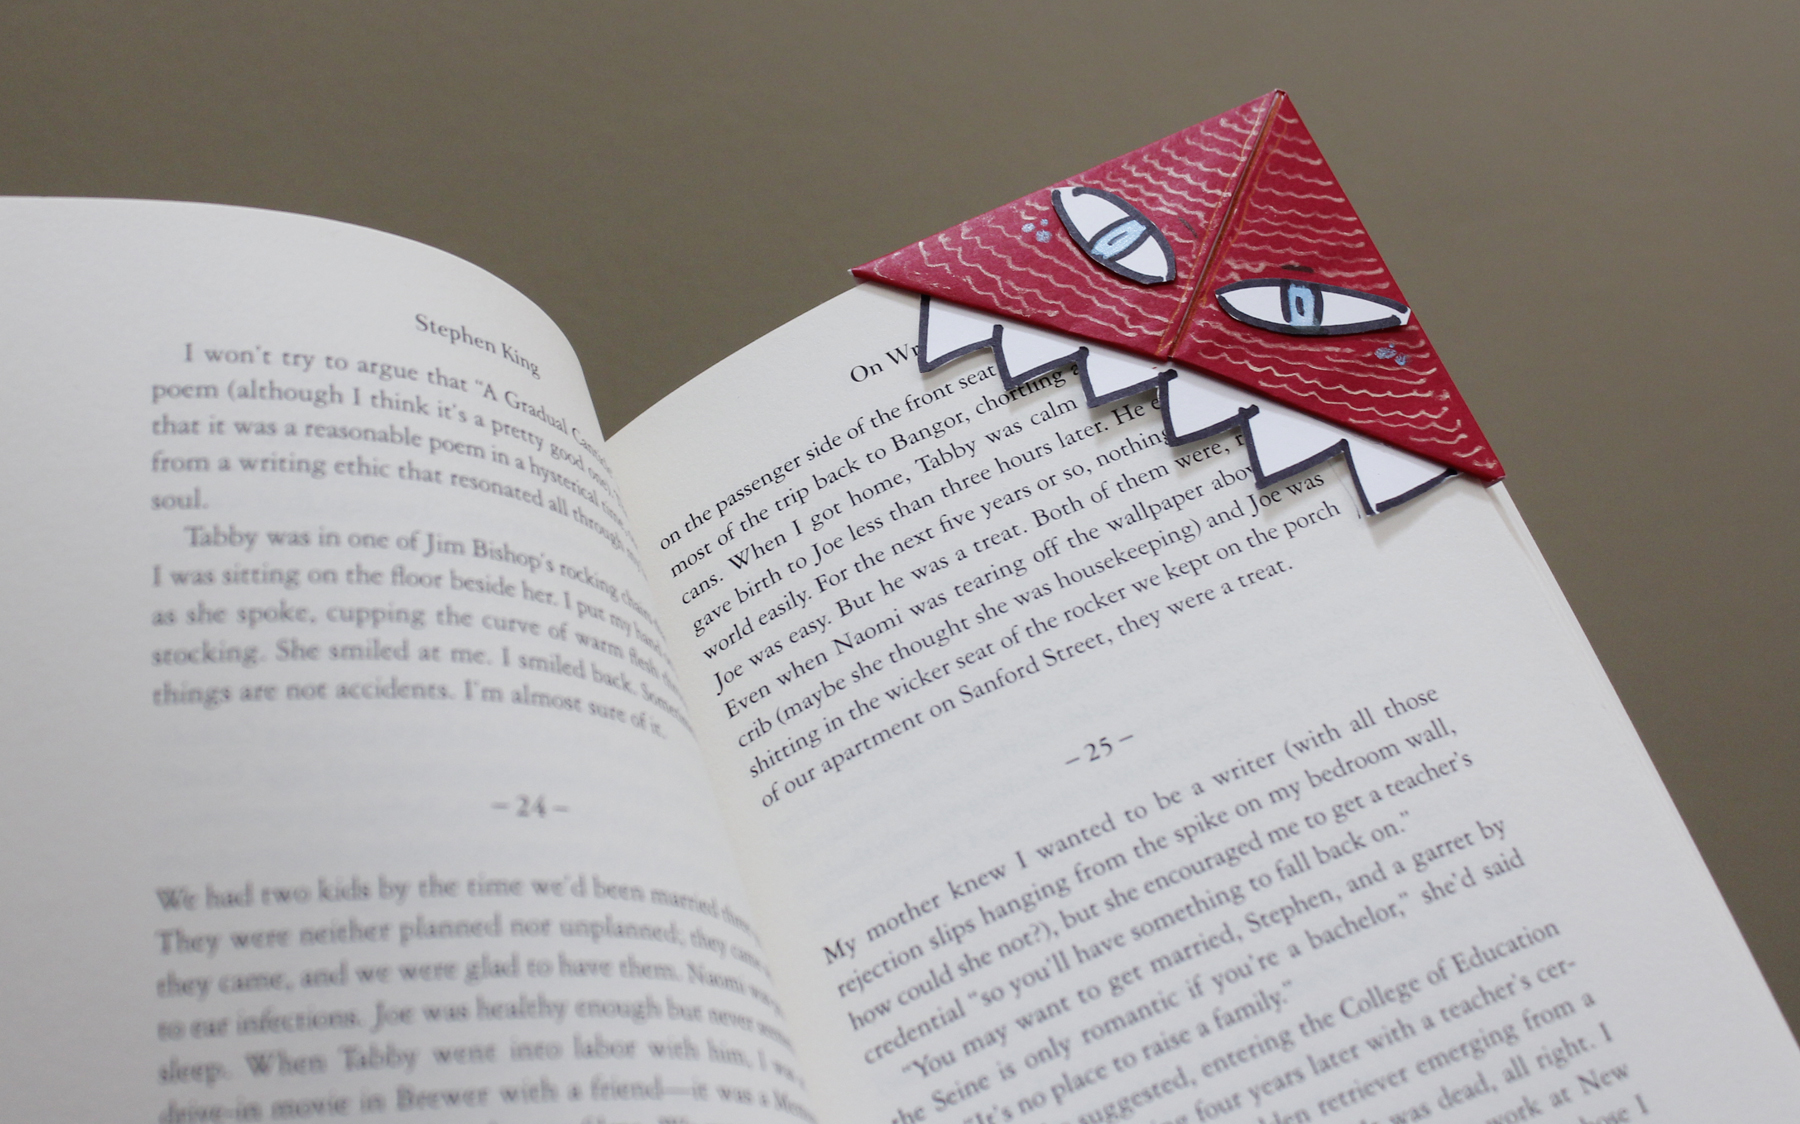
I also love to fold things neatly. I am weird like that. Not surprisingly, then, I find origami to be extremely satisfying. The trouble is, once you fold a lovely flat piece of paper it becomes three dimensional. And then it is taking up a lot more space–often just sitting there saying, “Look at me, I am a crane.” So, when my daughter showed me how to make a bookmark with a few quick folds, I was quite pleased. This project doesn’t collect dust and clutter the mantel; this little item holds my place in my book. Or…I suppose I could slide it jauntily over the corner of my ebook, for extra beauty.
I’m going to dive right into the project, but feel free to hop to the end of the post, where I have included more information and a few links to other origami projects and folks like Erik Demaine, who made this:
What you need:
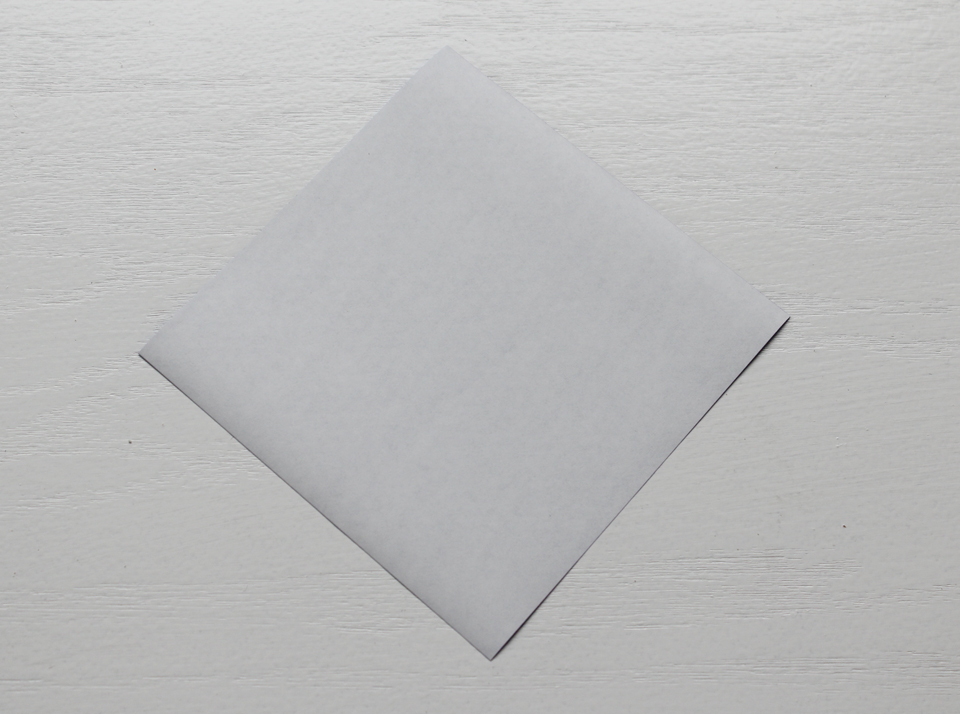
*A 6-inch square of paper.
*Anything you want to embellish your bookmark: sharpies, tiny pieces of paper, glue.
Procedure:
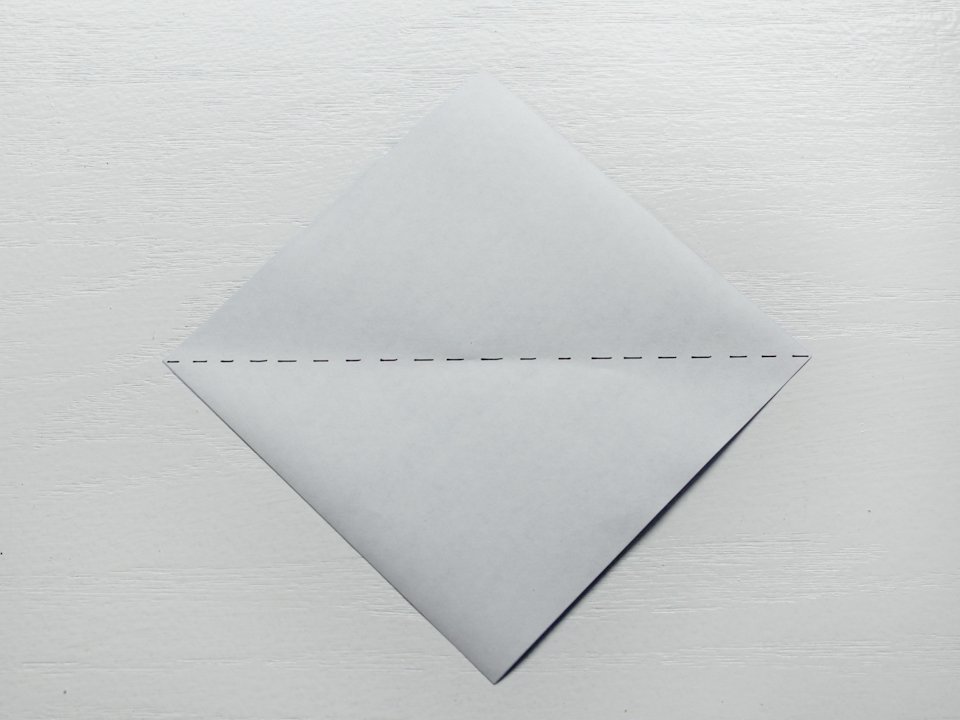
1. Fold the paper in half, diagonally.

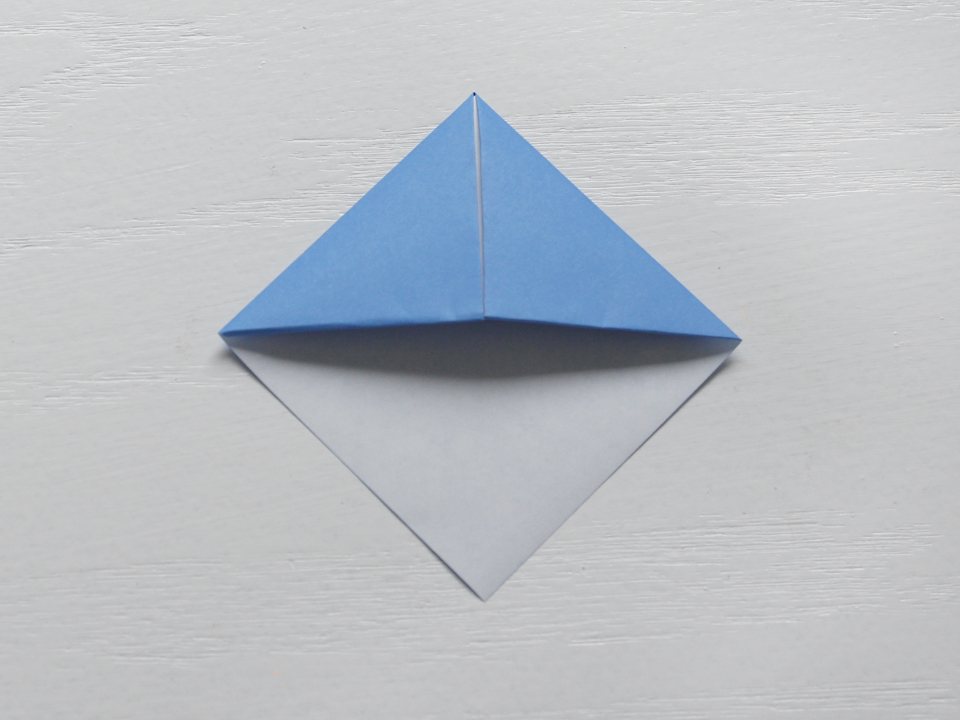
2. Making sure the fold is at the bottom, take the two side points up to meet at the top of the triangle. Crease neatly.
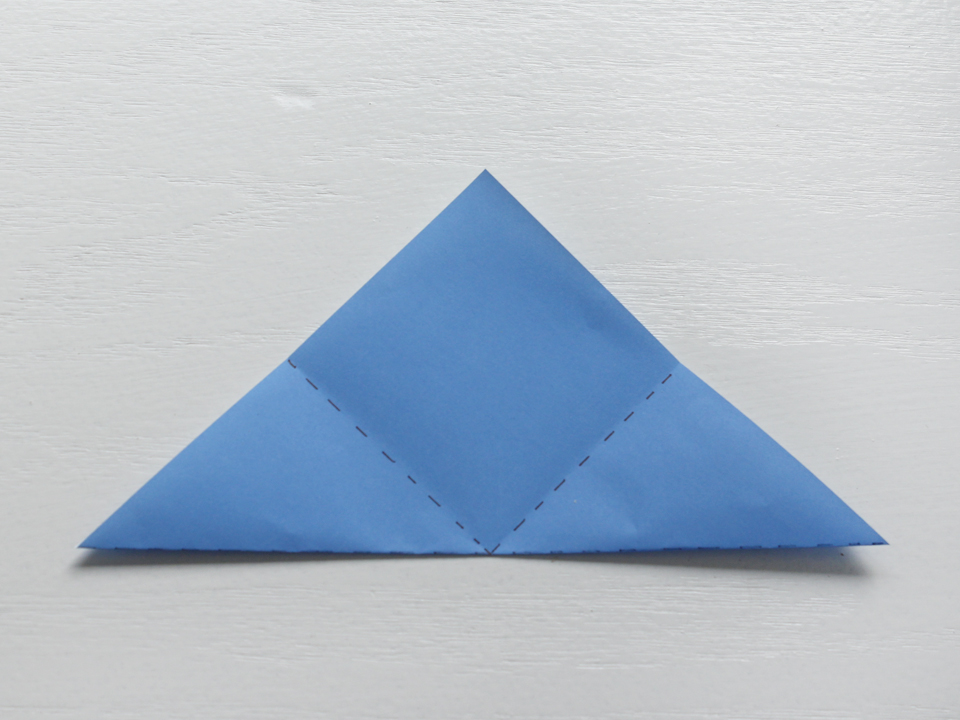


3. Open the shape back to the original triangle, then rotate it, so the main fold is now at the top.
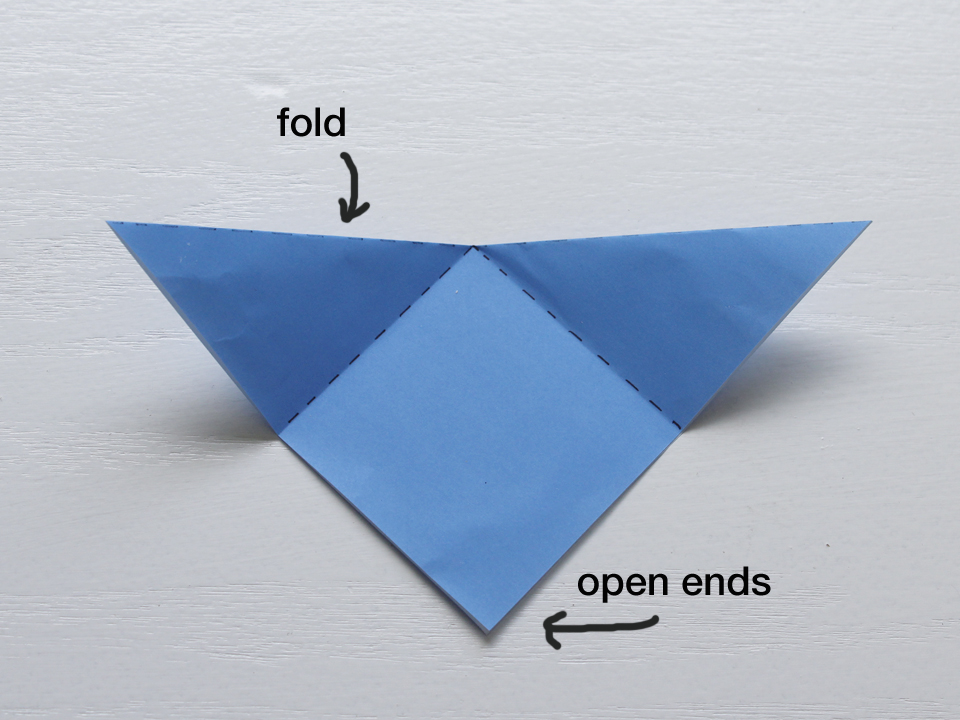
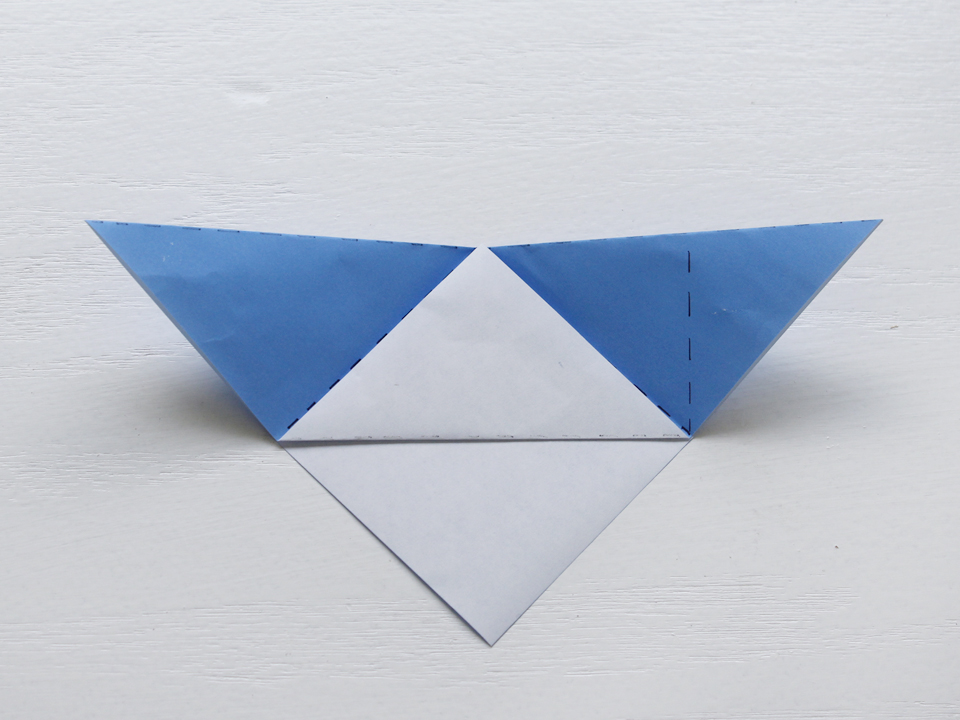
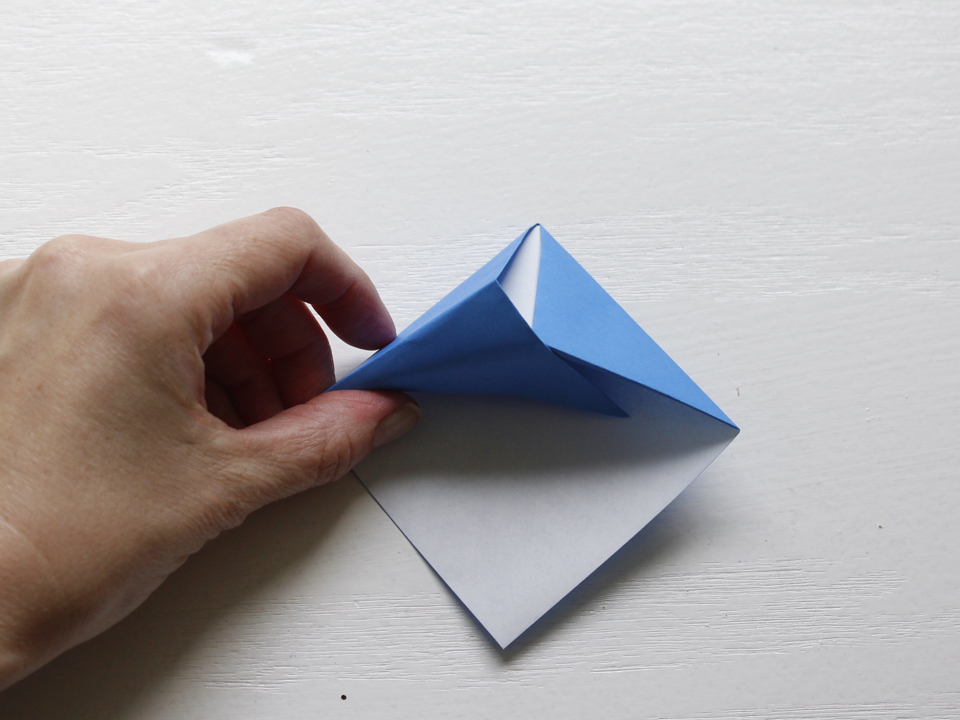
4. Fold one of the bottom points–the top “nose”–to meet at the center of the top fold. Leave the other nose flat beneath it.


5. Fold the two side points–or ears–to meet at the center of the top fold as well.

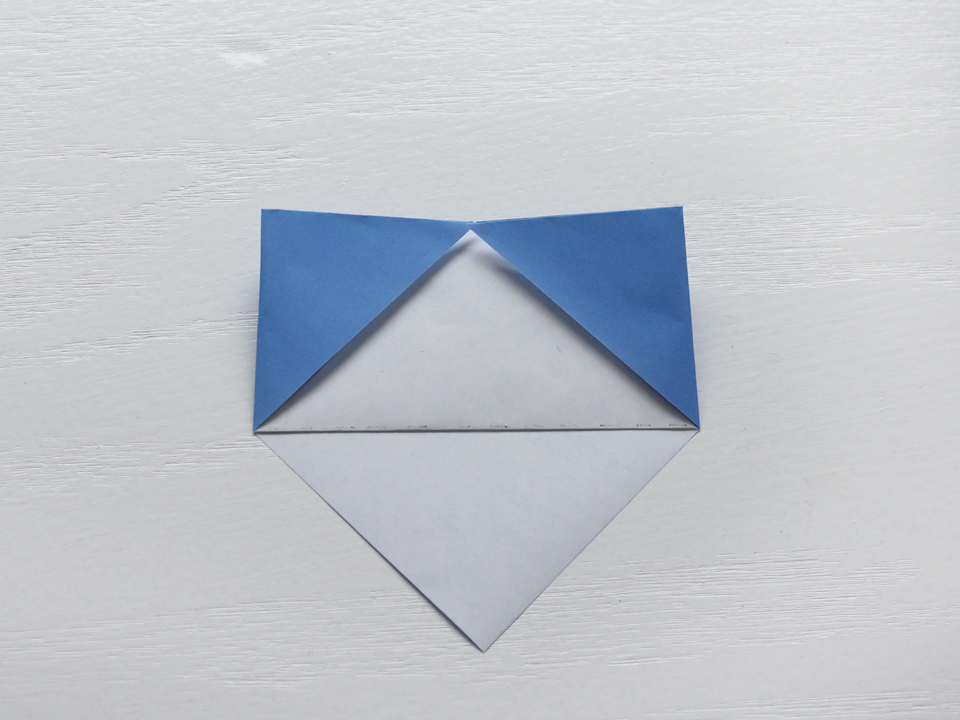
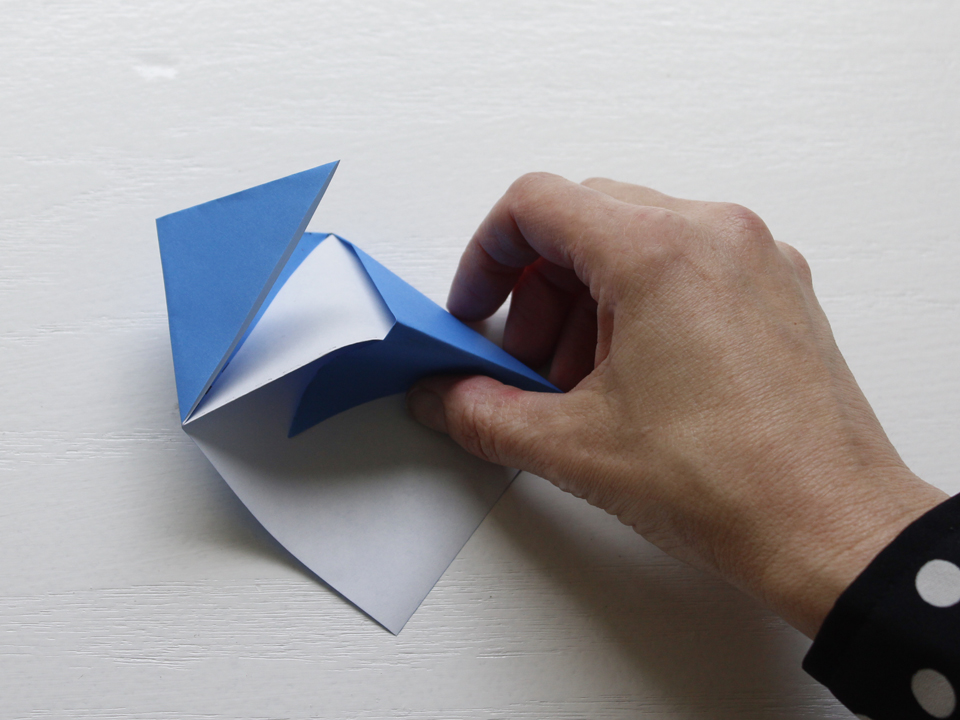
6. Open the side points and tuck them inside the mouth of the bookmark.
That’s it! Embellish! Enjoy!

A Ridiculously Teeny Little Bit about Origami:
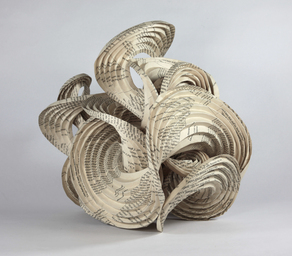
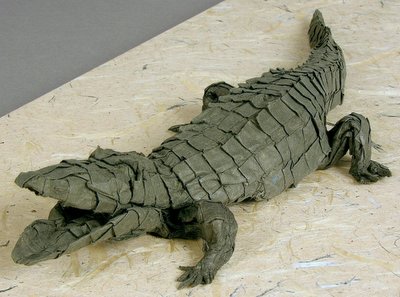
In my preparation for this week’s project, I came across a film called “Between the Folds,” on the PBS website. In it, the filmmaker interviews ten artists and scientists who work with paper folding. Michael LaFosse, who made the alligator pictured below, speaks eloquently about the art of paper folding. Origami is not an additive artistic process, like painting or drawing, he says. Nor is it subtractive, like marble sculpture. “Origami is a metamorphic art form.” In it, we transform a single flat sheet of paper into a three-dimensional sculpture without scissors or tape.
Another person interviewed was Erik Demaine. He is the world’s top origami theorist. You read that right. He is also a mathematician, at artist, a professor, and a computer scientist. He started college at 12 years old, and became a professor at MIT at 23, after finishing his PhD. And did I mention he is a glass blower?
Sometimes he puts his paper sculptures inside of his glass pieces. How, I do not know. I am reasonably sure that he knows and does quite a few things that I do not.

According to Wikipedia and PBS, paper was invented in China around 105 A.D. By the 6th century, it had ventured into the hands of monks in Japan, who began to fold it. Paper was terribly expensive at the time, however, so it was used only for ceremony and for religious purposes. It was not until the 17th century that origami became popular. Not surprisingly, the term origami comes from Japanese: oru (to fold) + kami (paper).
Here‘s a site with directions for many origami projects, including the basic folds, plus cranes, boxes, flowers, and more. This page has the directions for simple projects for kids.

We made them! Super Cute!
LikeLike
Right on!
LikeLike