
posted by Beret
IT’S SPECIAL ADDED BONUS TIME!
For those of you who would like to amaze your friends and family members with some mad gluing skills, this post is for you. Not interested? You still may want to take a peek down at step #5, which has a link to make a book press out of two cutting boards.
The techniques outlined below could apply to a myriad of different projects involving paper. In the demo, I am gluing the accordion book from a previous post into its attractive cover. If you’re looking for something else to make, try ‘crafty mofo.’ There you will find a boatload of interesting things to make–plus a few ugly ones, to be sure.
You will need a few materials:
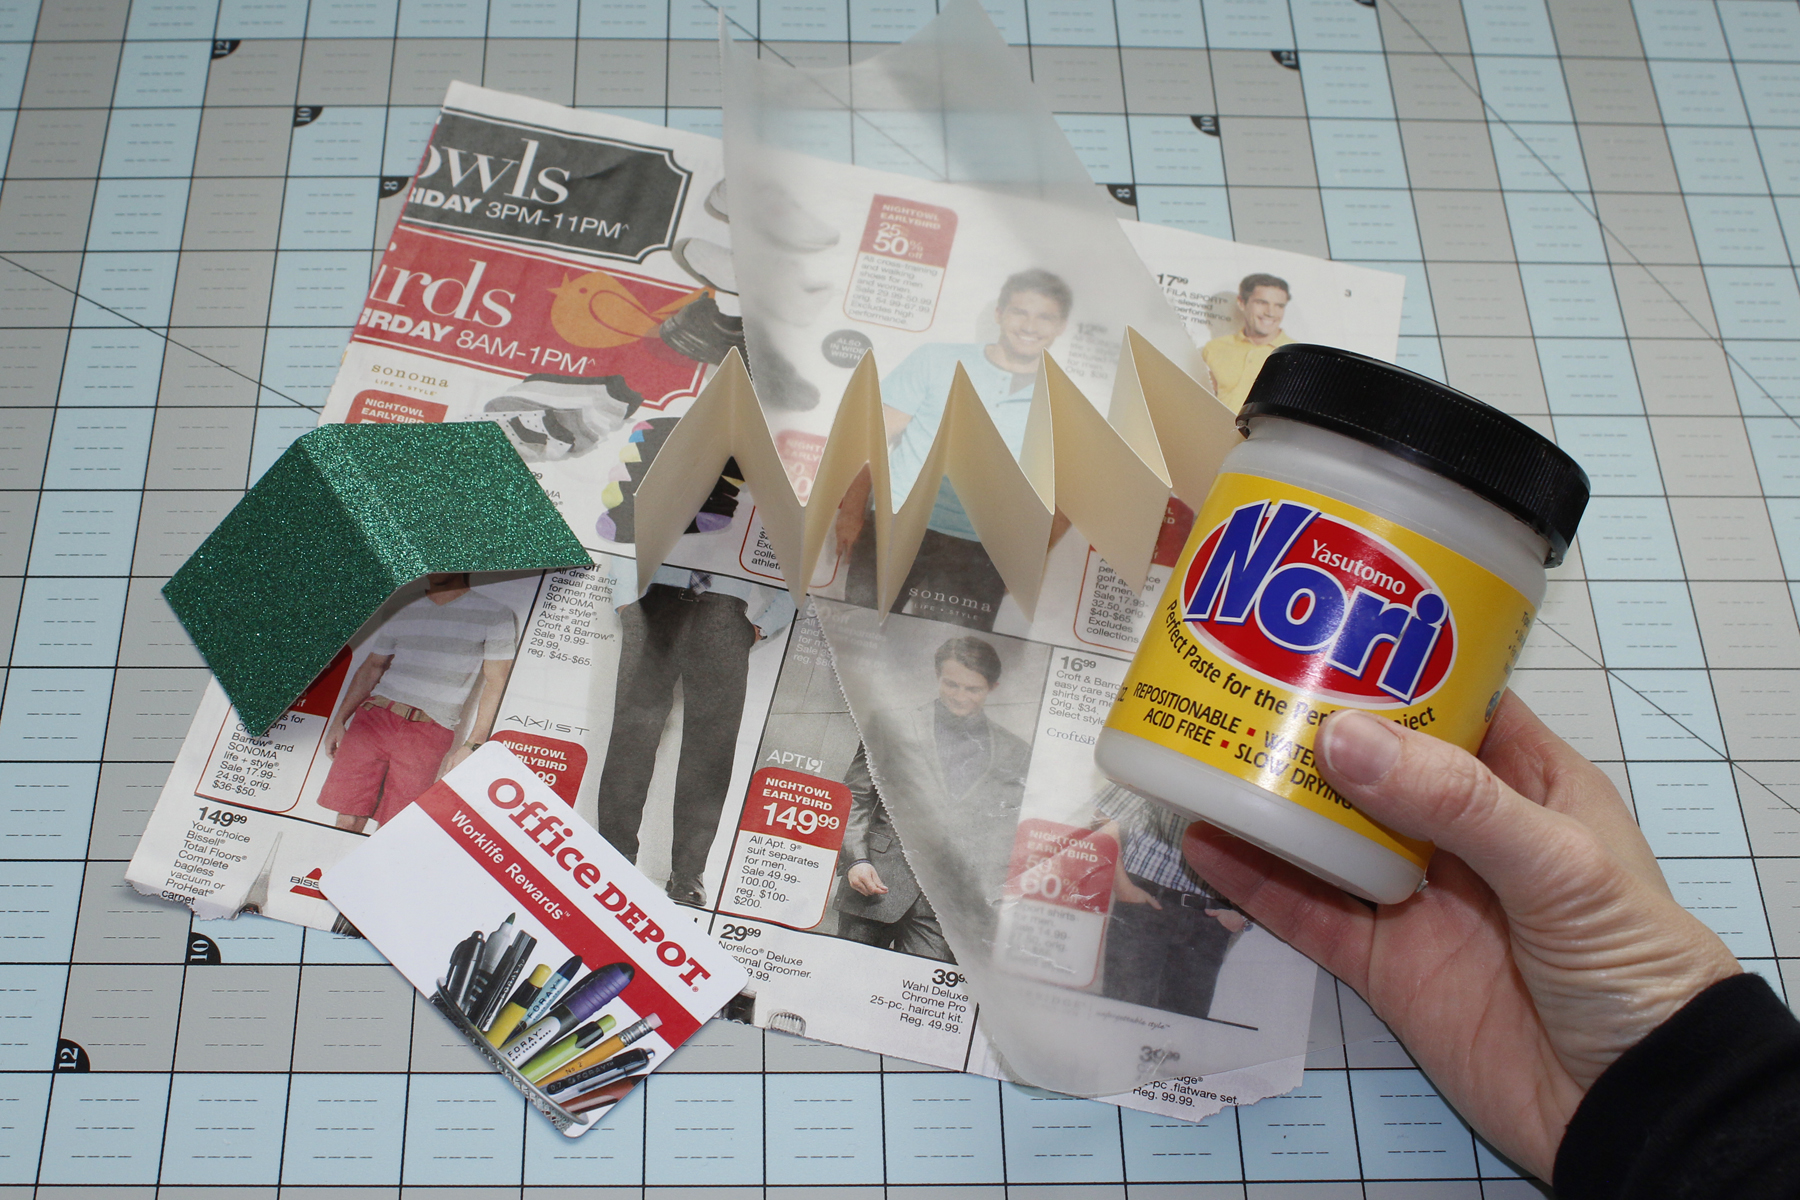
*your adhesive of choice (see below for some suggestions)
*newsprint or scratch paper
*waxed paper
*whatever it is you are gluing together
*a credit card This is the secret of even, thin, and fabulous glue application!
Now for a word on adhesives.
If the previous sentence made your eyes glaze over, then by all means, grab whatever sticky goo you’ve got and skip down to procedure.
Two glues to consider for gluing paper: Nori paste and PVA glue.
Nori paste is awesome. It is archival, acid free, non-toxic, made out of rice, and completely water reversible. It dries clear. It is also very slow to dry, which is great if you need to reposition something, but definitely a problem if you are in a hurry. I generally associate Nori paste with lighter, smaller projects.
PVA stands for polyvinyl acetate, and many consider it the quintessential bookbinding glue. It is strong, quick drying, and archival. Book makers use it for putting fabric covers on their cover board, for attaching large books to the binding, and a variety of other heavy-duty tasks. It buckles much less than Nori paste, which can be very helpful and aesthetically pleasing. It also adheres very, very quickly. You have to commit to placement when you use it, because there is no turning back. What’s stuck is stuck for good. Also, any excess glue or accidental glue-y finger prints are permanent. It will not wash off like Nori paste does.
Procedure:
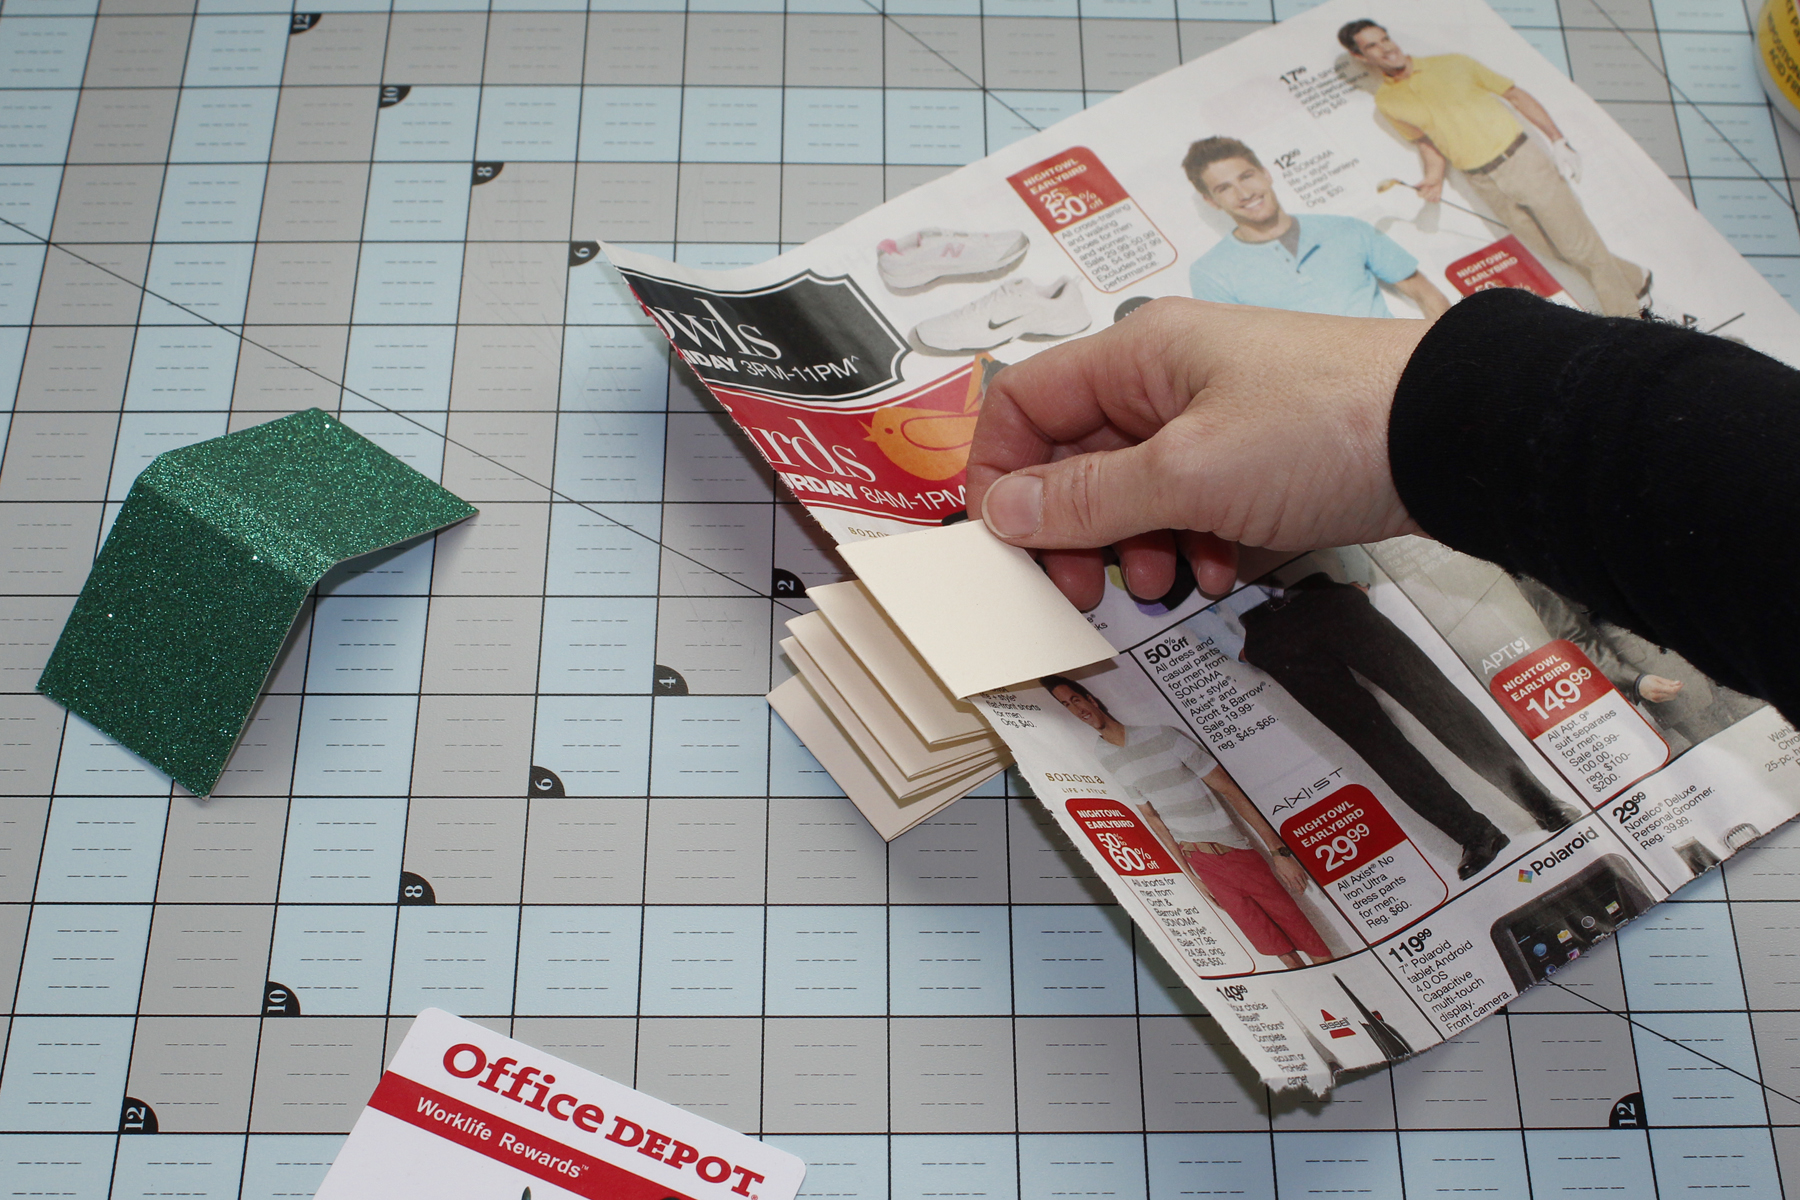
1. Let’s say you are gluing a cover onto a little accordion book like the one I made last month. Slide a piece of scratch paper into your page stack so only one end flap is showing. This will protect the other pages from the excess glue.

2. Use a credit card to scoop a reasonable amount of adhesive and spread it in an extremely thin, even coat, being sure to get all the way to the edges and corners by continuing to spread well onto the scratch paper. Be careful not to let the scratch paper move around, though, because you will get glue all over your project.
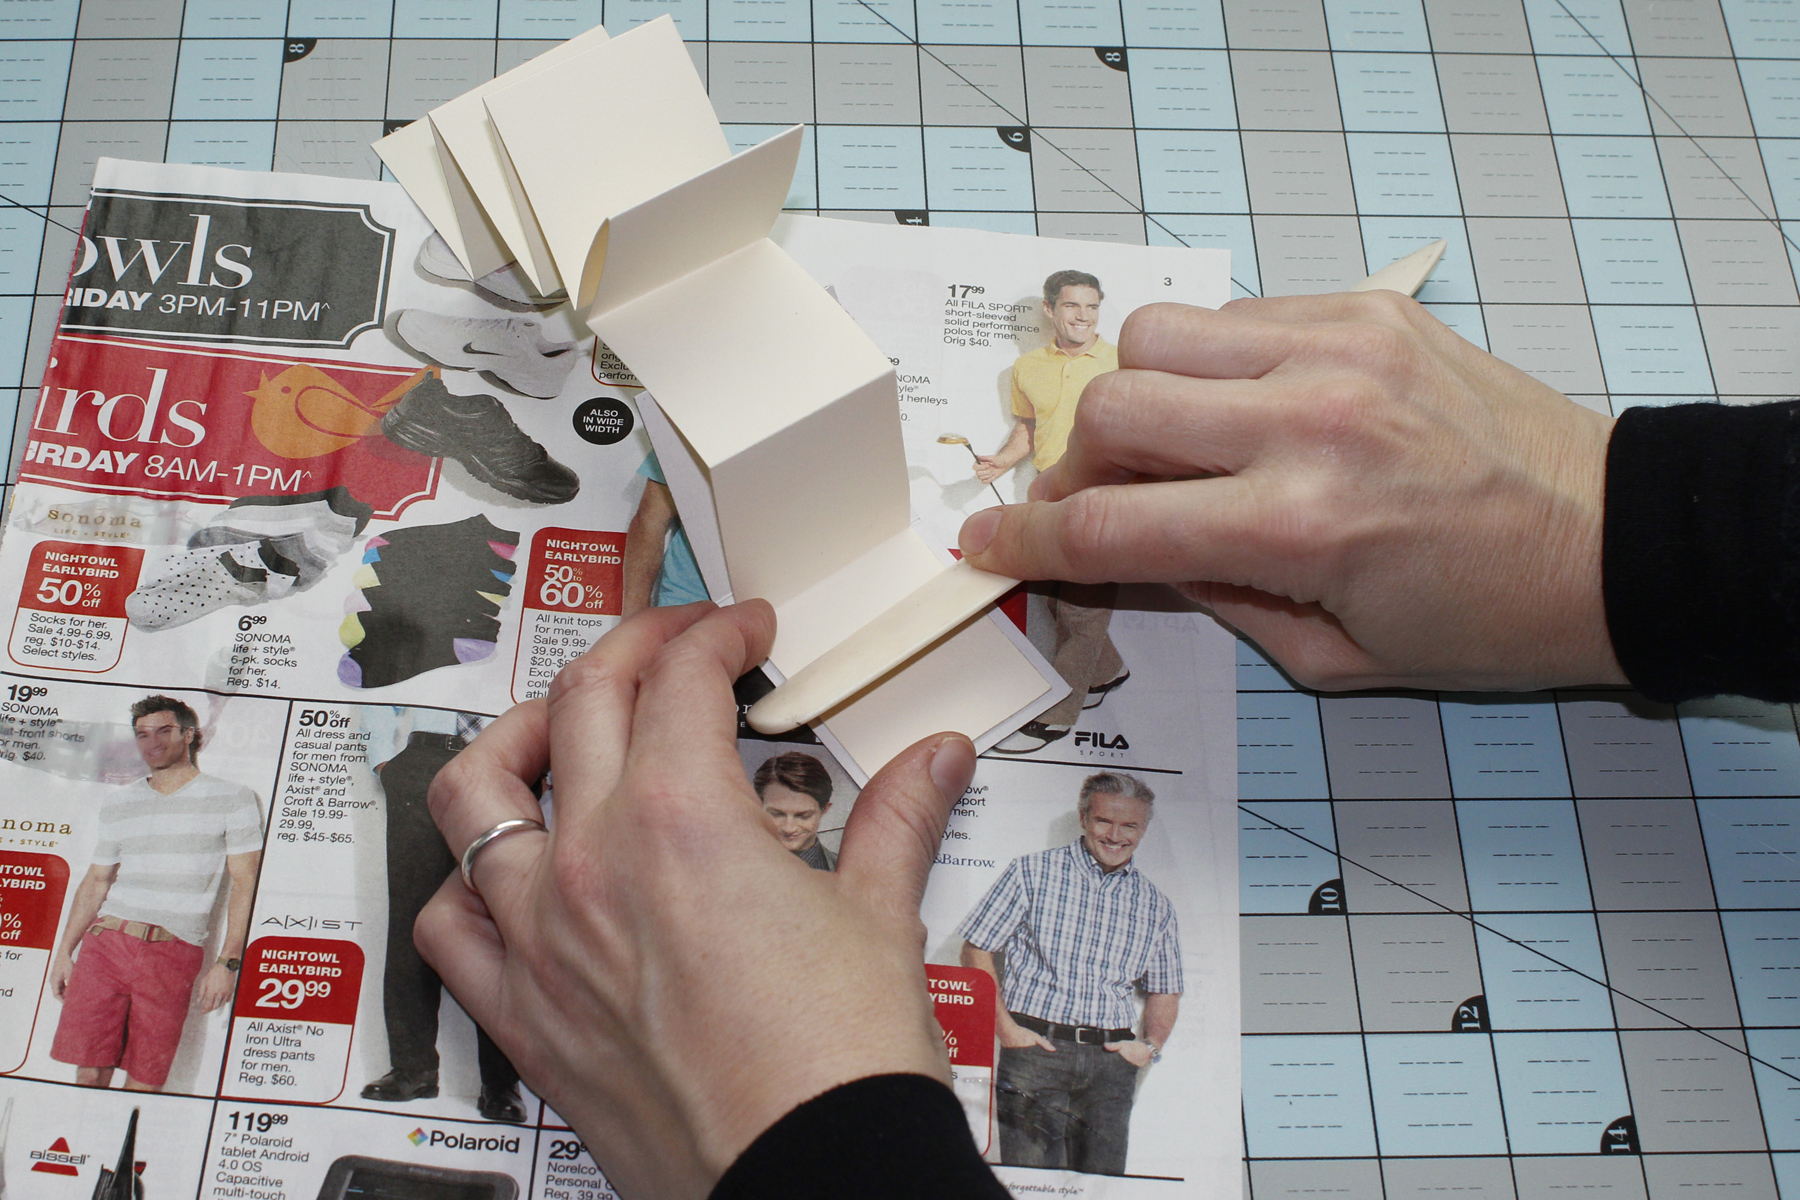
3. Very carefully attach the end flap to one side of the book cover. If you’ve got one, use the side edge of a bone folder to smooth and press the paper into place evenly. Otherwise, try the side of a ruler or something similar.
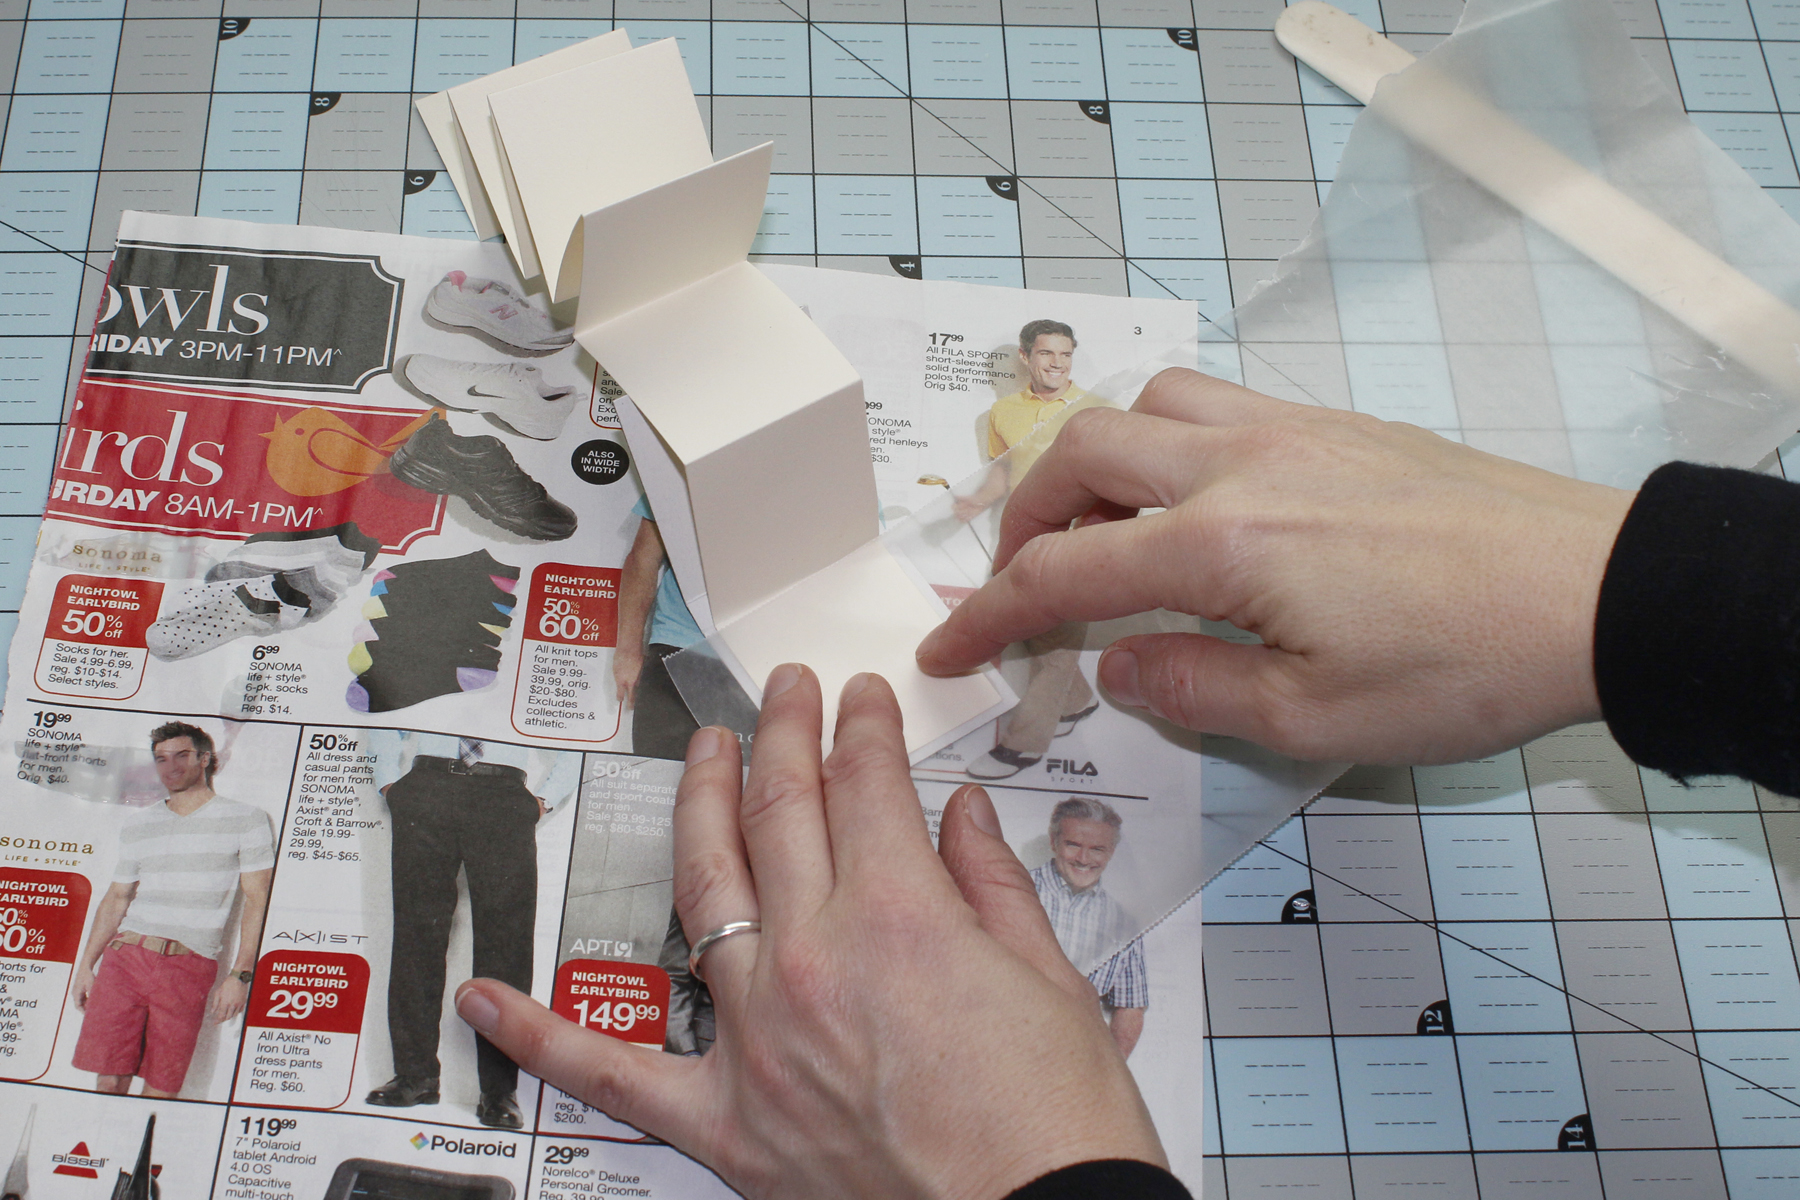
4. Remove the scratch paper and insert a piece of waxed paper. This will keep the glue where it belongs, so you won’t accidentally glue a few pages together, or worse, glue your project to the table. It is easy to remove once the glue is dry…because it’s waxed. You probably figured that out for yourself.
4. Depending on your project, you may need to flip the page stack over and repeat on the other side.
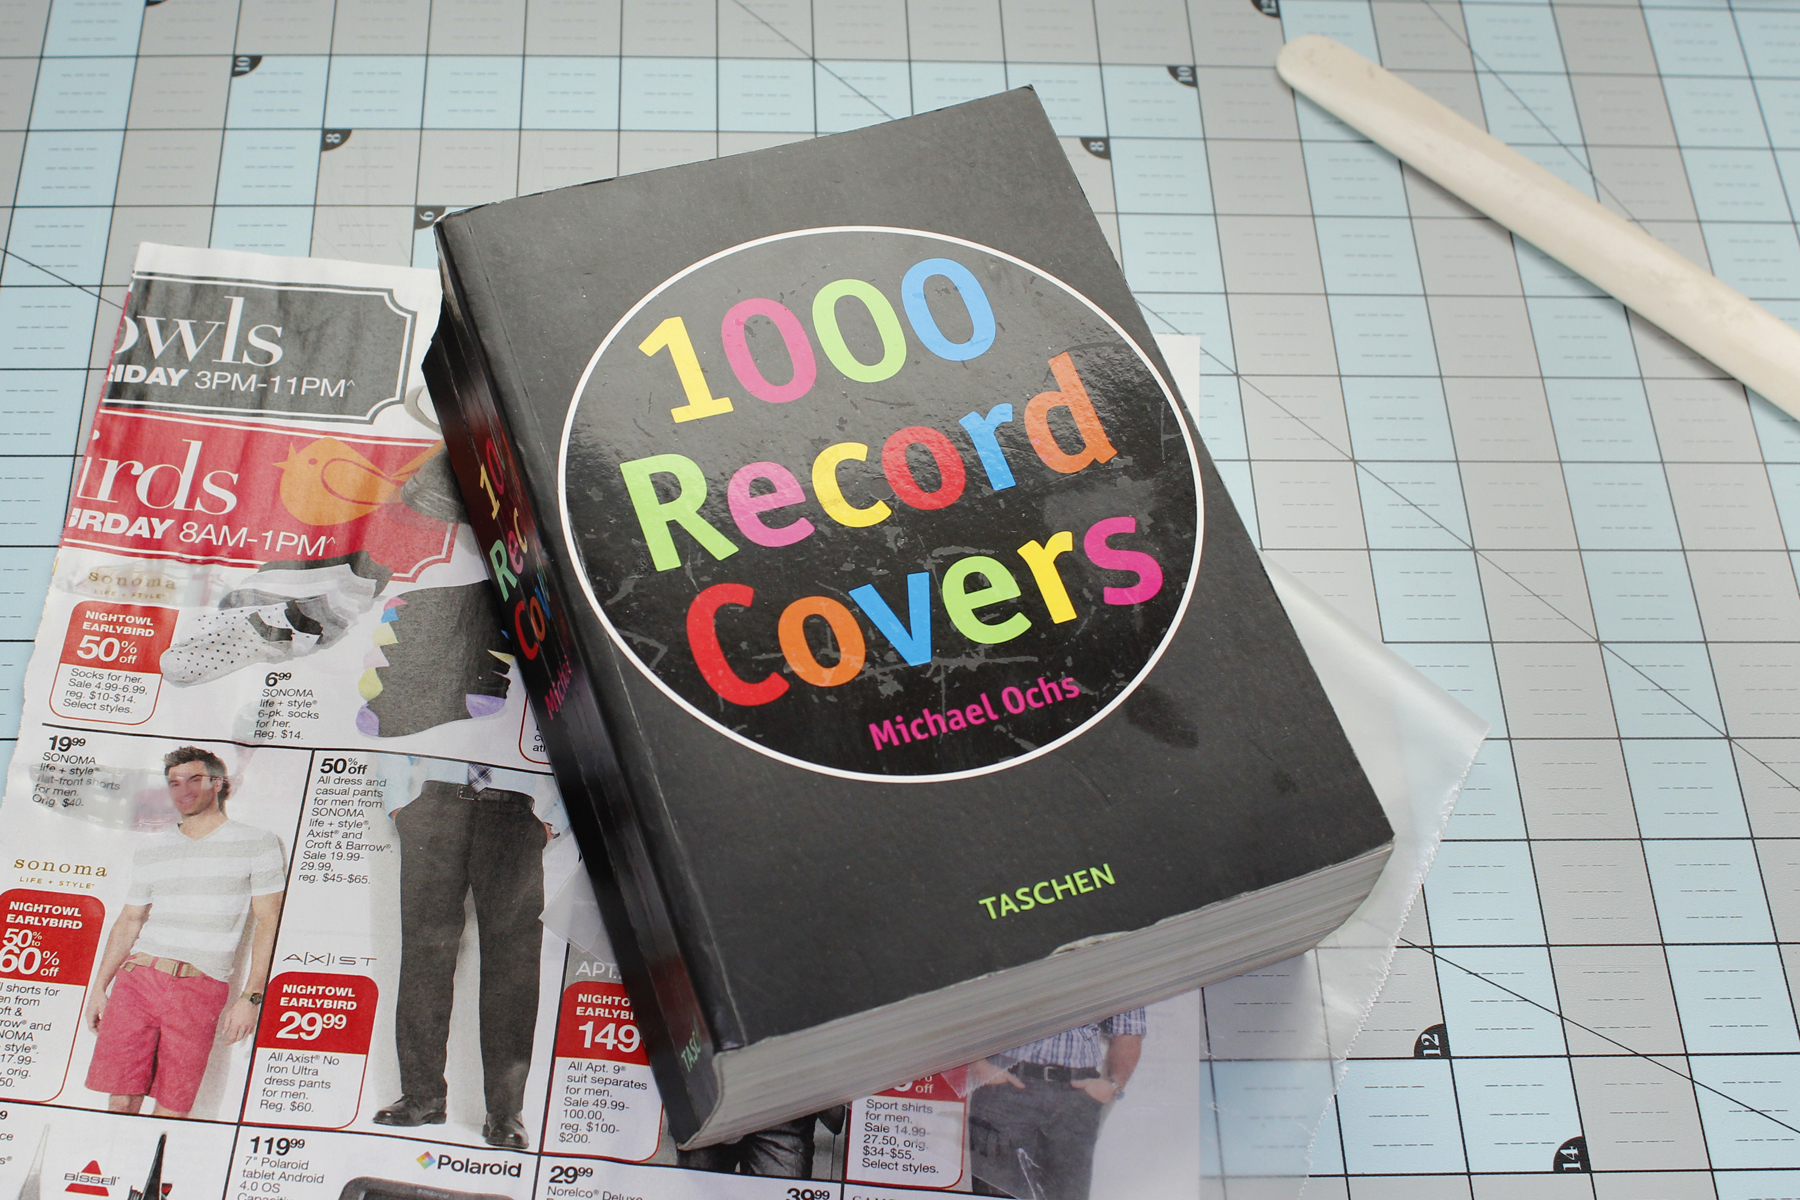
5. Once both sides have been glued to the cover, place a piece of waxed paper, and then a heavy weight on top so that the pages won’t warp as they dry (a brick wrapped in brown paper works well, but here I have used the book that I bought for my brother at Christmas one year, but didn’t send–mainly because I might have given him a copy of it once before). Even better, make your own press! Leave the waxed papers in between the end flaps and the remaining pages while the book dries.
6. Leave it alone until dry. If you used Nori Paste, the bad news is that could be quite a while. Serious bookbinders leave books in the press for 24 hours to help prevent warping. We amateurs can be as serious as we would like.
