
posted by Gina
First: a disclaimer. I don’t have kids. You likely gathered this already from previous posts, featuring myself and Larry the Cat as Play-Doh and macro lens beta testers, rather than the small folks for whom this blog is intended. This week’s post is not cat-friendly, so I’m afraid my images will feature some other people’s kids, gathered from my trolling about the internets compiling festive bubble wrap ideas.
What’s that, you said? Bring on the festive bubble wrap ideas? Ok then!
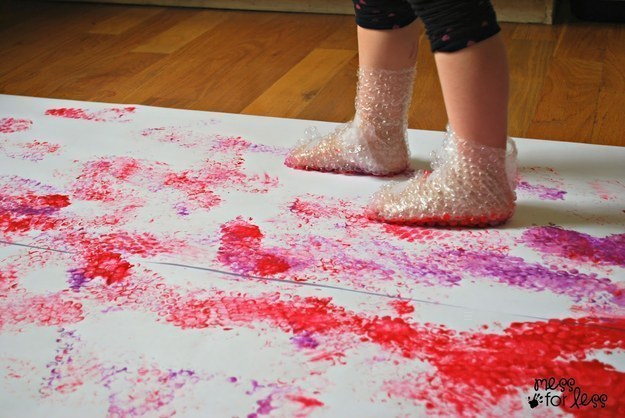
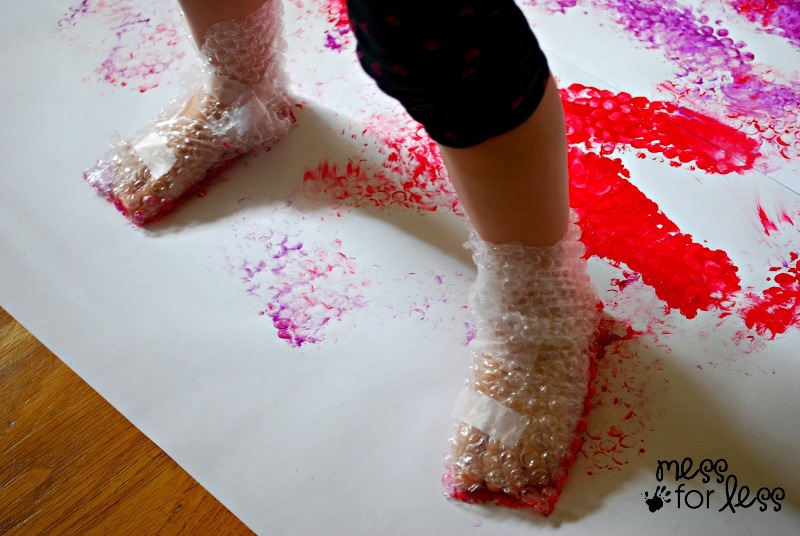
Stomp Painting
Everyone likes popping bubble wrap. Everyone likes making noise. Everyone loves activities that seem just a little bit not-allowed – like Bubble Wrap Stomp Painting, an activity I have lifted from the nifty messforless.net, and that’s been making some serious internet rounds. Wrap your kiddo’s feet in bubble wrap, lay down some paper, add some paint, and … voila.
Some cautionary notes:
- Use washable paint. There’s no way your kid’s staying solely on that paper.
- Other strategies for keeping things neater: lay down a plastic tarp first; put down paper but mark off an inner rectangle as the ‘paint zone’ to create a buffer; going outside.
Bubble Wrap Print Making
Not feeling too stompy? Need something more contained? Here’s the same concept, but with more precision.
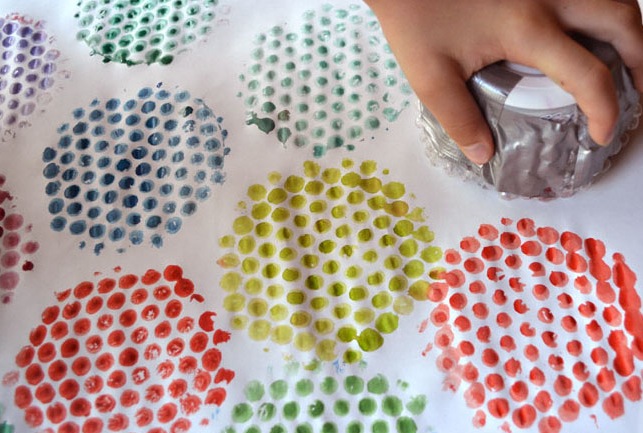
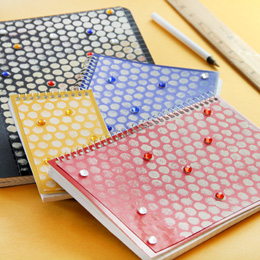
Cut pieces out of bubble wrap and use them to press designs onto paper, notebooks, art projects, walls … what have you. For younger kids, you can cut shapes for them – try shapes, sheets, and strips – and older kids can design their own. Shapes can be used solo or duct taped to a baby food jar or coffee can, as shown above.
Try layering shapes and colors:
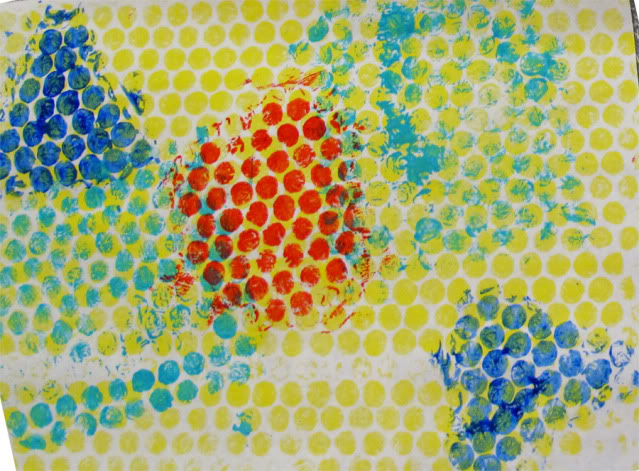
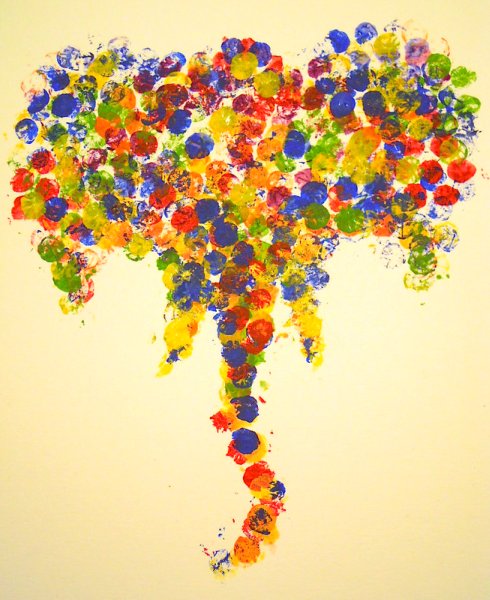
or printing two or three bubbles at a time to create a bigger picture (for older kids, this could lead to something amazing):
General Bubble Wrap Painting Notes:
- Choose your colors wisely, especially when stomping. Two or three colors on the color wheel will avoid that tragic brown mess that may result from overly enthusiastic color mixing.
- A little paint goes a long way – less will result in sharper images. Experiment with dunking in and painting on to see what you can create.
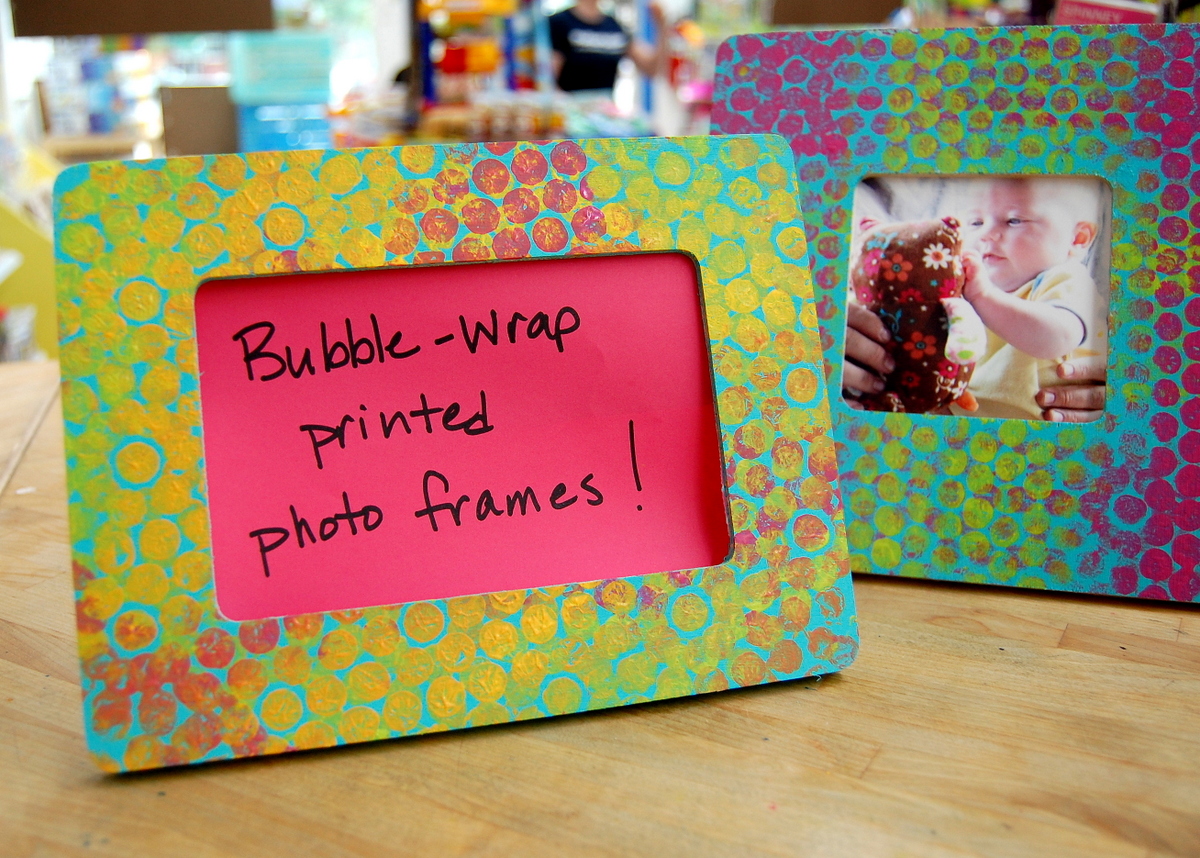
For both stomp painting and print making, you can use the process to make wrapping paper and gift items – decorate notebooks or picture frames for gifts or at birthday party for make-your-own favors.
Bubble Wrap Stained Glass
Instead of painting and pressing, try painting the bubble wrap and hanging the finished product in a window to create a bubble wrap version of stained glass.
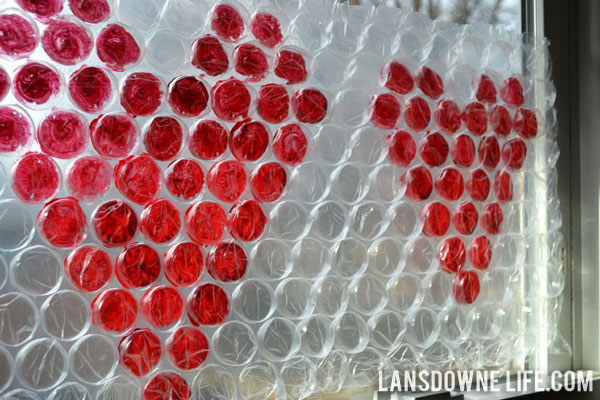
Paint the back of the wrap, instead of the bubbles themselves. Markers will work as well, but will have a more diluted effect.
Experiment with different thicknesses of paint to see the effects.
Not feeling up to painting today?
Here’s a nifty Bubble Wrap Scavenger Hunt idea:
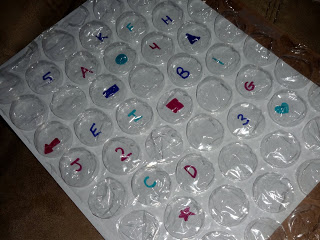
You’ll need the bigger-bubble bubble wrap for this one. On paper, draw or write ‘things to be found’, and lay the bubble wrap on top, taping around the edges. Bubbles are popped as items are discovered. The above example is a parent-made version for a younger tot, but more complicated versions can be made by you or BY THEM for you or for each other.
Try making different hunts on cardboard so they can be reused, or having the kids create travel boards for a long car trip. Assuming the popping doesn’t drive you insane.
And finally, for those of you that are dying to get your hands on some bubble wrap for merely for the joy of popping, click here. You’re welcome.
