
posted by Gina
Who knew there were so many ways to hack your smartphone? If you missed Beret’s Smartphone Projector, you’ll want to go straight to that post and catch up.
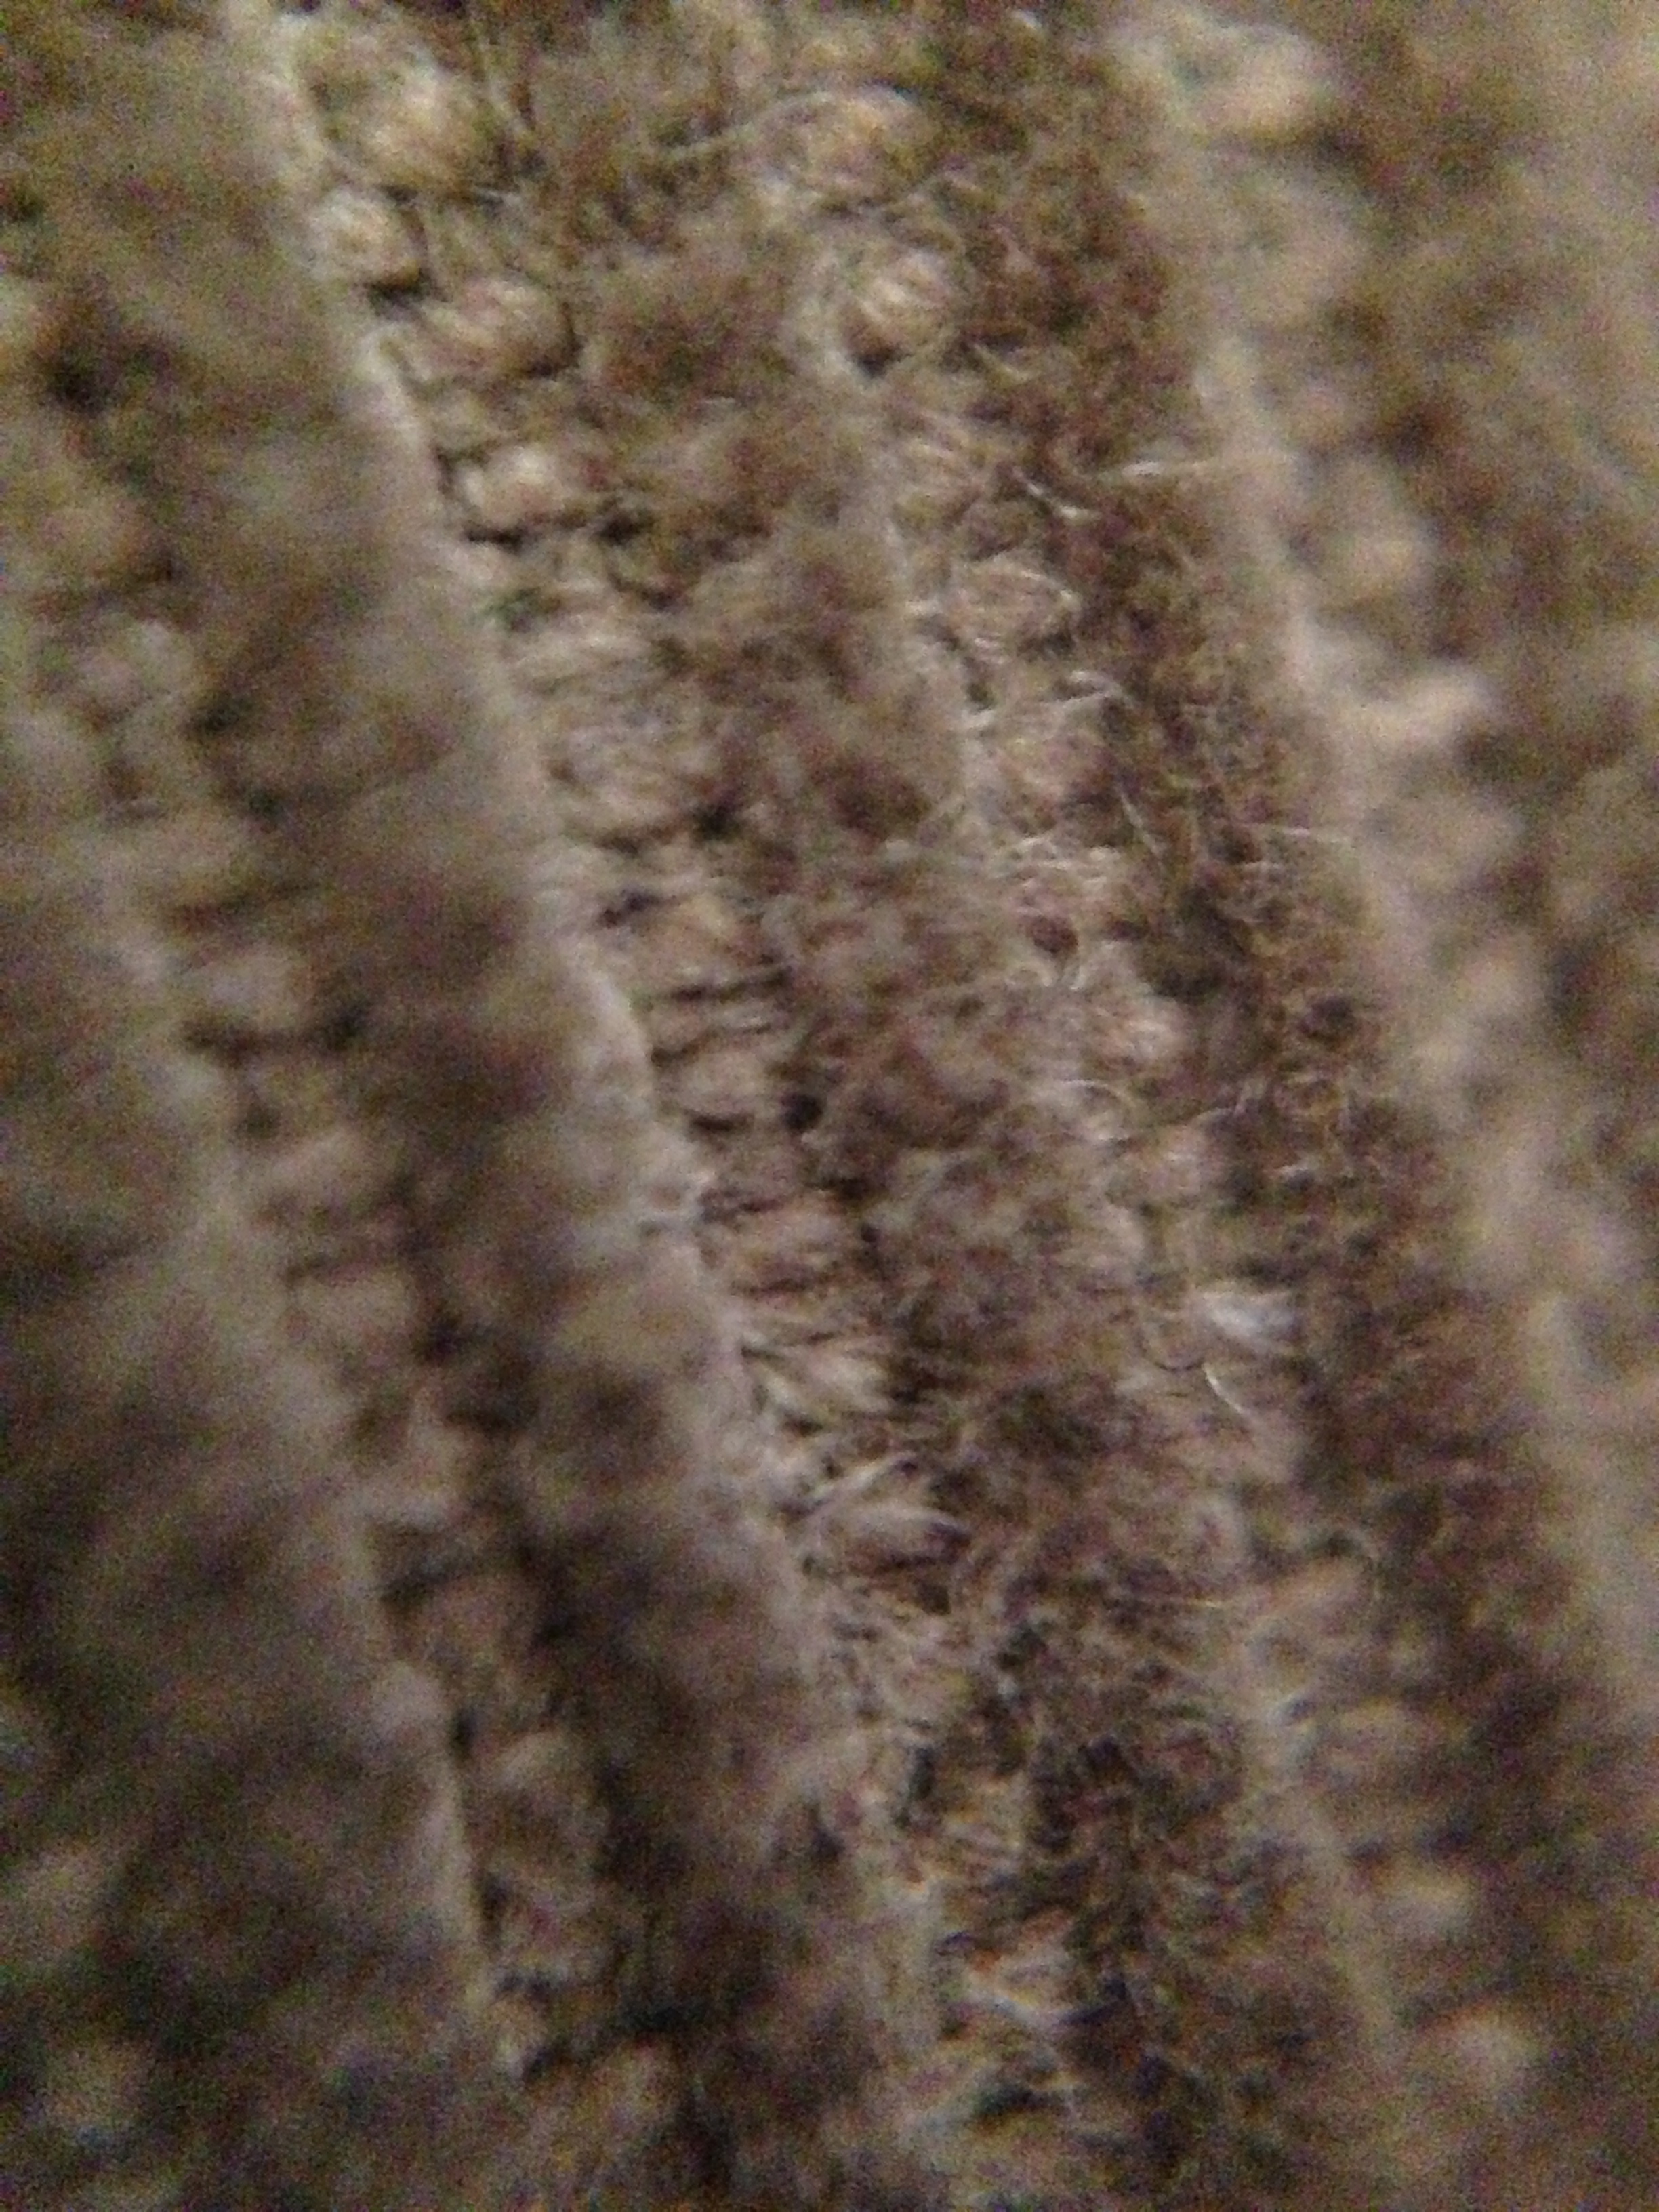
Are you back? Great. So, you know what’s neat? Super close up stuff. Like this photo of a coffee bean:

That’s right, I took that with my phone. Nifty, eh? And you will not believe how easy it is. This hack has been popping up all over my internets recently, so I thought, well, I’m not very good at the science-y build-y type things like Beret is – which means if I can make this work, anyone can. Let’s try!
And sure enough, it’s easy-peasy. There are a couple tricksy-fiddly bits that will need older fingers to accomplish, but I’m pretty confident a careful 10 year old could handle it. A younger kid could easily help, and can DEFINITELY use the result.
Here’s what you’ll need:

- A laser pointer (the kind cats go crazy for. As such, almost every pet store will have one if you want one in a hurry, but if you look around they run as cheap as $2)
- A bobby pin
- Duct or Gaffing tape
- Tweezers
Not pictured: a smartphone. You will need one of these. (It is difficult to take pictures of the thing you’re taking pictures with.)
Here’s what you do:
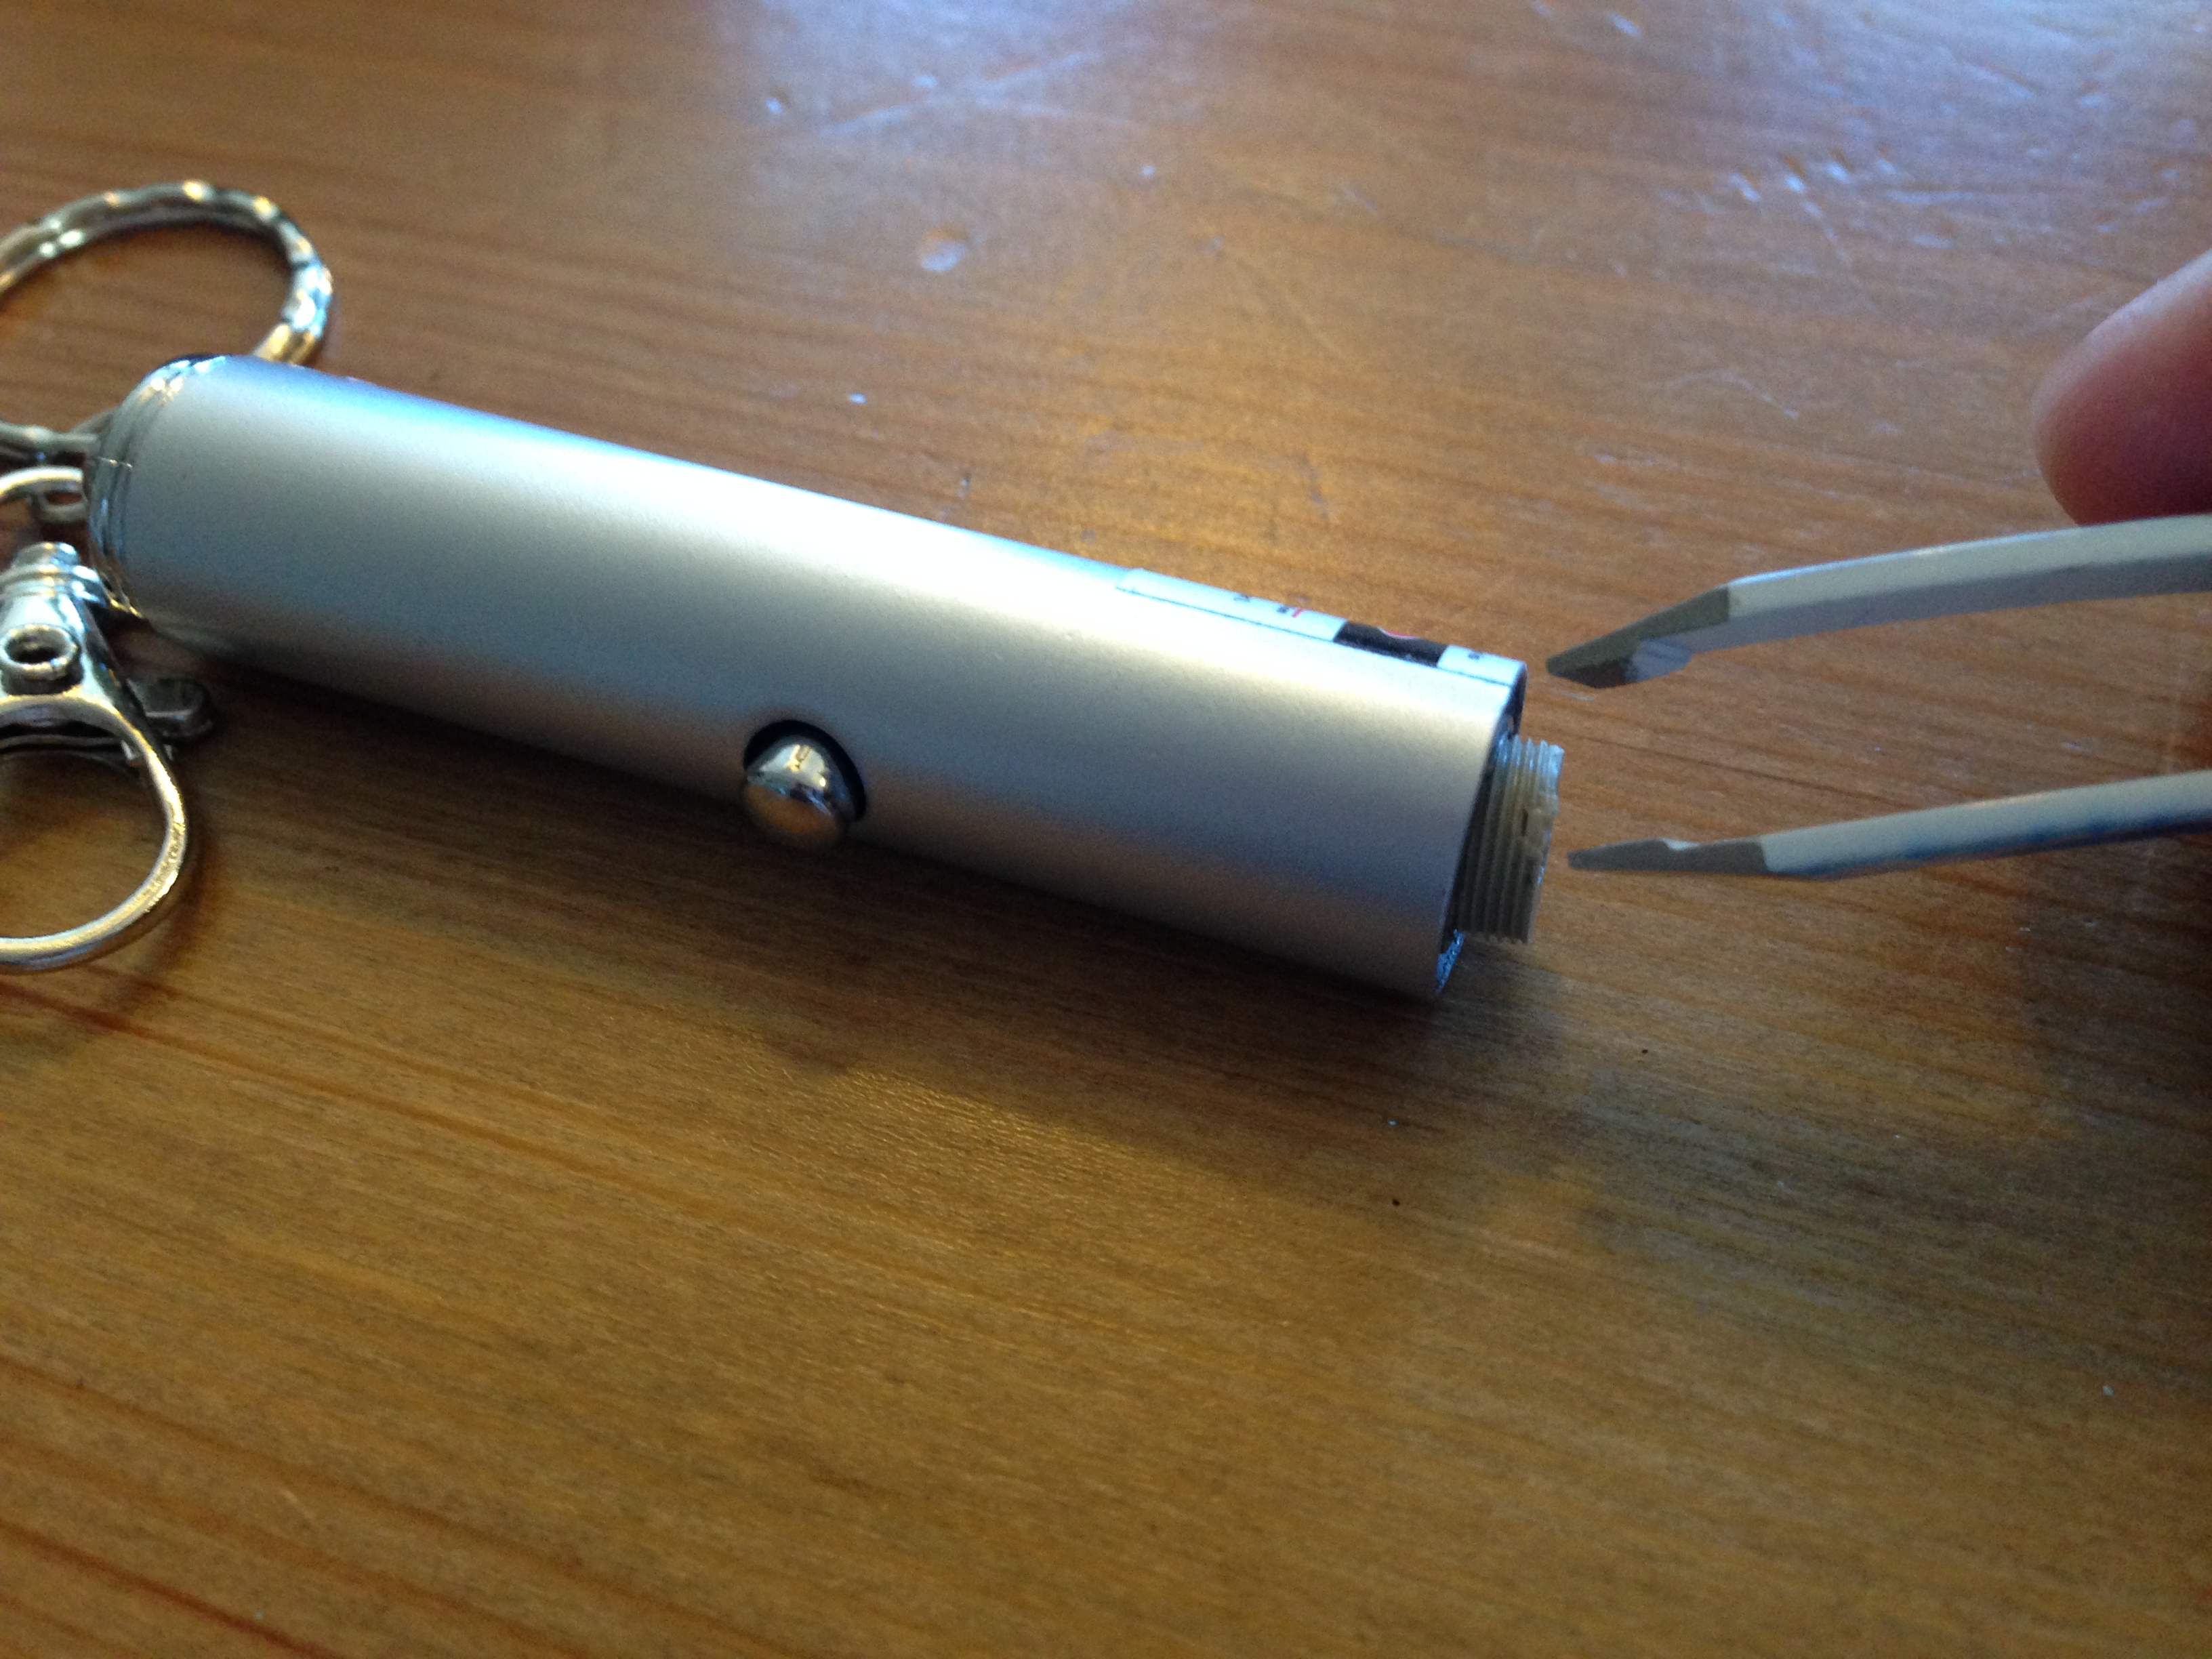
Unscrew the top of your laser pointer. You will see a (usually grey) screw type thing in there.

This screw type thing needs to come out, but is screwed in. Use your tweezers to unscrew and remove. Be careful or the other bits in there will fall out, and you need them.
Take out the screwy thing and the other bits and pieces.
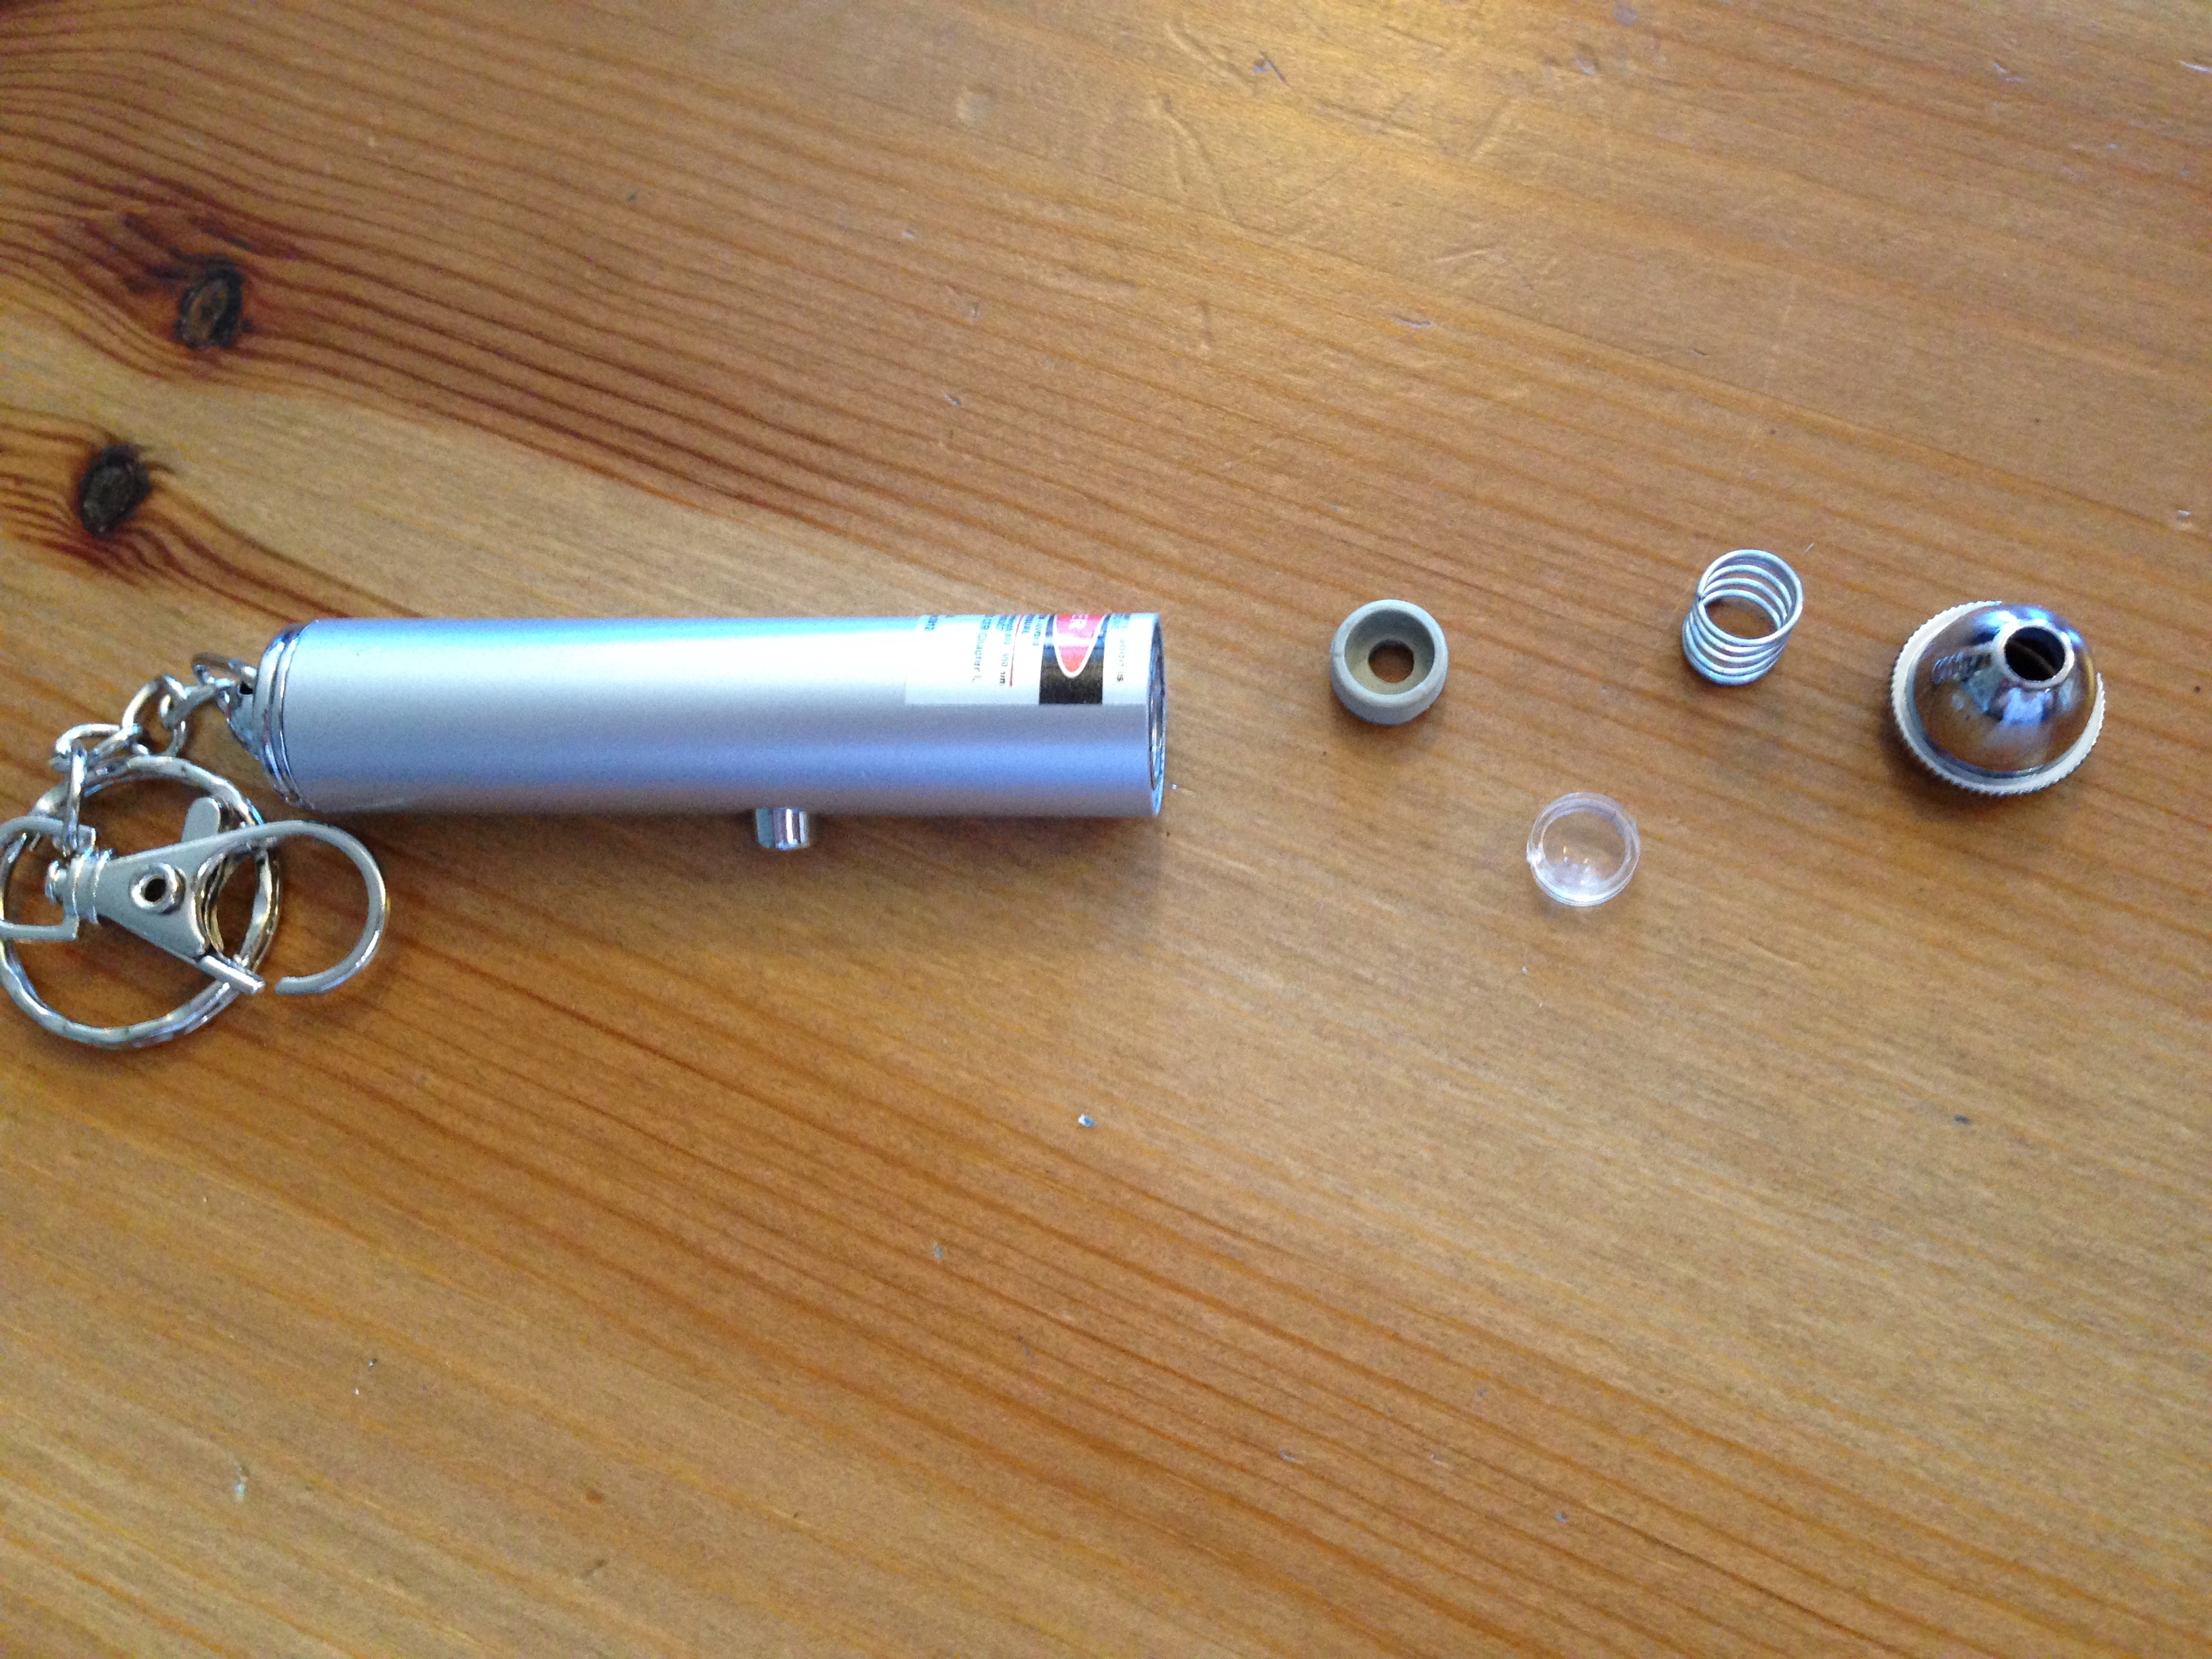 See that shiny glass thing? That’s what we’re going to use.
Luckily for us, these laser pointers use a small lens to focus the beam, and we can use that lens to take close up pictures. All we need to do is get that lens over the phone’s. Which brings us to the fiddly bit – MacGuyver-ing an attachment for the lens:

I did this by putting the lens flat on the table, holding the sides of the bobby pin apart, laying it down over the lens, and letting the sides close. Which actually worked the first time.
After pretending you’re holding a teeny tiny monocle and talking in a British accent for a while, you’re ready to attach the lens to the phone. I read that you have to put the flat side against the phone and the convex side facing out, but darned if I could tell from looking at the lens which side was flat and which was convex. So don’t let this frustrate you, I was there too. I figured I’d take my best guess and try it the other way if the pictures didn’t seem to work.
Once you’ve centered the lens on the camera, tape the bobby pin in place with a strip of tape.
 And you’re ready to go!
A few tips:
- The camera needs to be super close to the subject – practically on top of it close.
- The focus freaks out a little if you dive the camera on in. Approaching the subject slowly works well.
And the results are pretty nifty:


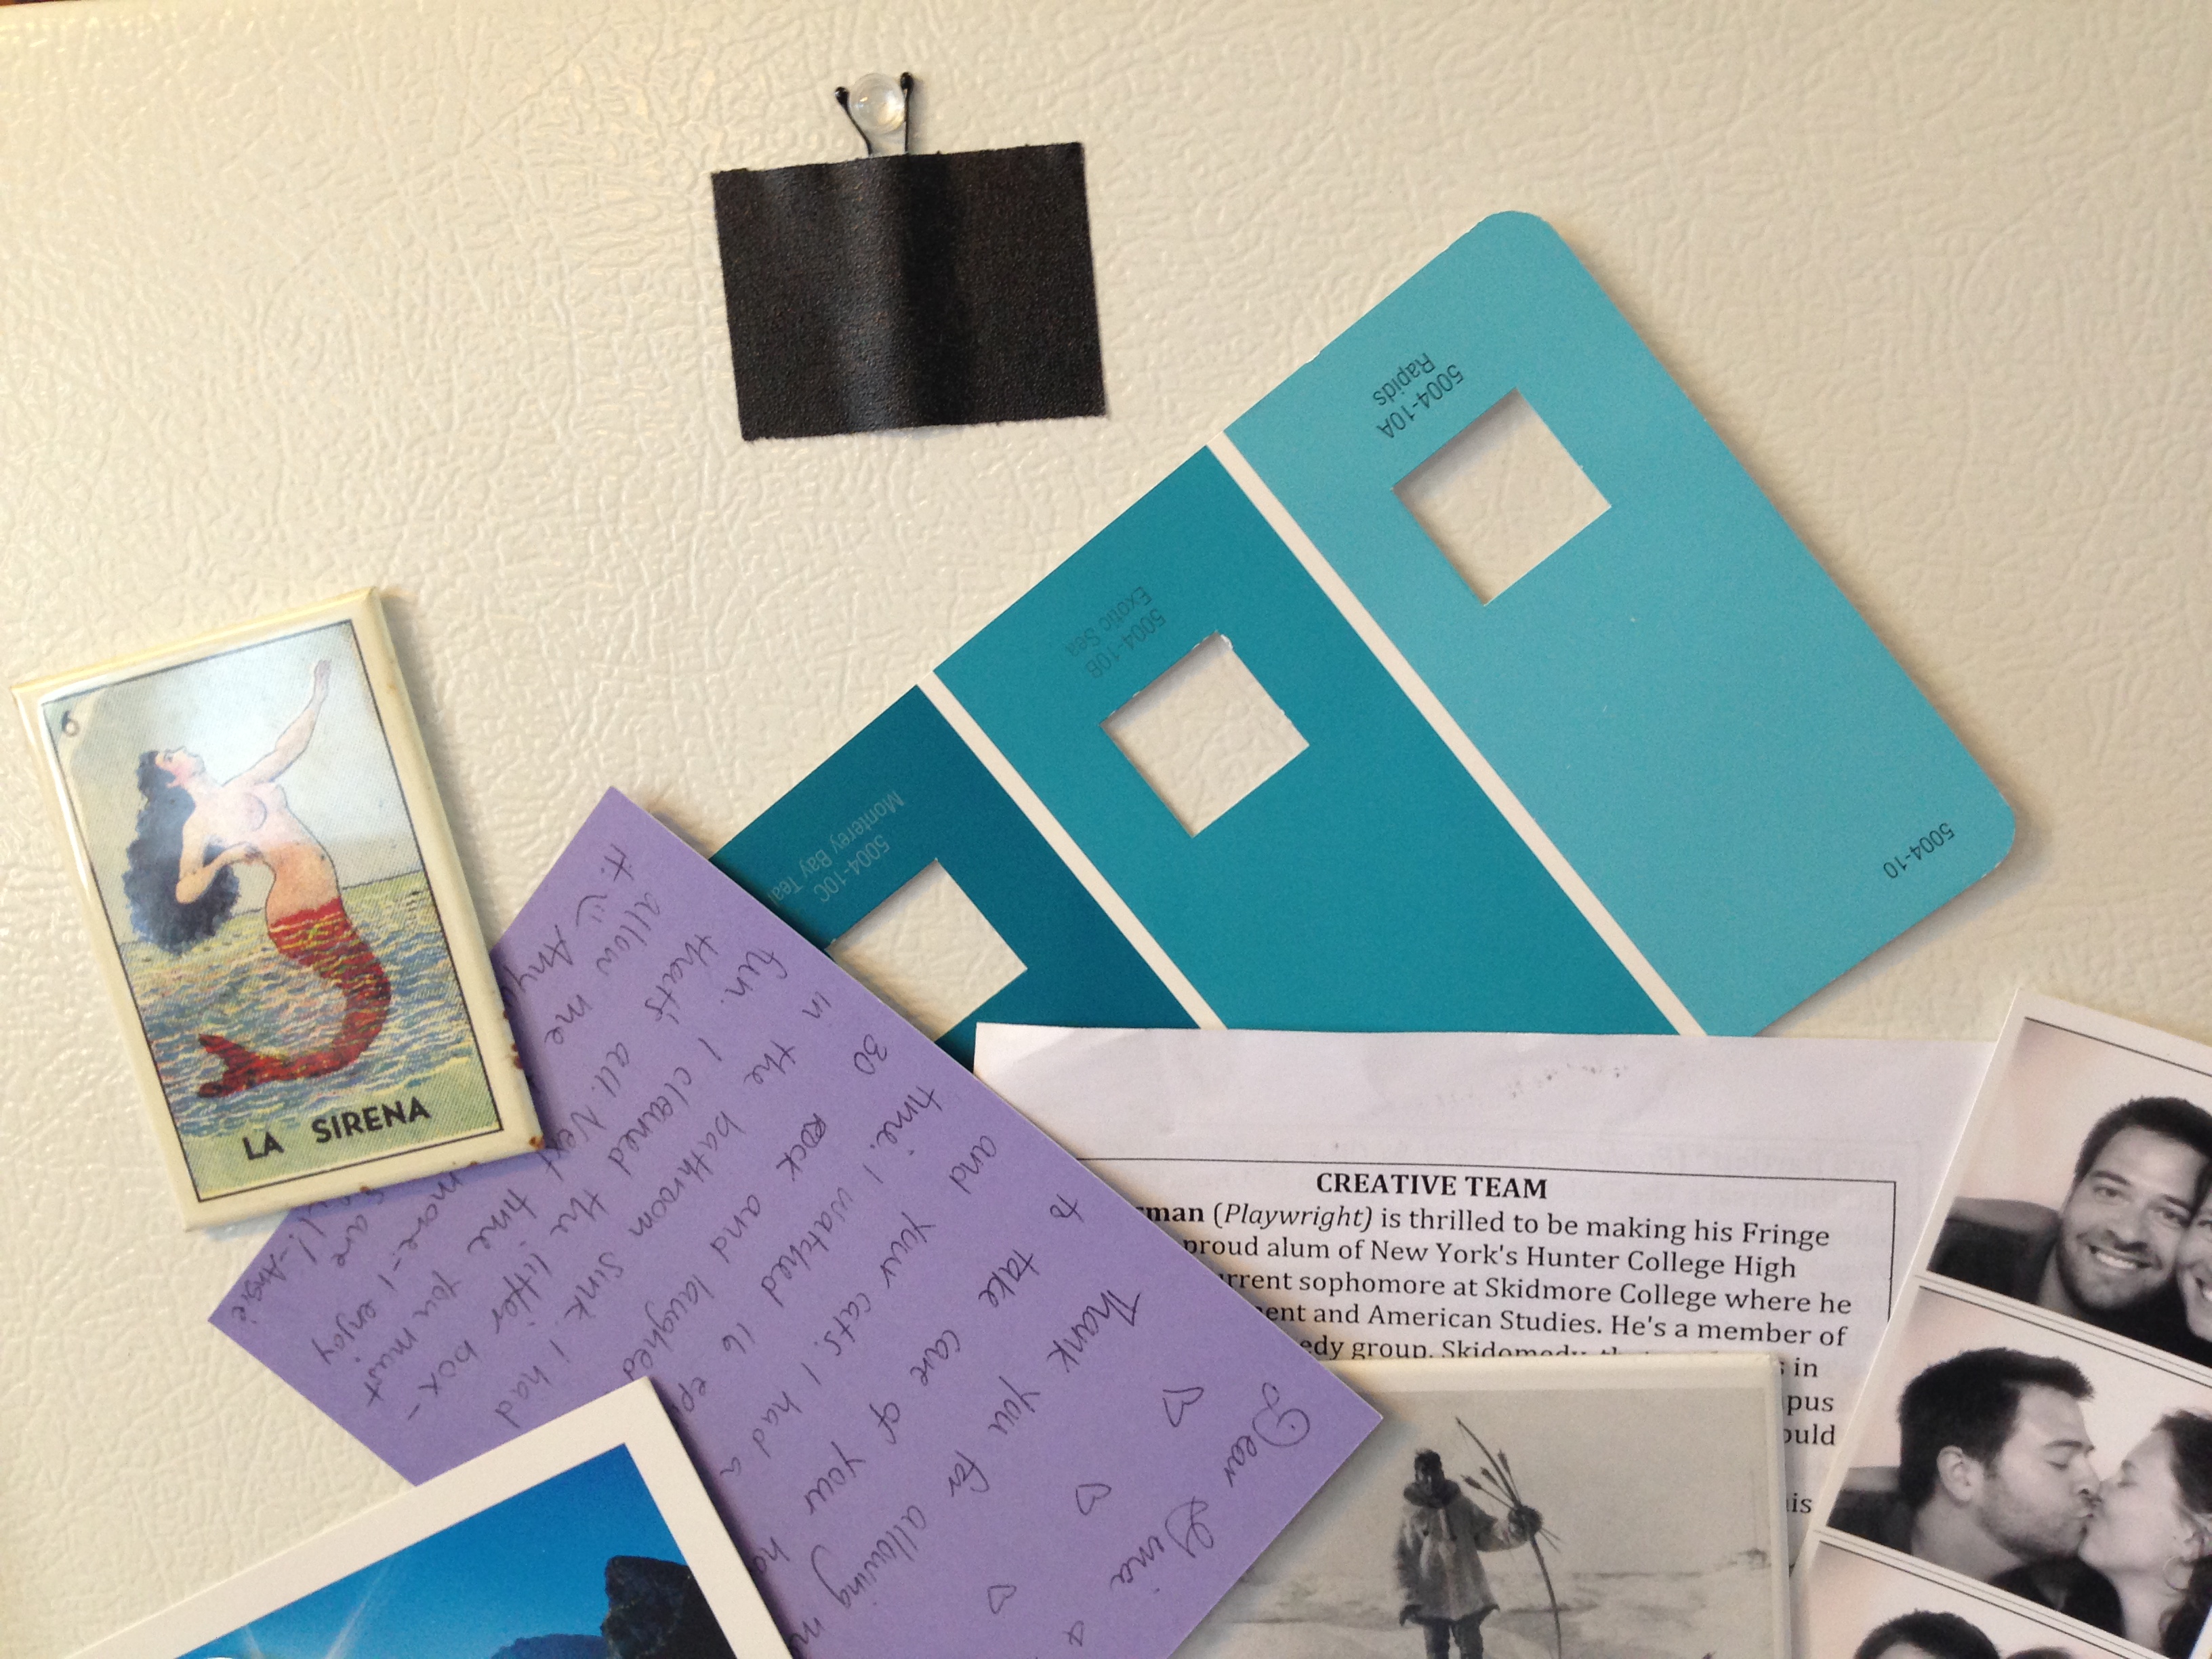
“But Gina, I don’t want a MacGuyvered bobby pin stuck to my phone all day.” Never fear, your handy lens can be conveniently stored on your fridge until future use:
 Go forth and make art, young scientists.

Reblogged this on victormiguelvelasquez.
LikeLike
Have you tried roadeavour phone lens?
LikeLike
Nope. It looks great, though. Have you?
LikeLike