

posted by Beret
Age Range: anyone who can fold a piece of paper
You may be wondering: where is Gina?? Well, Gina is taking a moment to figure out some big life questions. I have tried to explain that the answer is 42, but for some reason, she insists on figuring things out for herself.
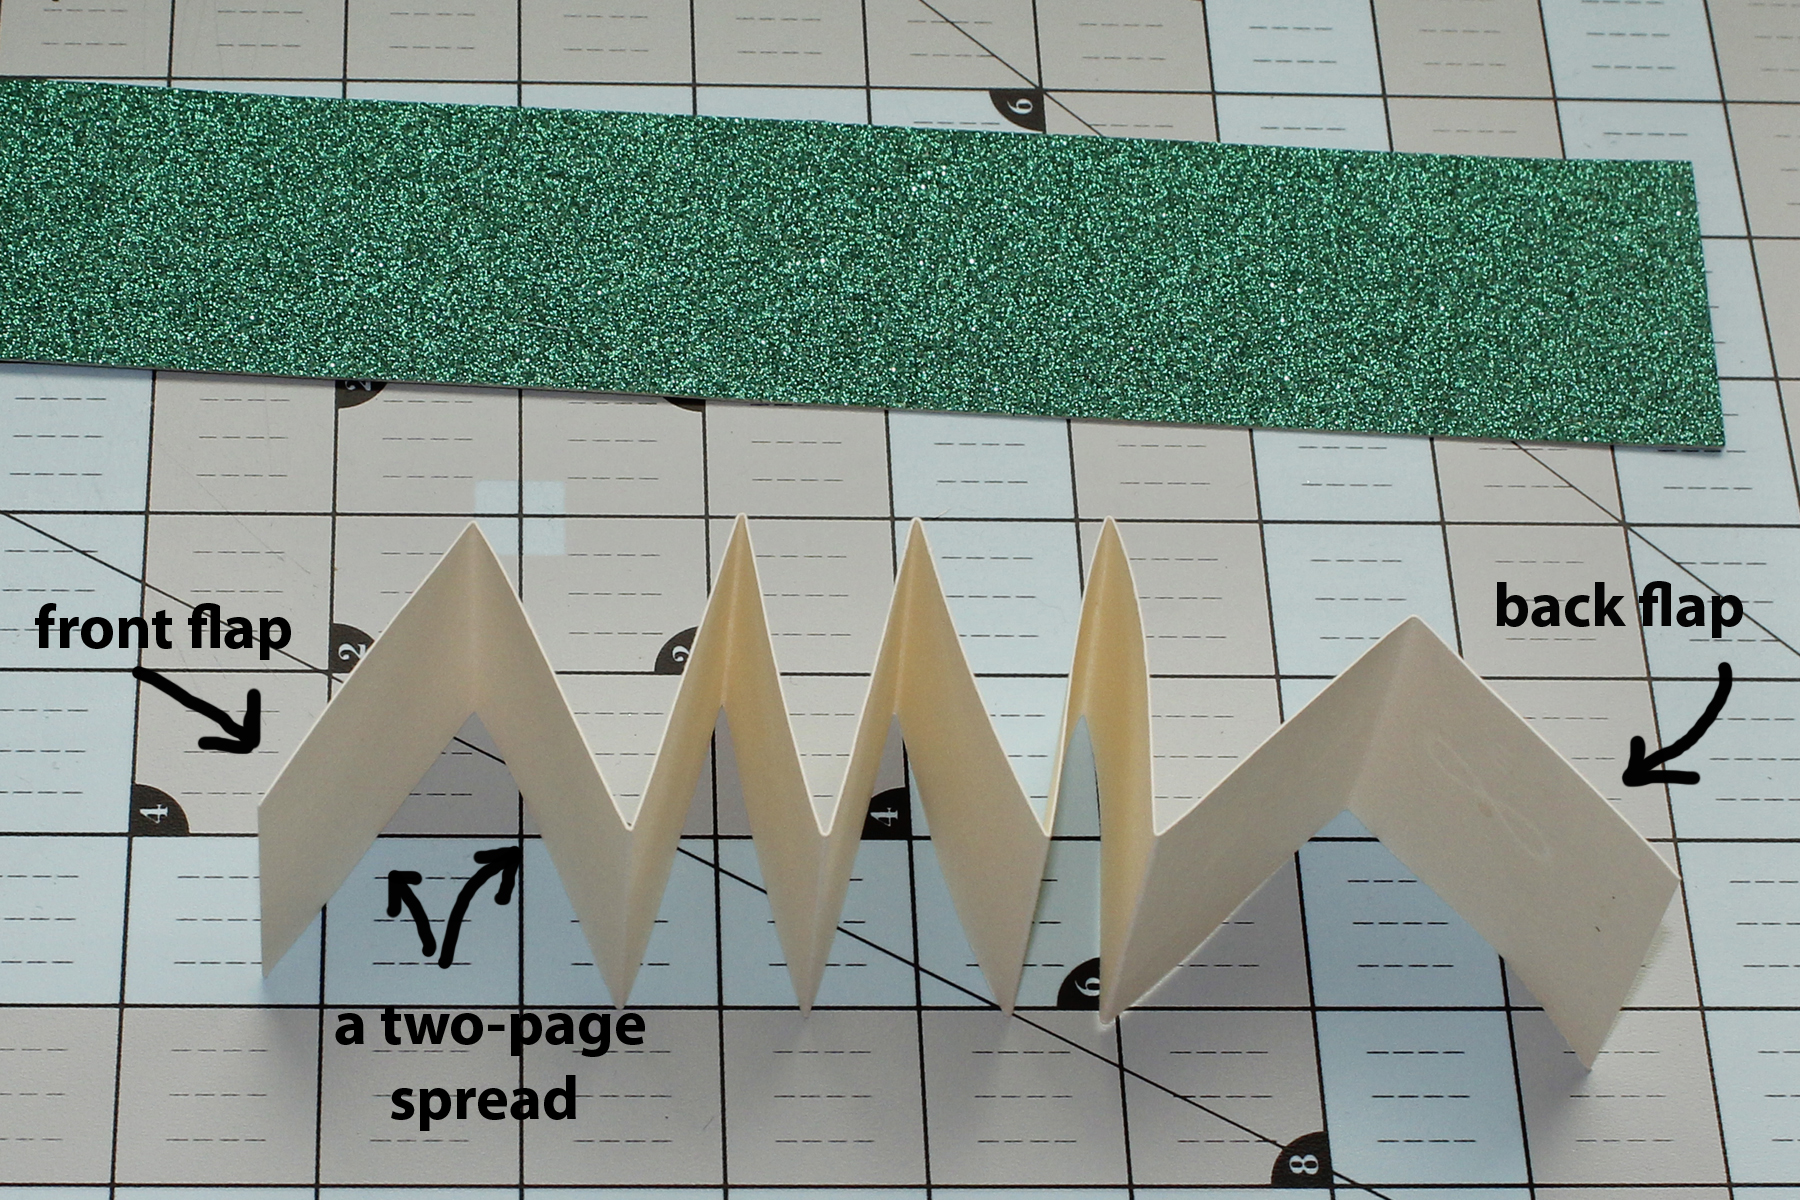
So I am back with another ridiculously simple bookmaking idea. The pages of an accordion book are made from one very long piece of paper, folded like an accordion. Hence the name.
What you need for the basic accordion book:
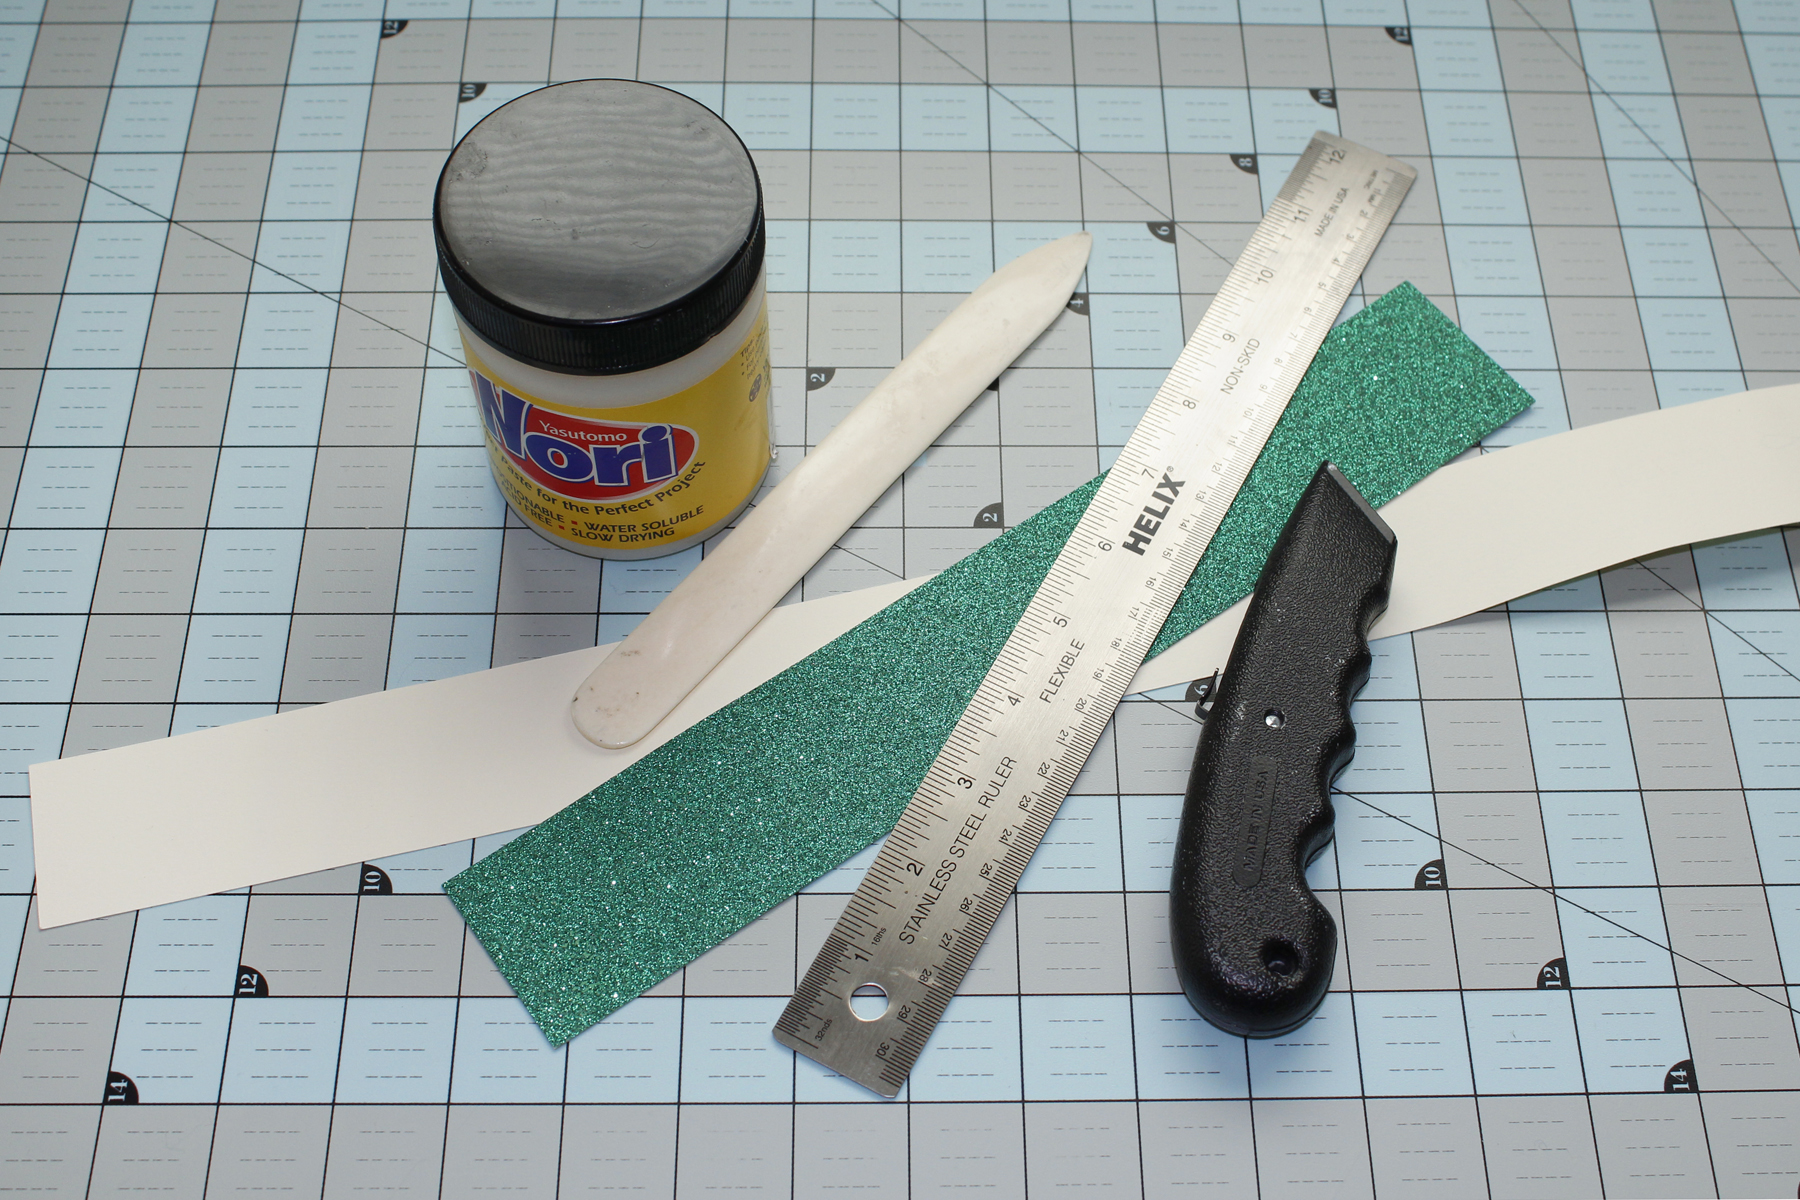
1. A ruler. If you are using it to cut your paper down to size, then a metal one is best. A box cutter will eat a wooden or plastic ruler.
2. A long strip of paper for the pages. Any kind is fine, depending what you want to do with your book. I used leftover Rives printing paper from another project. Rives has a nice weight and feel to it, and would be fine for writing, drawing, markers, and probably paint, if a person could paint that small.
3. A shorter, heftier strip to use for the cover. I used something in the cardstock weight range that I dug out of the bargain bin at Michael’s.
4. A bone folder (optional). This is my favorite tool of all for paper projects! Obviously, you could proceed without it, but it is such a pleasure to use for scoring and bending crisp folds, as well as for pressing paper down smoothly when gluing. It has come to my attention that some are still actually made of bone, but there are plenty made of plastic if that would help you avoid an ethical dilemma.
5. Some kind of adhesive. I used Nori paste, but you could use any old glue, preferably acid-free. Nori paste is awesome if you are not in a gigantic hurry. It dries slowly, so you have time to readjust if you need to. It is also water soluble, so it is less likely to permanently stain the paper than PVA.
6. A box-cutter, or something else to cut paper. Some people get nervous around boxcutters–especially mixed with kids. Though I totally understand, I think they can be appropriate to use with kids 9 and up. Use your judgement. The cuts will be so much straighter and cleaner than if they use scissors. But remember…as my 3-D art teacher once said, “Always use new, sharp blades. If you accidentally chop off your finger with a dull blade, it’s much more difficult to re-attach.”
Procedure:
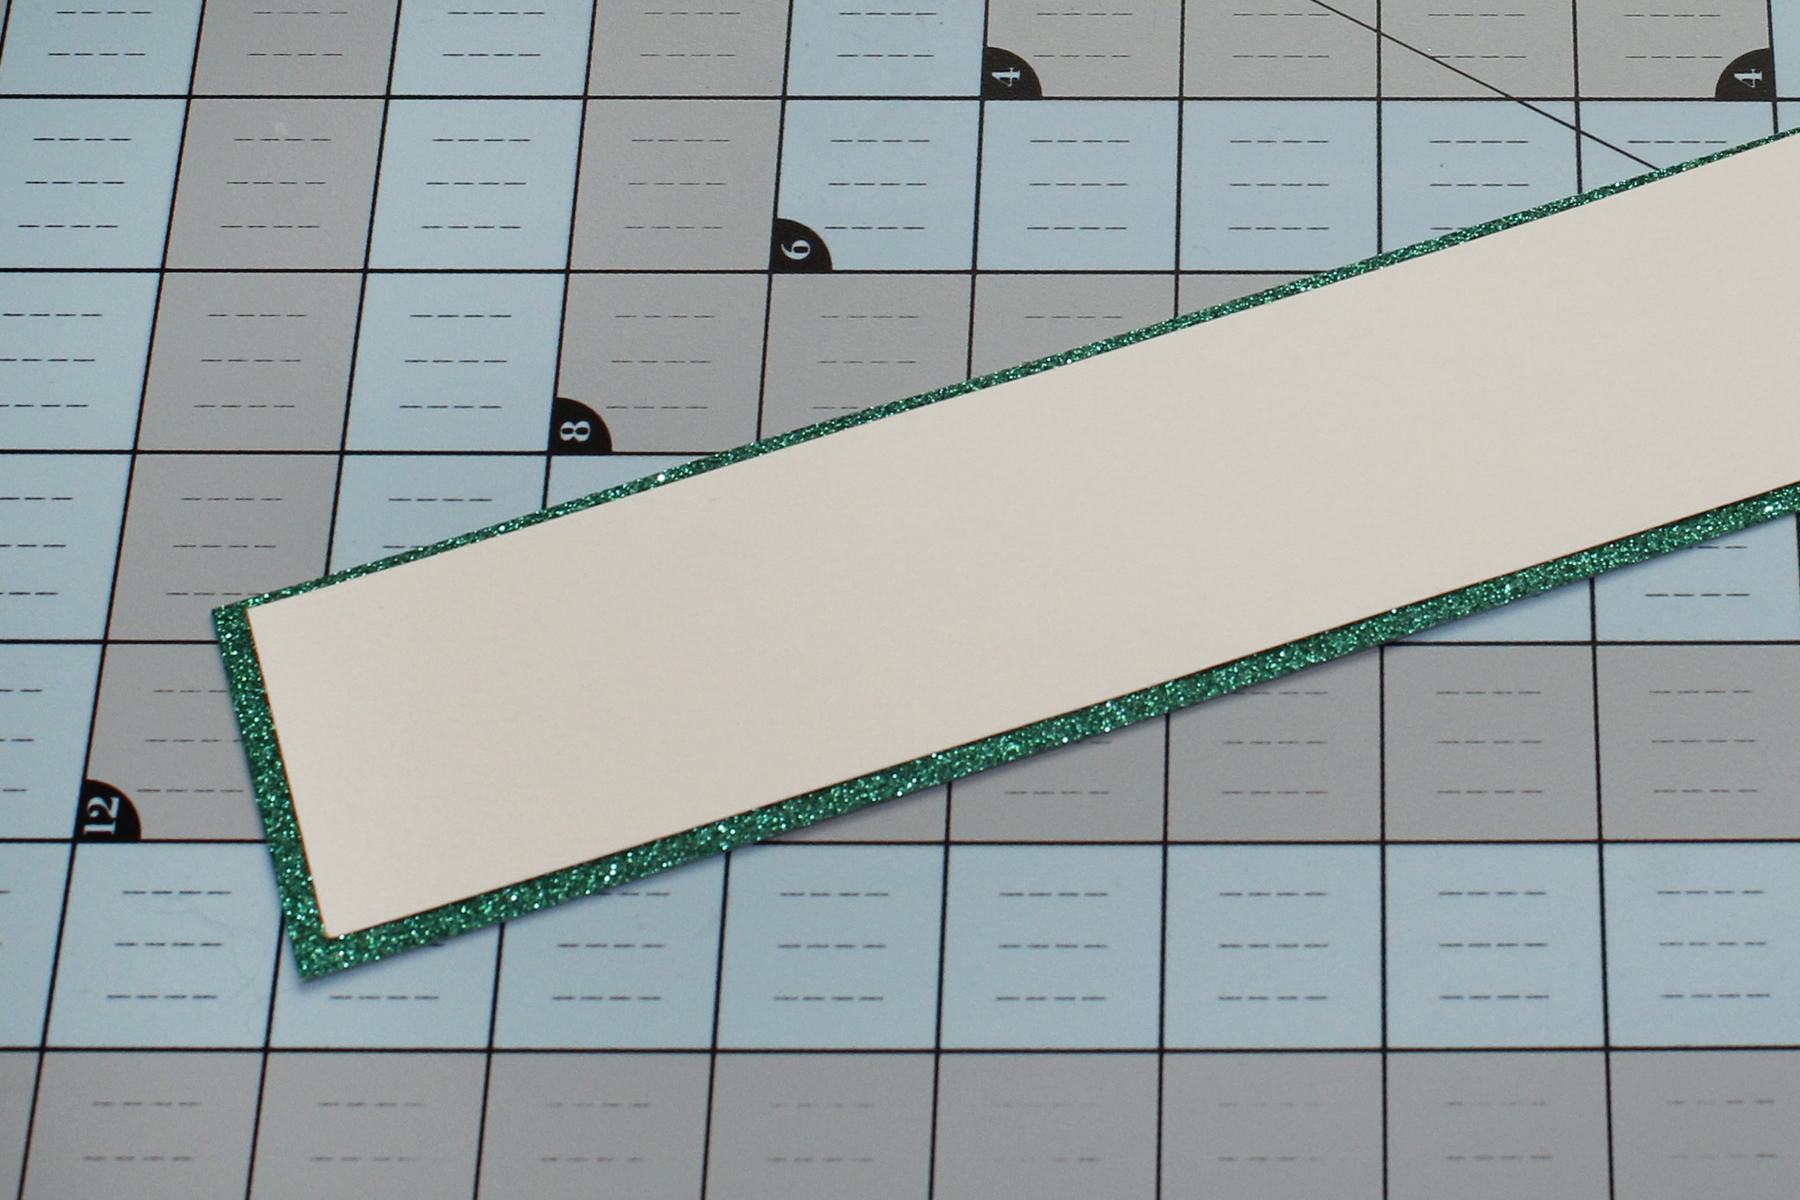
1. First, cut your paper strip and cover strip down to the appropriate width. I like tiny books, so I generally use scraps from other projects, or from next to the paper cutter at school/work/copy shop. For this book, my paper strip for the pages was an inch an a half by about 18 inches. The cover strip need not be so long, obviously, but I made it 1 3/4 inch thick.
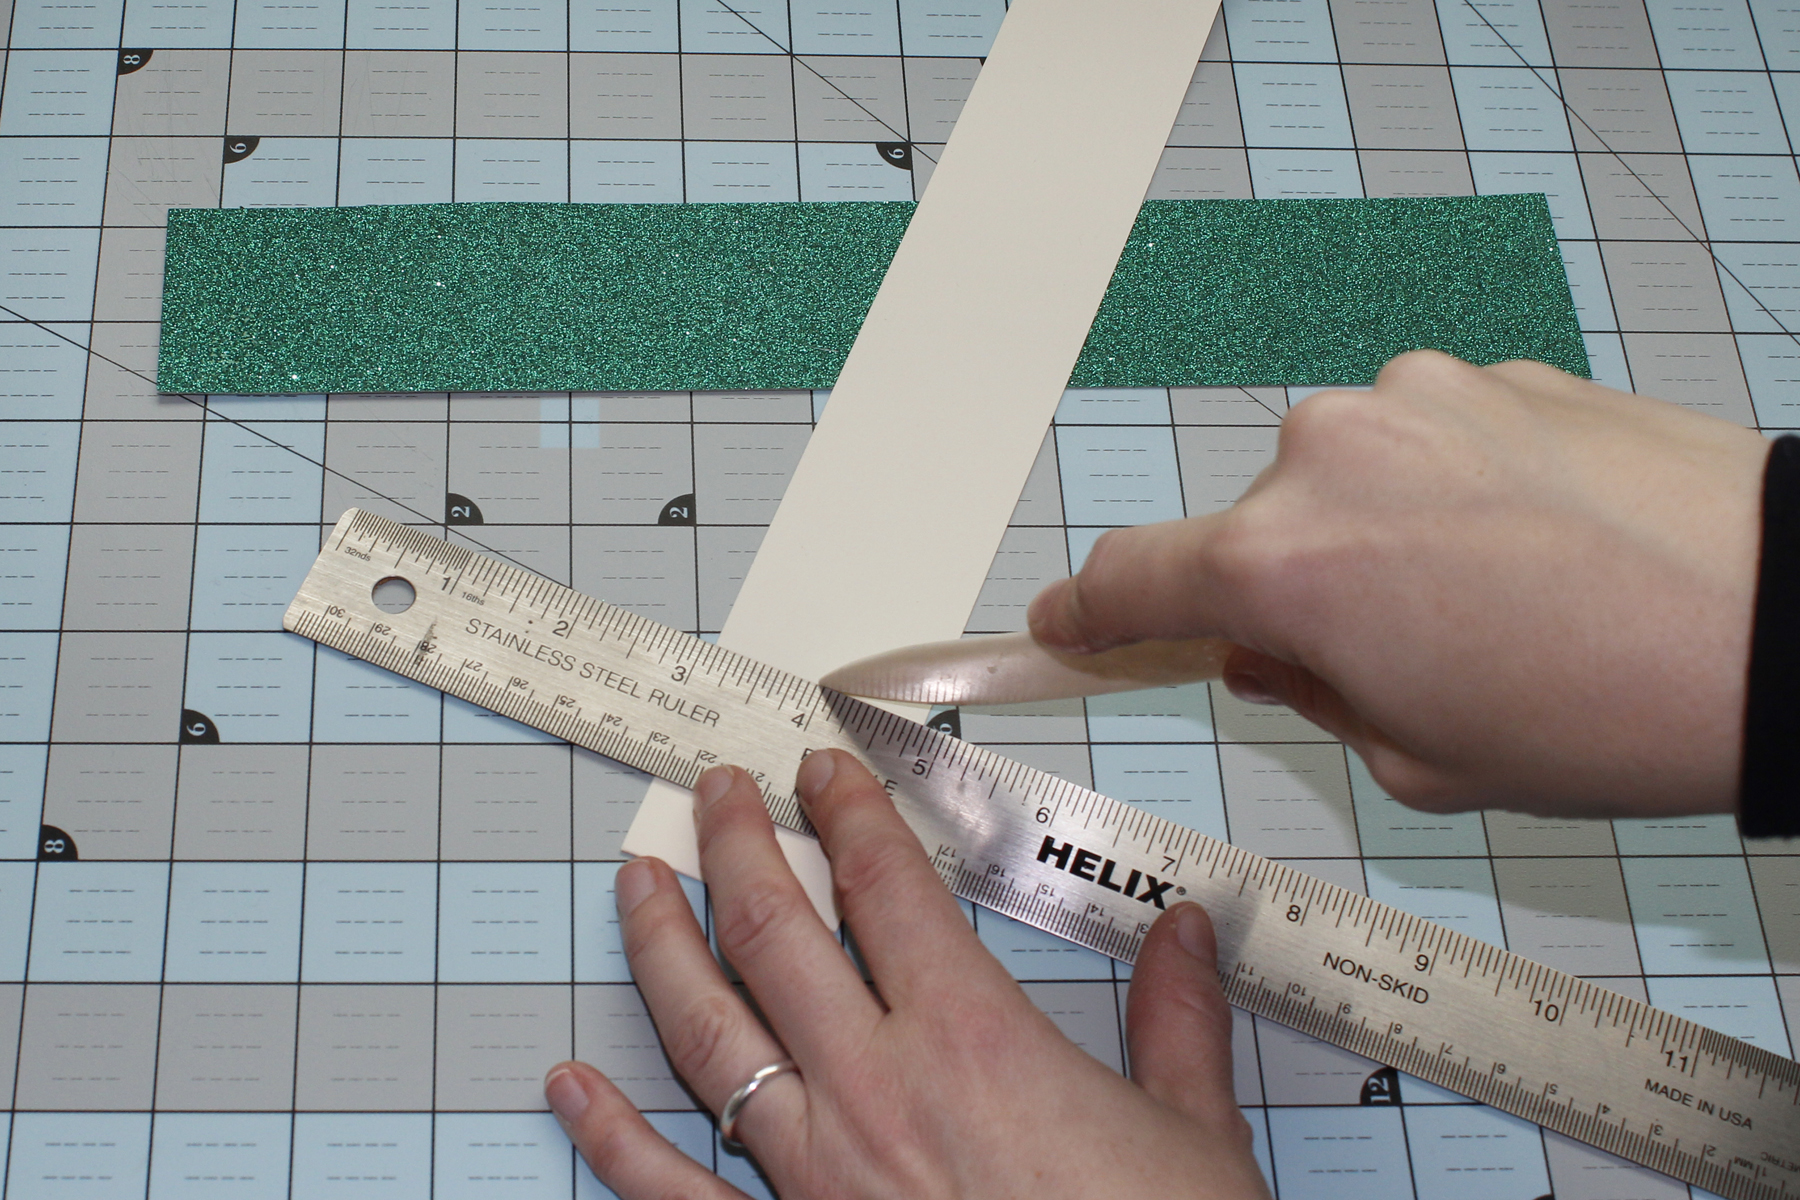
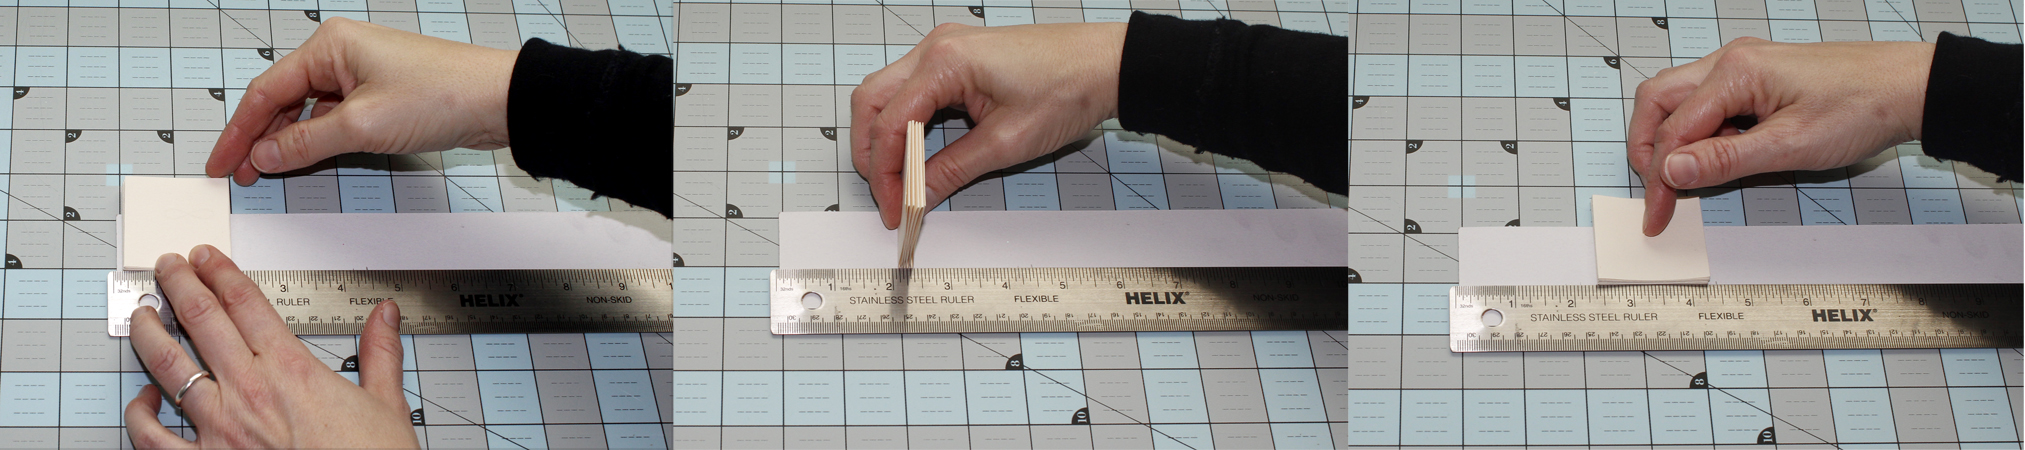
2. Decide how wide you would like your pages to be, and then use the metal rule and bone folder to score it where you would like it to bend.
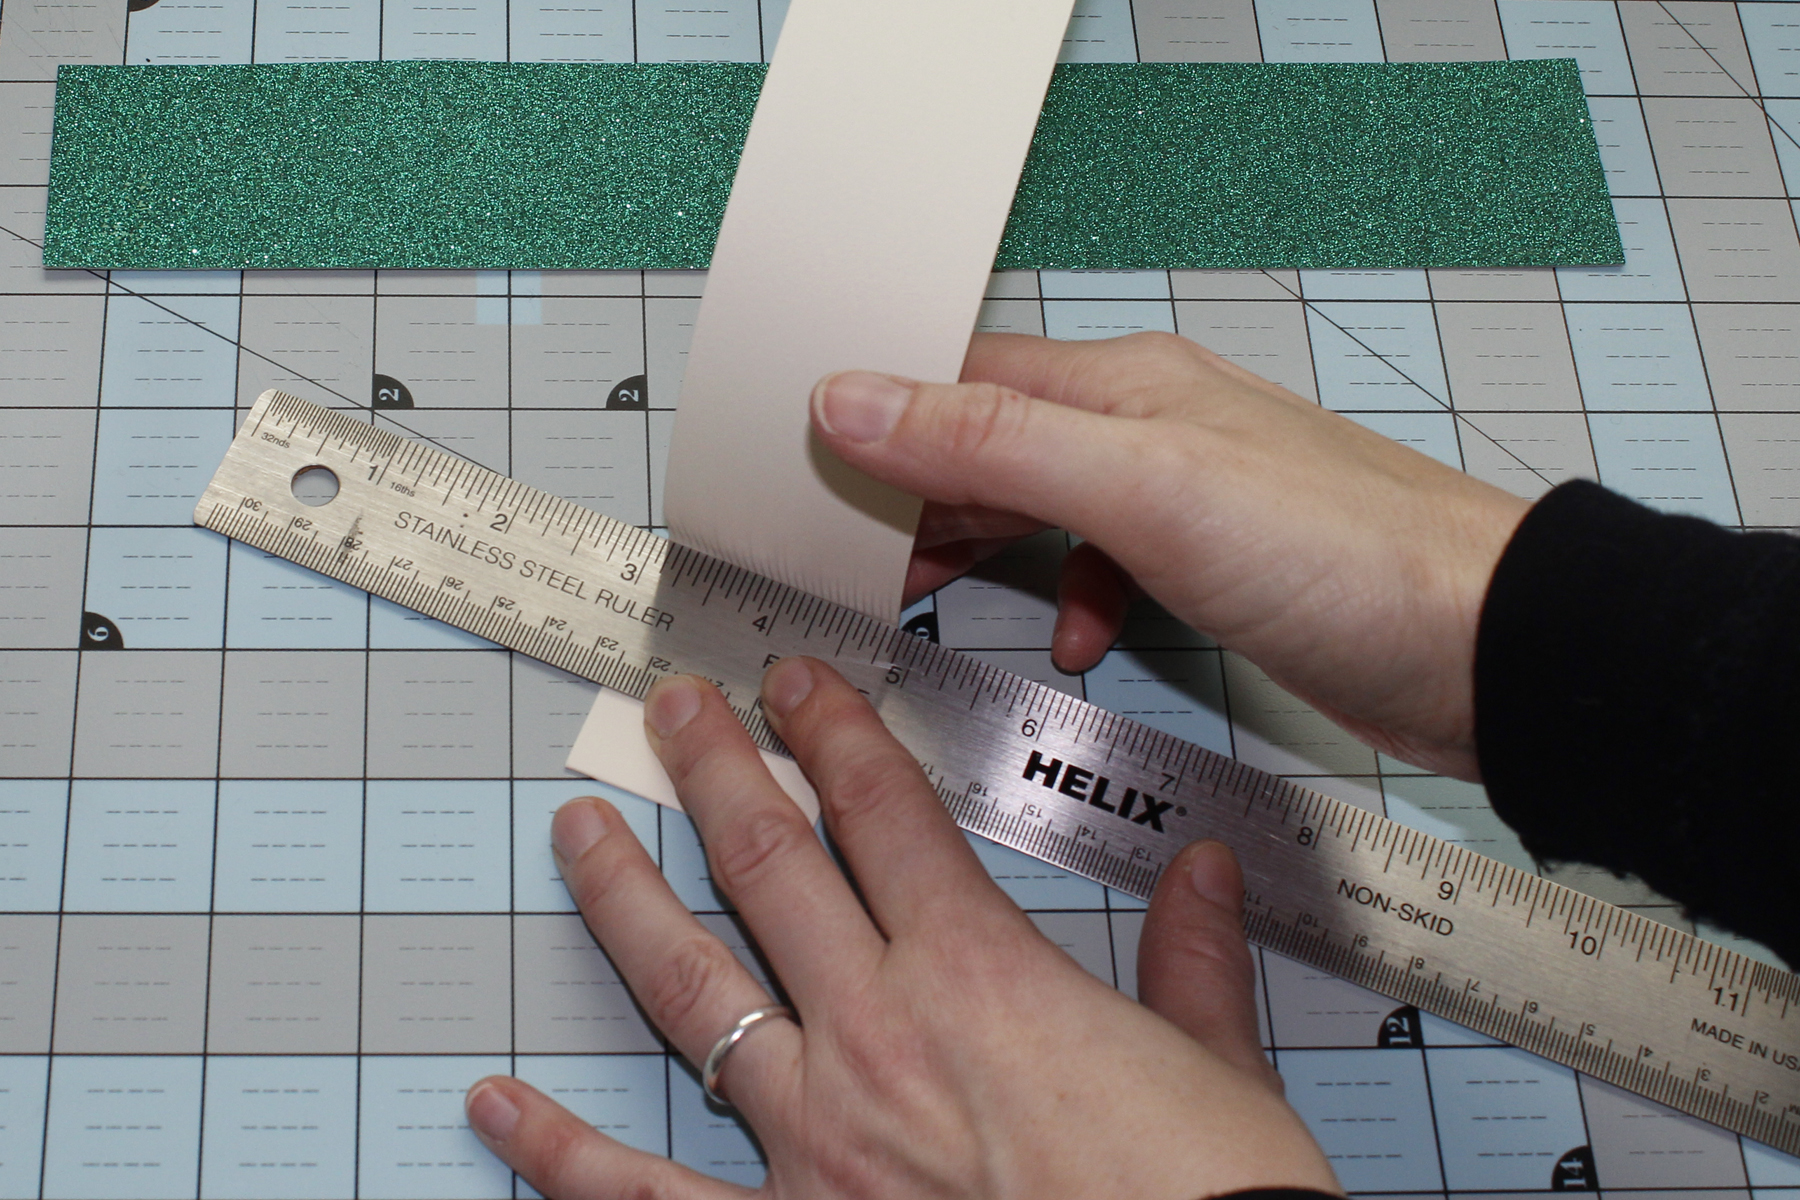
3. Press the page strip up. Rub it against the ruler with your finger or the flat end of the bone folder until it is sufficiently creased. Then, slide the ruler out of the way and finish the fold by pressing it flat with the bone folder.

4. Flip the strip over and repeat the steps two and three. Flip again, and continue folding like a fan or an accordion until you have made the number of pages you would like to have in your book. If you are making a bigger book, you may have to tape or glue strips together to make it long enough. In my sample below, I made ten pages (five two-page spreads). I’ll need the two end flaps to glue to the cover.
5. Figure out how long to make the cover piece. You will need both the front and the back of the cover to be an eighth of an inch wider than the pages, plus leave room for the ‘spine’–in this case, the stack of folds. Keep in mind that trying to measure precisely leaves a lot of room for error. I like to measure by rolling the page stack along the cover piece, almost like I roll a gift to measure wrapping paper. As you roll, be sure to stop and mark where the spine of the book will fall.
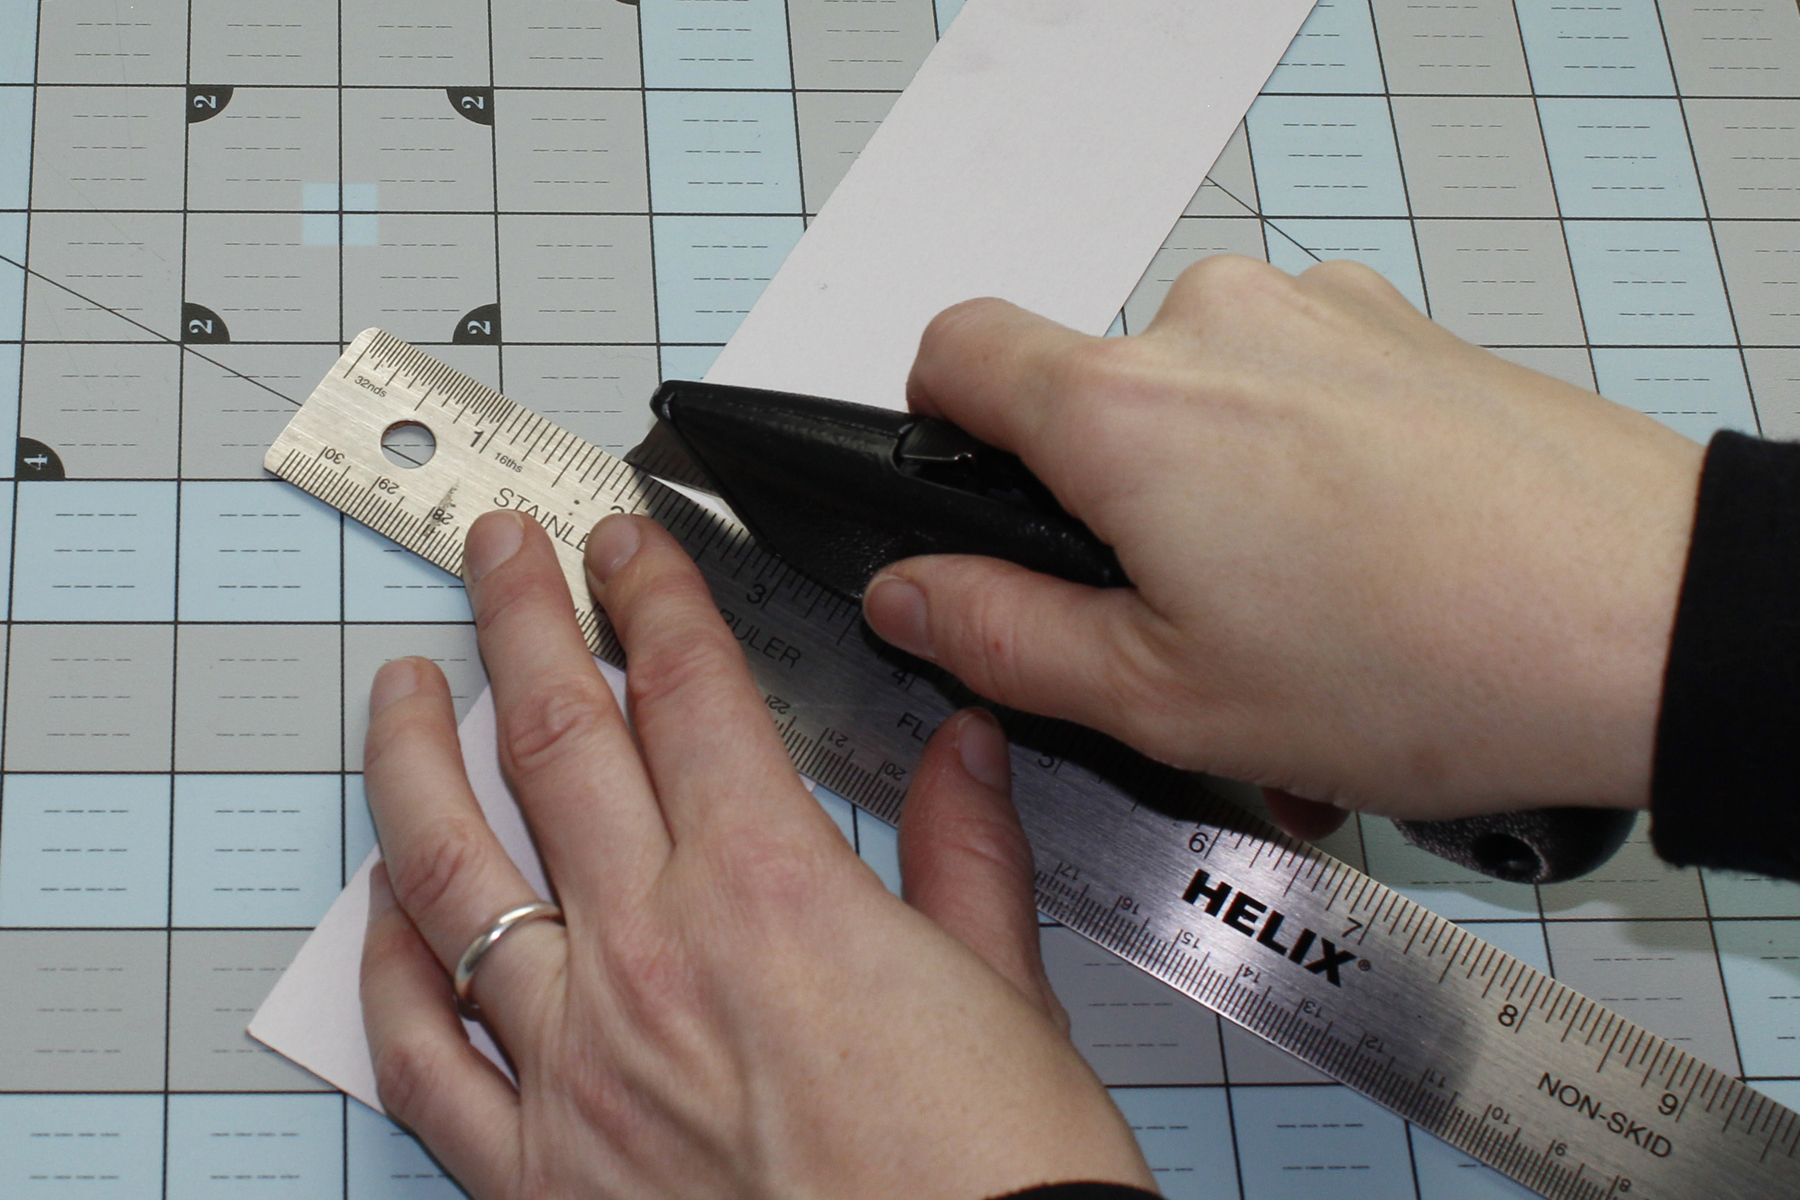
6. After adding an extra eighth of an inch for the back cover, use the box cutter and metal ruler to cut the cover to size.
7. Score the two lines on the inside of the cover piece, and bend them against a straightedge.

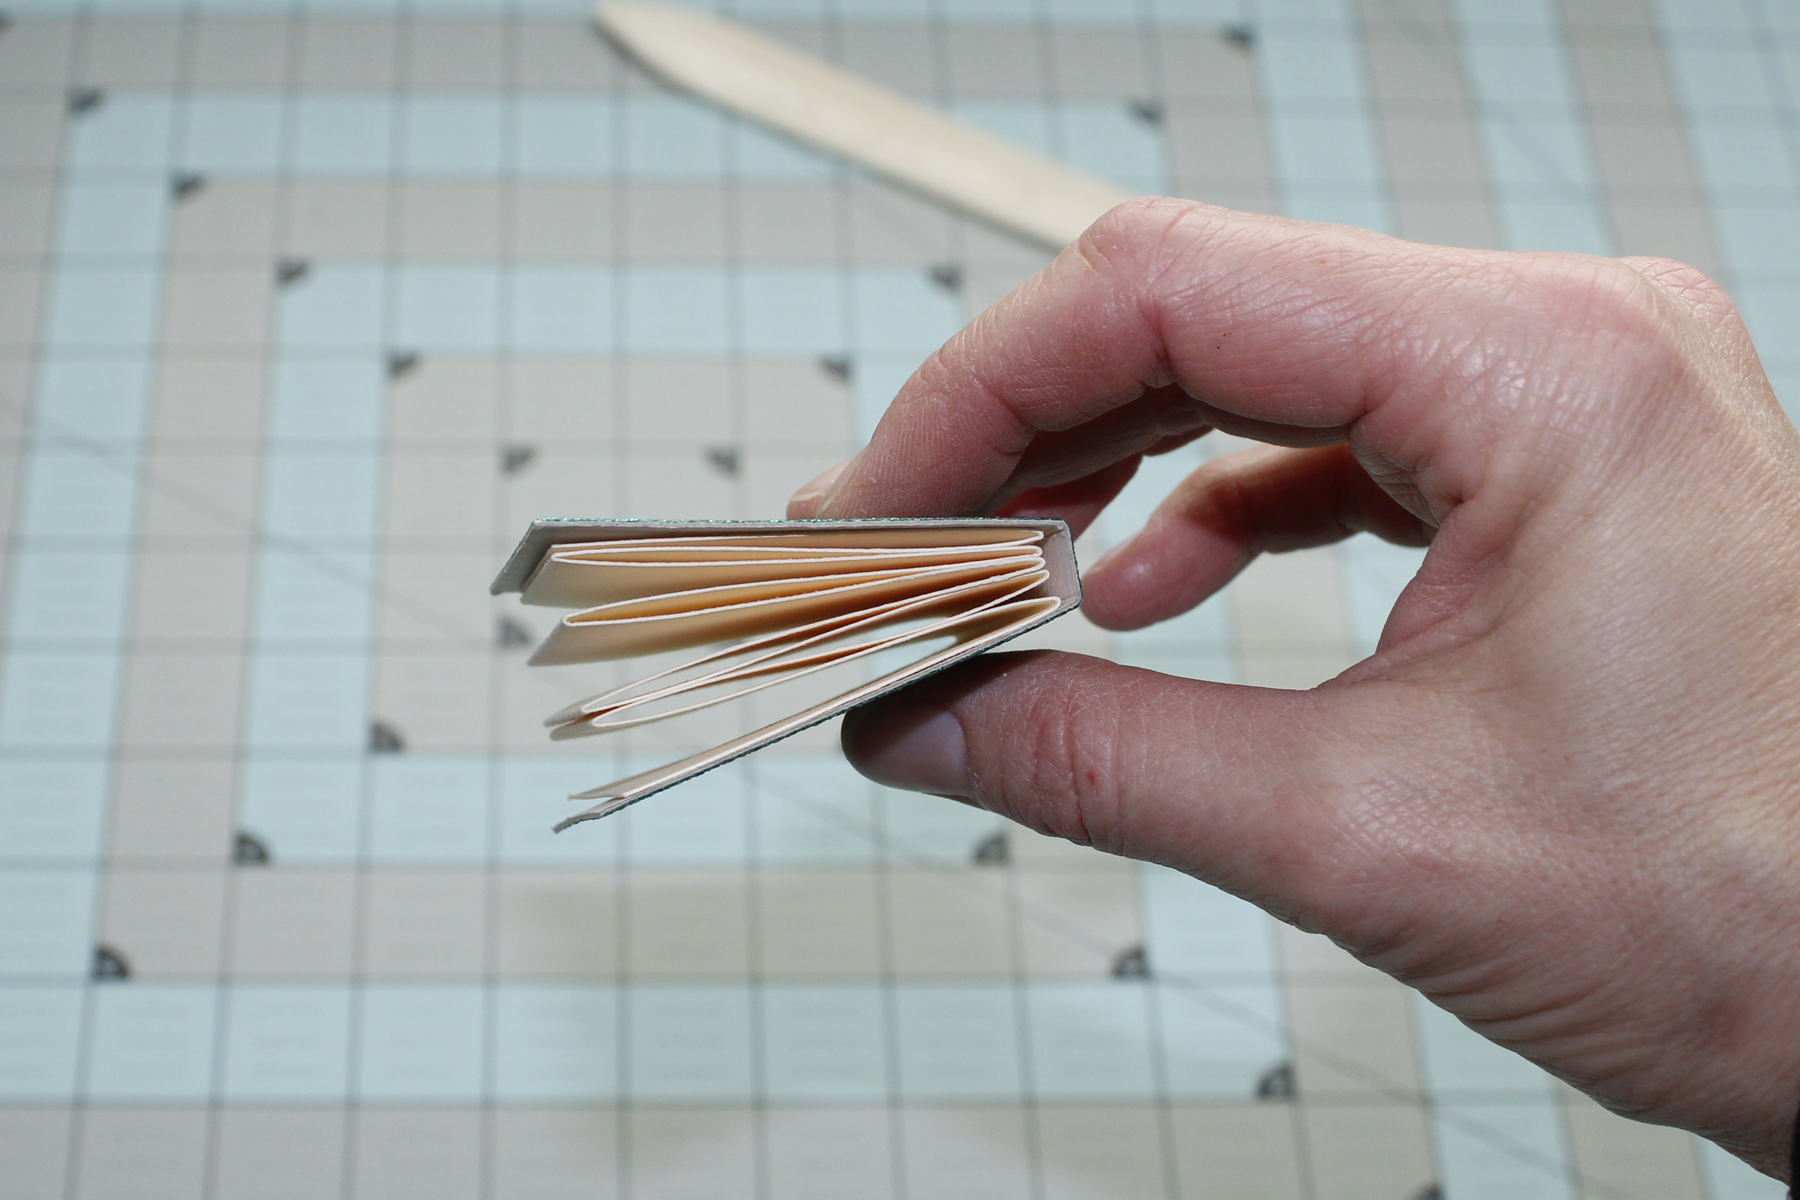
8. Now it’s time to glue! If you’re in a hurry, just blob some adhesive on the end flaps of the paper stack. Nestle all of the folds into the spine of the cover, and press the front and back covers against the glue. Voilà.
BUT!! If you have more time and/or want to learn some mad gluing skills…tune in very soon for a special added bonus post.

can’t wait to try this 🙂
LikeLike
Do you mind if I quote a couple of your posts as long as I provide credit and sources back to your weblog?
My website is in the exact same niche as yours and my visitors would
really benefit from a lot of the information you provide here.
Please let me know if this ok with you. Thank you!
LikeLike
Of course! And thanks for asking. I’m excited to check out your blog and see what you’re up to…
LikeLike